Topics covered in this article:
- Navigating your Hub
- Creating Spokes
- Adding, configuring, and creating content
- Administration at the Hub
- Centralizing processes and configuration
- Jumping into a Spoke
Introduction
The 6clicks Hub & Spoke architecture can help serve as a cohesive, organization-wide deployment for overseeing governance, risk, and compliance activities. It enables an organization to:
- Reduce duplication of efforts by coordinating GRC activities.
- Ensure uniformity in policies, procedures, and compliance efforts.
- Gain a holistic view of risks across the organization.
- Implement risk mitigation strategies consistently.
- Streamline compliance management and reporting.
- Facilitate efficient decision-making and strategic planning by providing a comprehensive view of GRC-related data.
Navigating your Hub
The 6clicks Hub is an organization-specific centralized area where you can manage various administrative and content-related tasks and activities. In this guide, we will begin by outlining where these components are located and detailing the specific functions they fulfill.

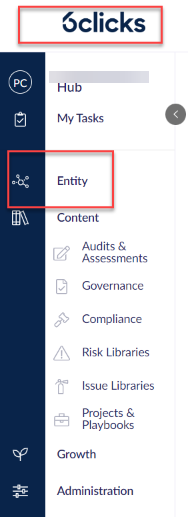
Entity (Spokes)
The Entity function serves to return a user to the landing page. This can be accomplished by using either the Entity button or the logo icon at the top left of the page. The nomenclature for Entity and custom branding can be changed in the settings menu demonstrated here.
Analytics
The analytics module can be found on the right-hand side of the landing page and can be clicked to show a single pane of glass dashboards across all of your spokes for things such as risks, issues, task management and assessment data. 
From here, the left-hand burger menu can be used to display a list of options that provide the user with out-of-the-box reporting and dashboard content that is frequently updated.

The right-hand Create menu can be used to pool these resources into various pieces of user-defined, easily digestible content, such as:
Creating Spokes
To create Spokes navigate to the top right corner of the screen to the Create Spoke button.
Depending on hub Settings the word "Spoke" may be configured to be something else.

Spokes can be created in the following ways:
- Create spoke from template: Quickly create a spoke from a pre-defined spoke template with content.
- Create spoke from Scratch; This will create a completely blank Spoke environment with no content. Configurations made at the hub will be present in this Spoke.
- Create spoke template; All content configured in the Spoke template will be available to use, and all configurations made at the hub will be present in this Spoke.

Creating a Spoke template will allow users to reuse configurations and content that has been made in any subsequent Spoke, including existing ones.
Spoke group management
Spokes can be managed in a hierarchical structure, this can be useful for grouping spokes via things such as region, framework, division, etc. To manage spoke groups navigate to the group management page.

Once there all spoke groups already created will be listed, however, to create a new group click the Create group (1) function, enter a Group name (2) select Parent Group (3) and hit Create (4).

For a full guide on creating spoke groups please view the article here.
Adding, configuring, and Creating Content
The content menu at the Hub houses content and processes in 6 different key areas:
1. Question Based or Requirement Based Assessment templates
2. Governance or Controls documentation
4. Risk Libraries for templated Risks
5. Issue Libraries for templated Issues & Incidents
6. Projects & Playbook templates
This content can be imported into the aforementioned areas or it can be populated via the Content Library.
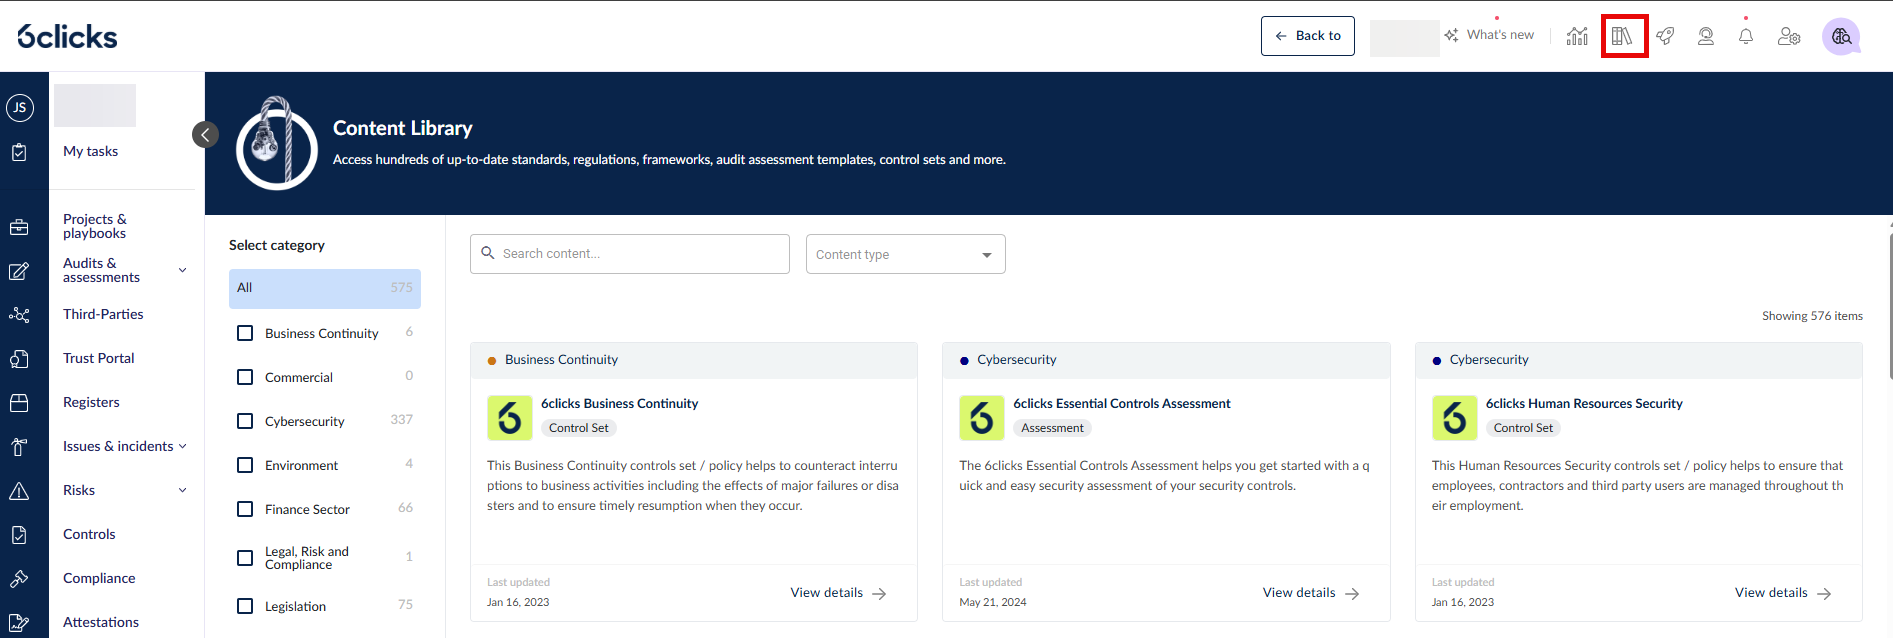
Content Library
The Content Library includes all content available within the 6clicks platform. This content typically appears in the areas mentioned above and can be added to your environment as needed. It includes publicly available documentation and frameworks, as well as materials developed by subject matter experts to support broader Governance, Risk, and Compliance (GRC) programs. To see the list of available content, please visit the 6clicks Marketplace
Content Library
Administration at the Hub
The Administration section serves to provide multiple functions across the platform, these include:
Users
The Users tab will allow you to do the following functions at the Hub:

- Create users - Clicking on the Create users button will allow you to add a new user to the platform by filling in the user's unique information (first name, last name, and email address).
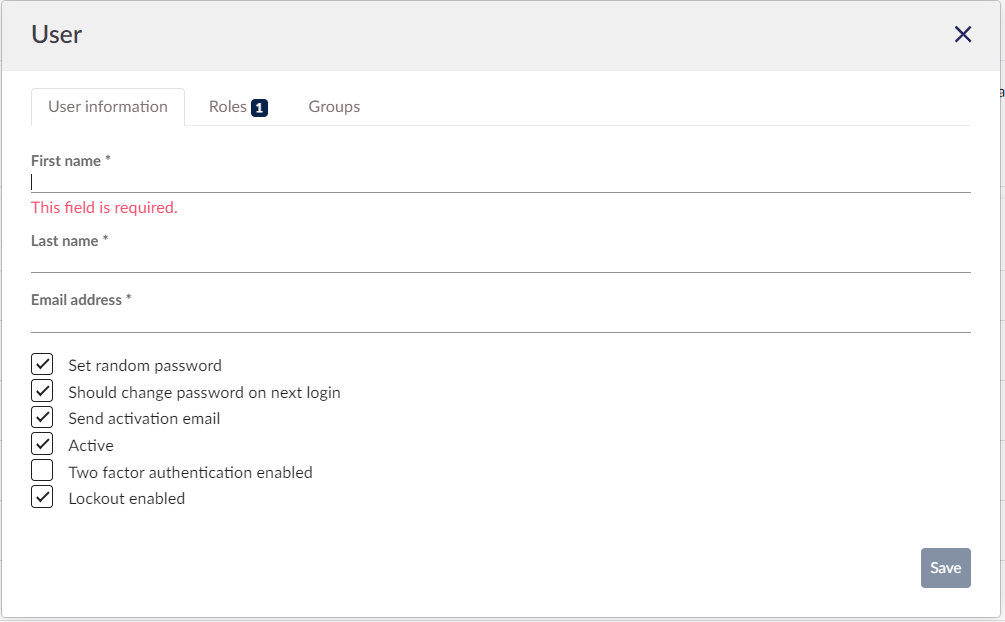
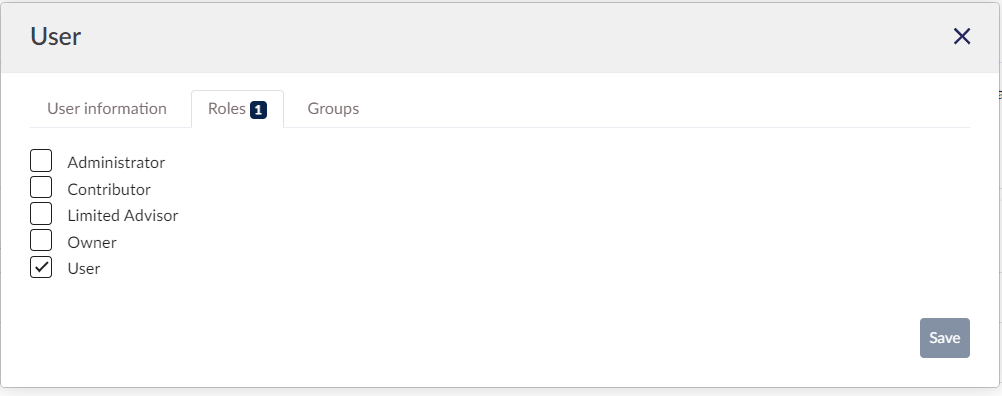
- Once input, the role for a user can be selected from either the default role list or a custom role that has been created, the role selected as default can be selected here.
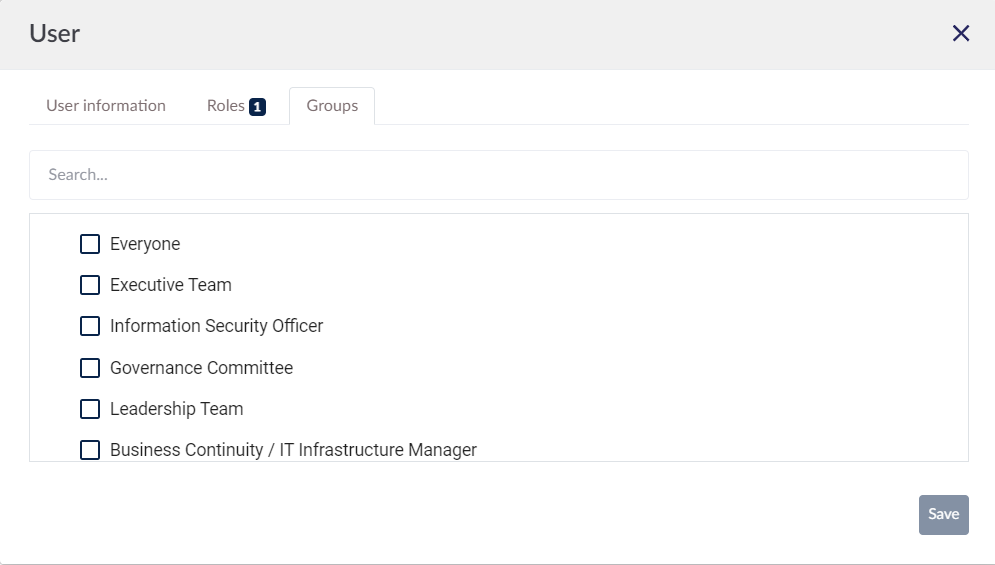
- Finally, the new user groups can be selected, these groups allow for access to specific data records. They can be customized to suit your organization or structure.
- Clicking save will create the new user and send them an email invitation to your hub.
Adding Users in bulk
To add Users in bulk, navigate to the More menu in the top right and click Bulk import.
Once the modal opens, download the template.


Enter the required information for each user into the downloaded template. Once the completed template is uploaded, users will be able to access the Hub, propagate content, and access Spokes based on the roles assigned to them.

For more information about importing users, please refer to the documentation here.
Role-Based Access Control (RBAC)
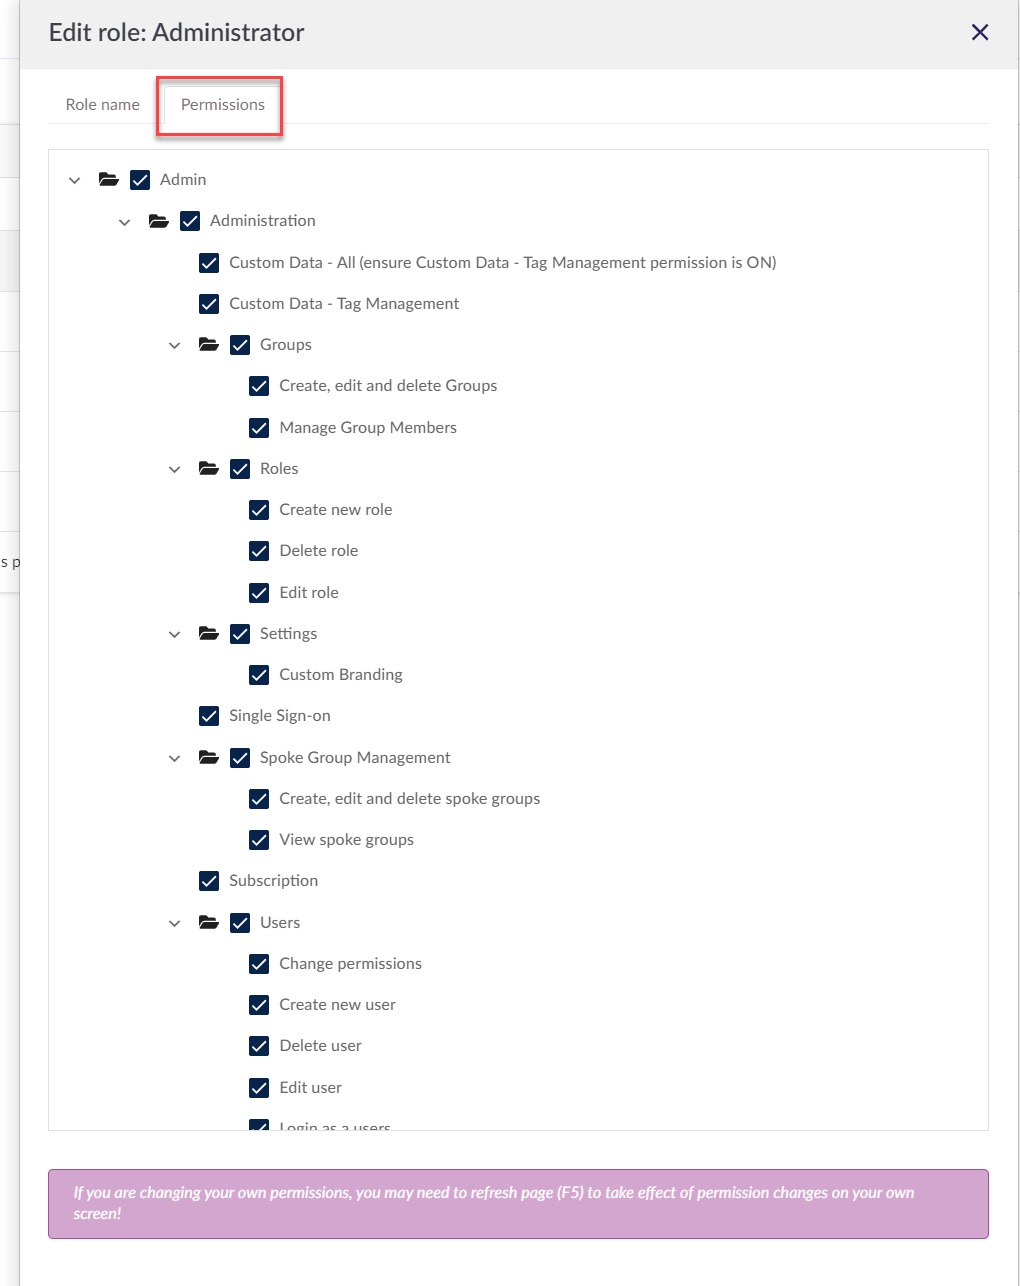
RBAC configuration and creation can be achieved through the Roles tab under the administration menu on the left-hand side. From this tab, users are able to configure existing roles and create new ones.

Configuring existing roles - Any role with Static next to it is an out-of-the-box role and comes with the software as default. The role with Default next to it, is the role that will be suggested upon the creation of a user.
To configure an existing role, select the role and then click the Edit button in the top left of the box.

Once clicked you have the ability to go through the list of permissions that come with that role and toggle on and off depending upon requirement.
Creating user groups
User groups can be created in the groups menu:

Some groups for users are provided out of the box, for example whenever a new user is created, they are added to the "Everyone" group. To create a new user group, click the Create group button.
A group only requires a Name to be created; users can be added to the group at any time from this menu.

Centralizing configuration at the Hub
The settings tab under the administration menu will allow users to configure general, security, nomenclature changes and white label options. This allows users to centralize configuration across all their Spokes. In this section we will cover:
General Settings
The General settings tab allows users to configure options such as:
- Content Library and marketplace iconography (This appears in your exclusive content library for your internally created content).
- Description of your organization for content library items.
- Change Team Name (This is the name of your Hub that appears in the top left).
- The ability to switch on/ off hub level risk & and issue libraries in Spoke environments
- Custom Nomenclature options for registered items

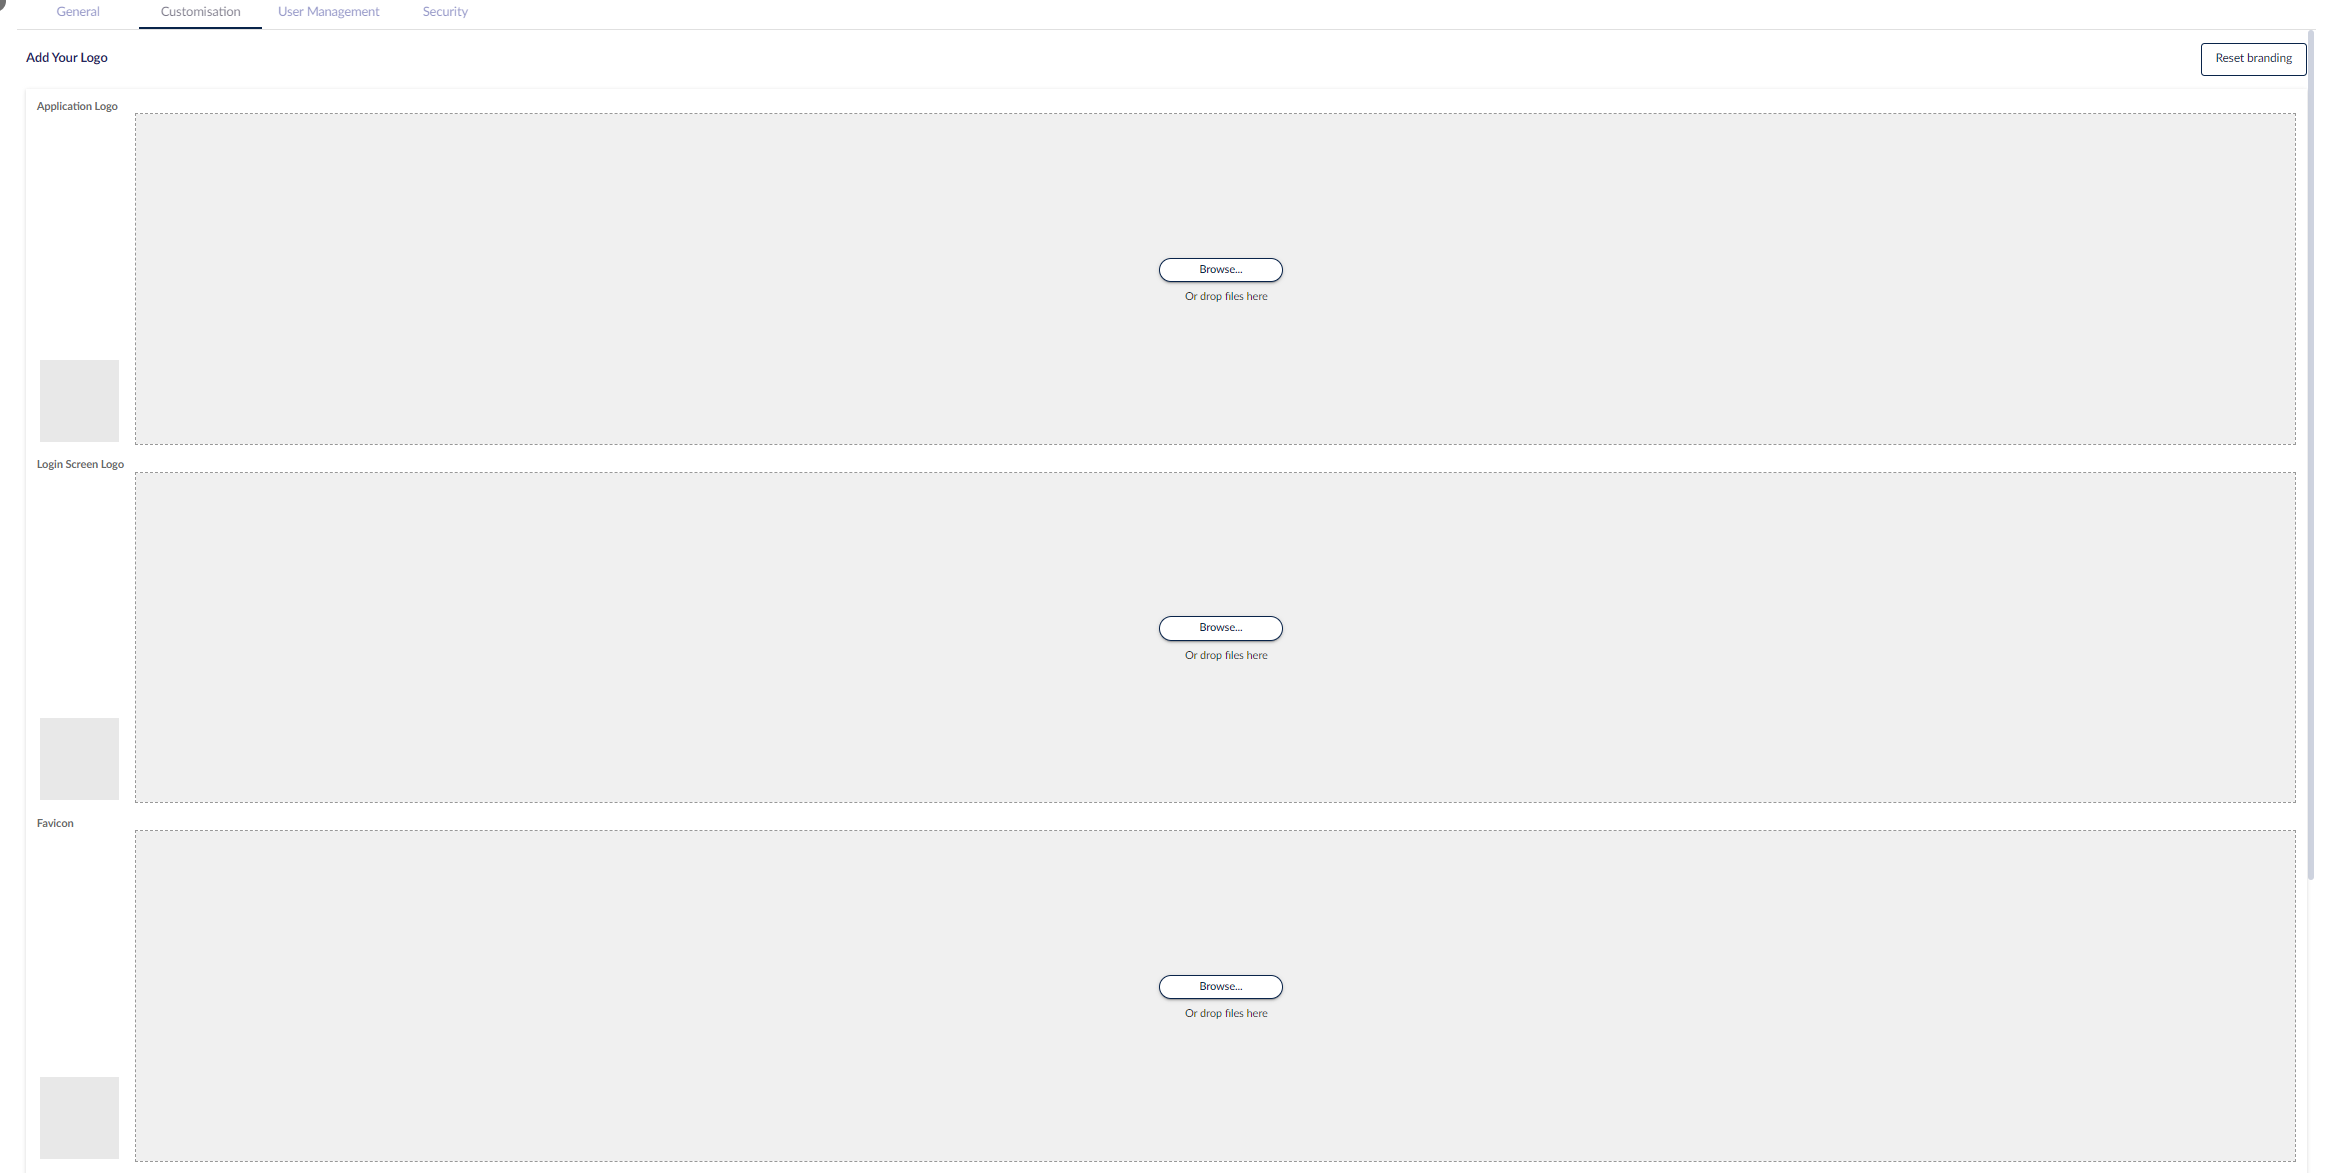
Customization
In the customization tab, users can customize the branding and color scheme for their hub and their Spokes as default. The following items can be changed:
- Application Logo
- Login Screen Logo
- Favicon
- Apply Your Colour Palette

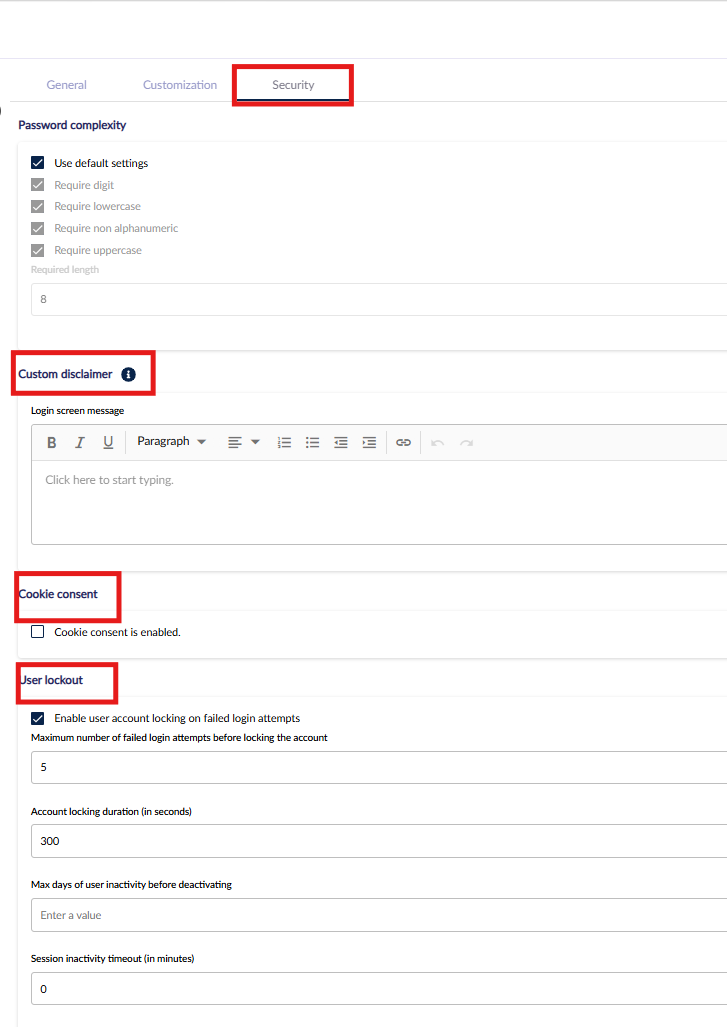
Security
The Security tab allows administrators to configure user-related settings for your environment, including:
- Password Complexity
- Customer disclaimer
- Cookie consent preferences
- Automatic session timeouts based on user inactivity
- Multi-Factor Authentication
Click here for more detailed information on these settings:
You can also configure automatic user deactivation for inactive accounts. To enable this, enter the maximum number of days a user account can remain inactive in the “Max days of user inactivity before deactivating” field. If a user exceeds this inactivity period, their account will be automatically deactivated.
Custom Data
The custom data tab allows users to configure consistent data points in their Spokes in one centralized location, such as Spoke attributes, Risk assessment fields, issue fields, risk workflow fields, and tag management.

Single Sign-on
Single Sign-on can be configured at the hub for use across all Spoke environments for various IdP offerings. To find out more about Single Sign-on, visit here.

Jumping into a Spoke
Once all of these configurations are made, the need to have users present to manage these Spokes is going to be a crucial part of your deployment. To add users to this environment in either bulk or individually navigate to the Users tab under Administration. In this section we will cover:
Accessing your Spokes
Once your users have been set up and given the correct permissions they are able to access any Spokes they have been given access to. They can access these Spokes by clicking on the below login buttons in the home area. If users don't have any available Spokes they could be added using this step-by-step guide.

Navigating between spokes
Once in a spoke, you'll have the option to move freely between any spokes you've been invited to via the menu in the top right. Select the spoke required to move into and click it, to learn on how to link teams to your account go here and navigate from one spoke to another please head to this kb.

Finding your content
After adding content to your exclusive content library, the content can be ingested via the Spoke in a similar fashion. Only the content that has been added to the exclusive library will be present at the Spoke level.