As your team grows, so does the work it takes for your projects to get done. The Projects & Playbooks module in 6clicks lets you plan and organize all of your team's work in one place using structured lists of tasks.
Table of contents
- Creating a project
- Adding and moving tasks
- Task details
- Project details
- Pushing templates from the Hub
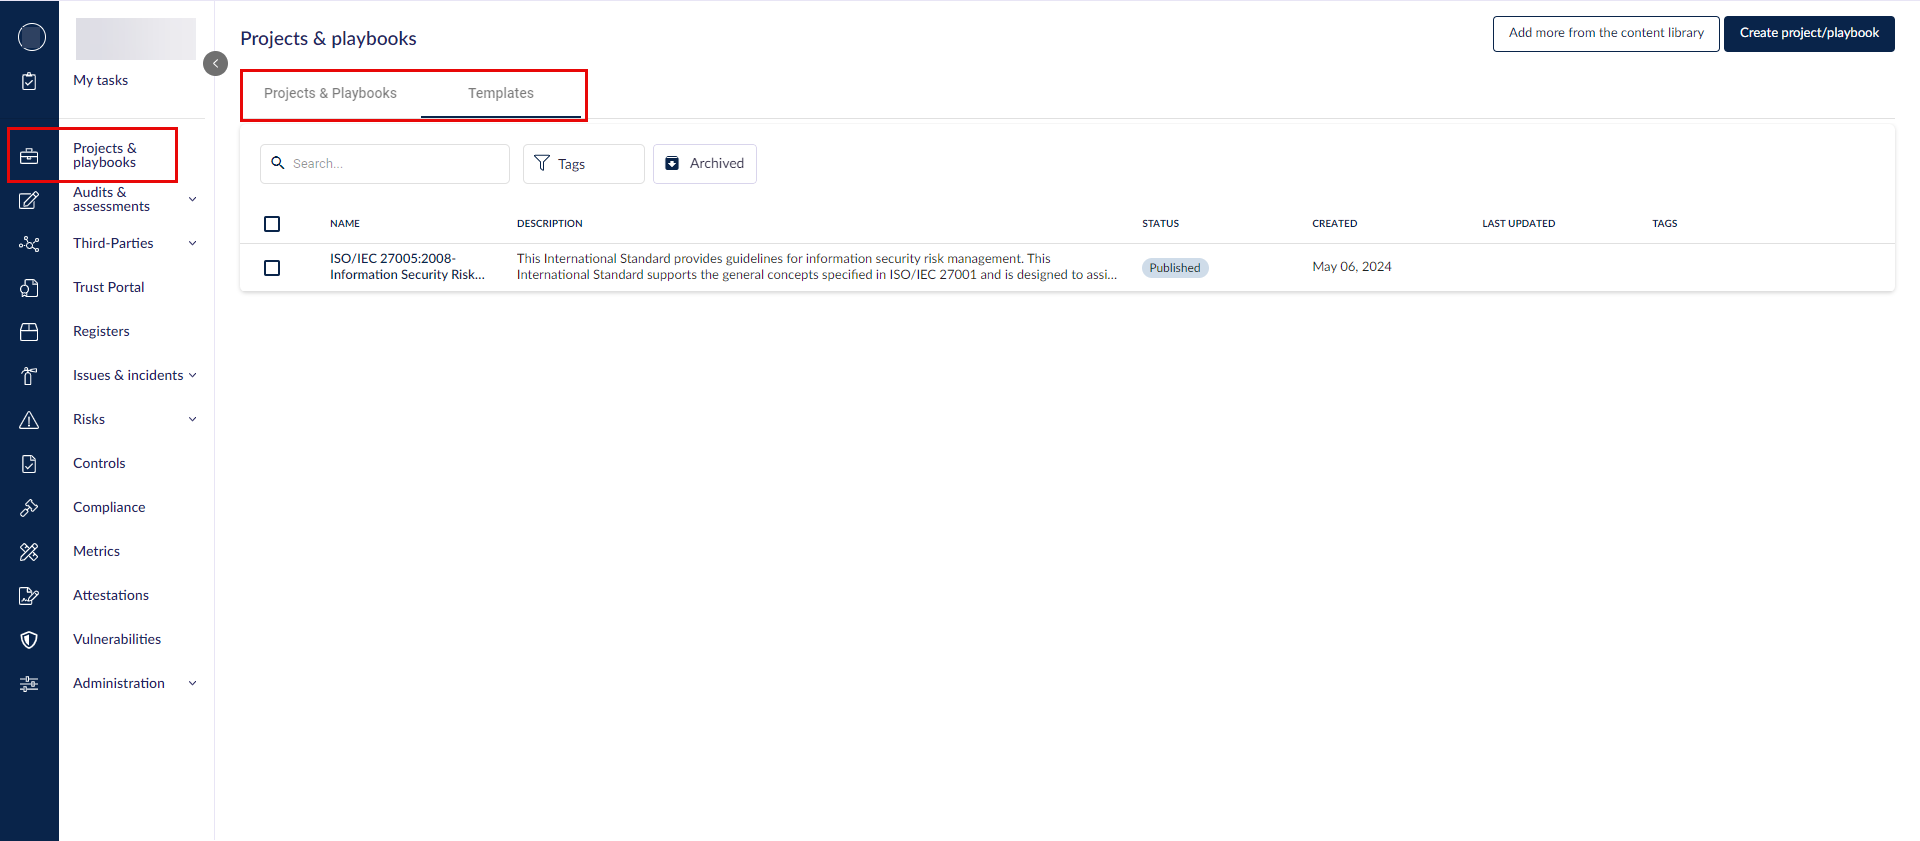
There are 2 tabs in this module, Projects & Playbooks, and Templates. The first displayed a list of live projects, while the second stores templates from which you can create live projects. You can create templates or add them from the Content Library.
Creating a project
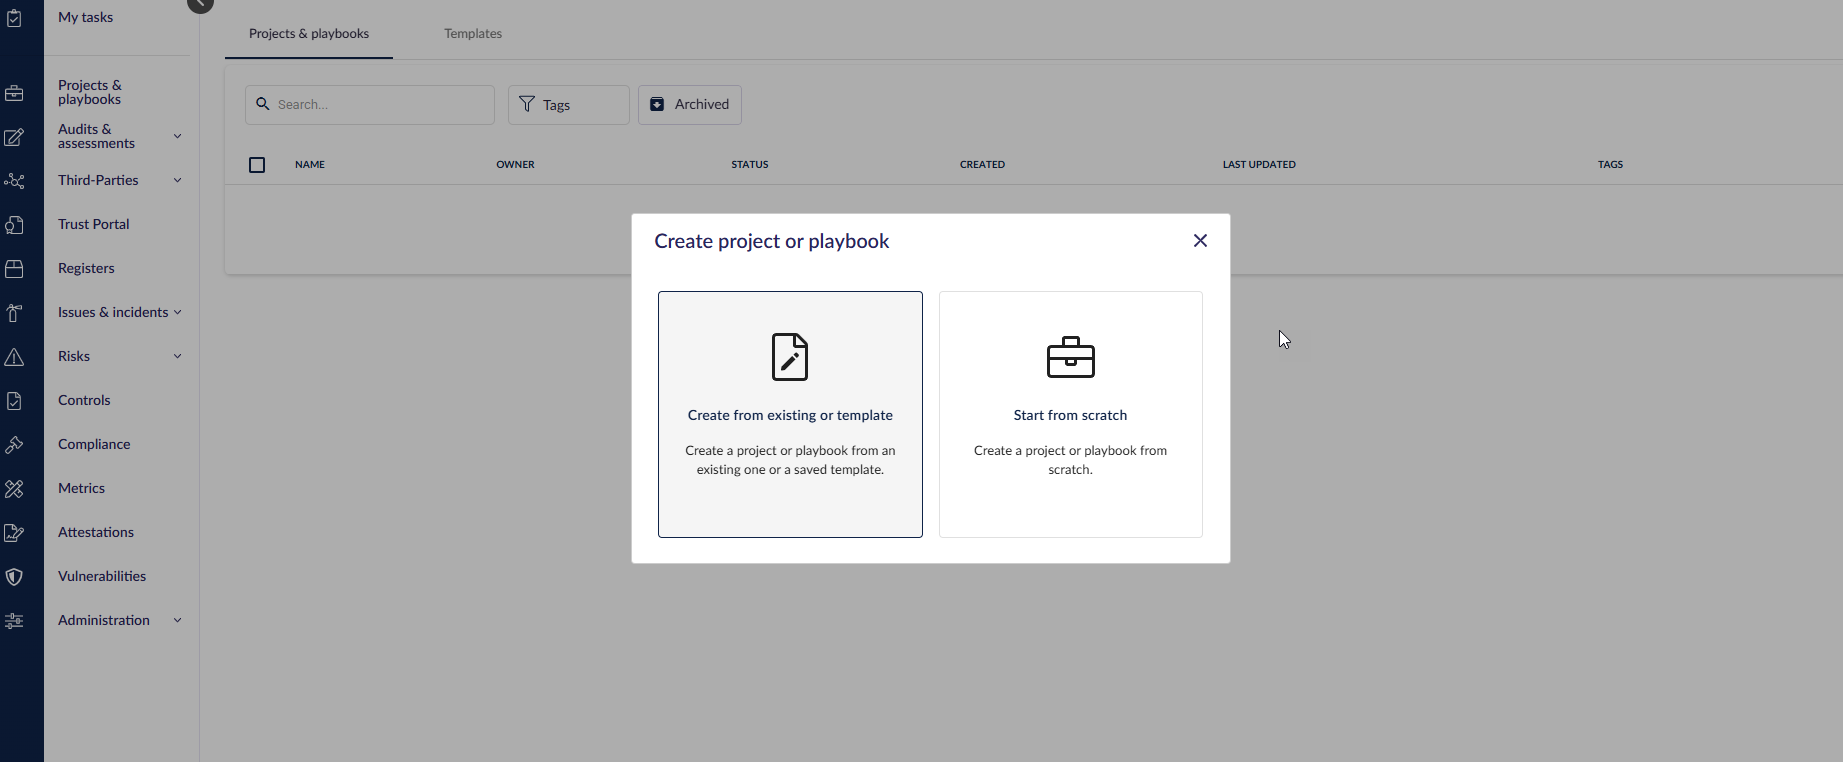
Click Create project/playbook.
Choose whether to create a new project from scratch, or select an existing project or project template to base your new project on to save time.
Starting from scratch
Select Start from scratch and enter the name and description. You can update them later.
When done, either create the new project/playbook or save it as a template.

You can now start adding tasks (1) or add more details to the project/playbook (2).
Creating from existing or template
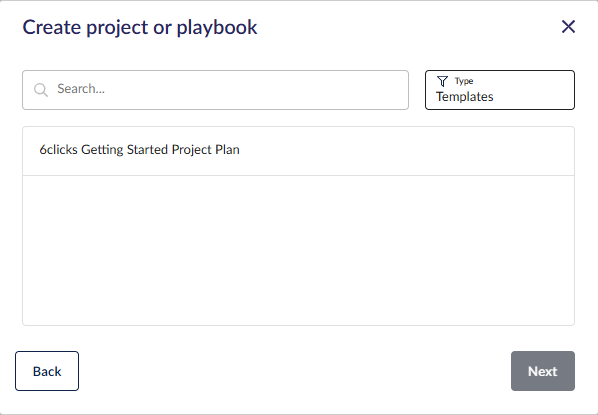
When choosing to create from an existing or template, you can select from either a template or a previous project/playbook.
You can create your own templates for repeated use, or add them from the 6clicks Content Library.
Use the search and filter functions to find the template or previous project/playbook you are basing a new project on, select it in the list, and click Next.
The name and description of the template or previous project/playbook will populate these fields. Make any updates as necessary and click Create.

Adding and moving tasks
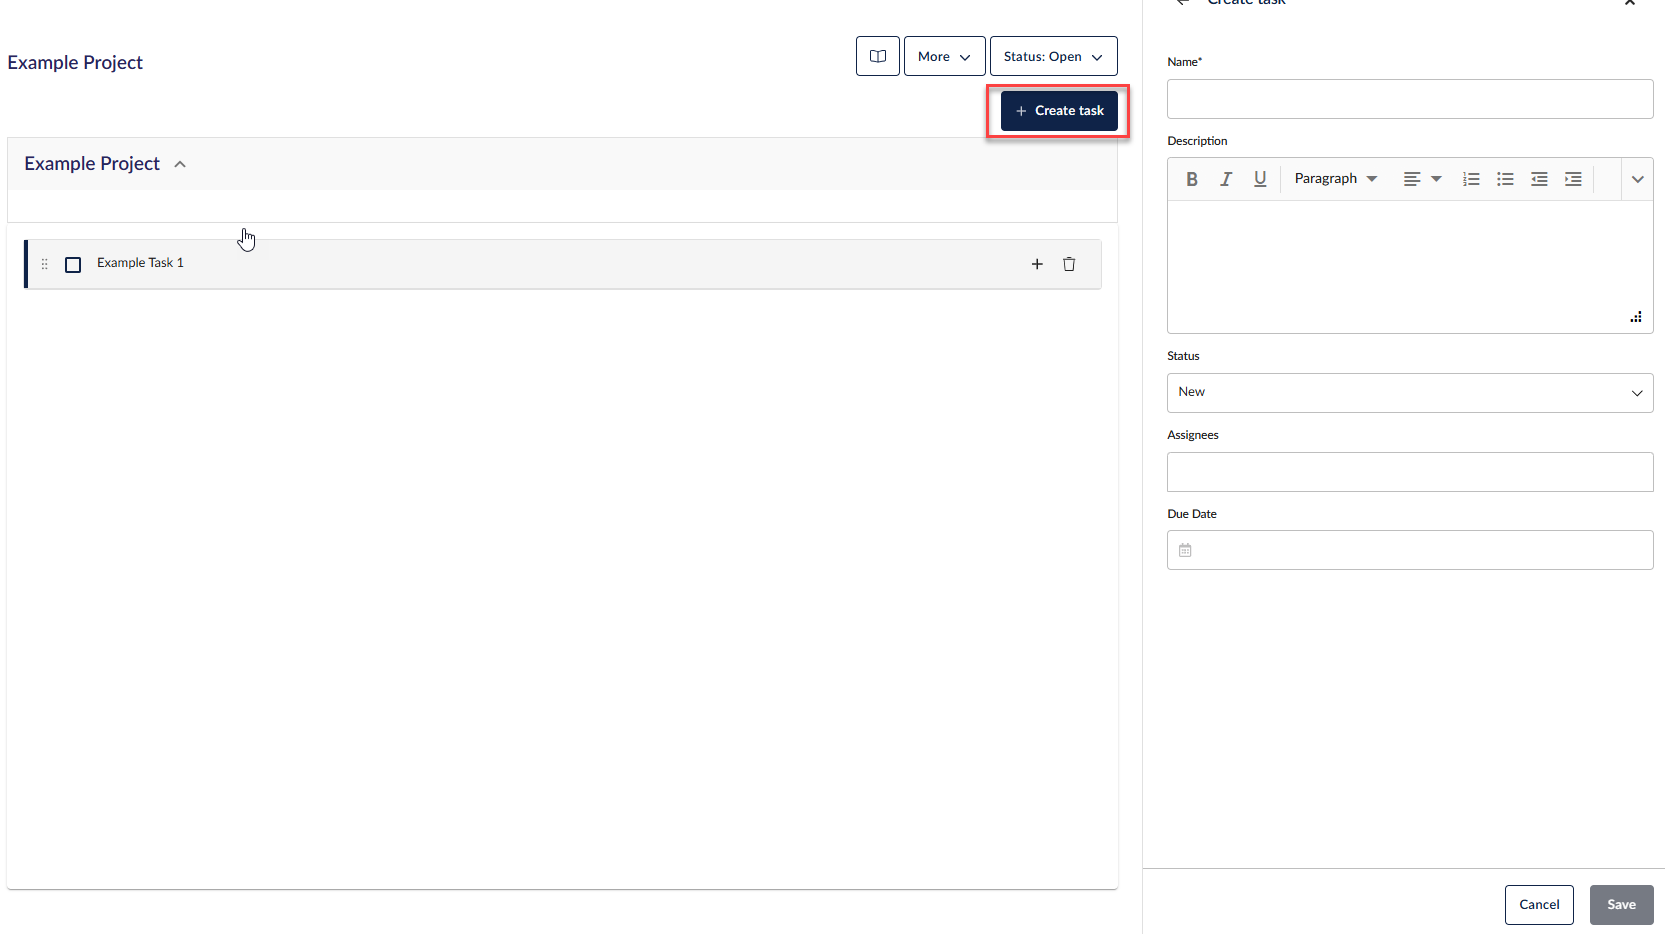
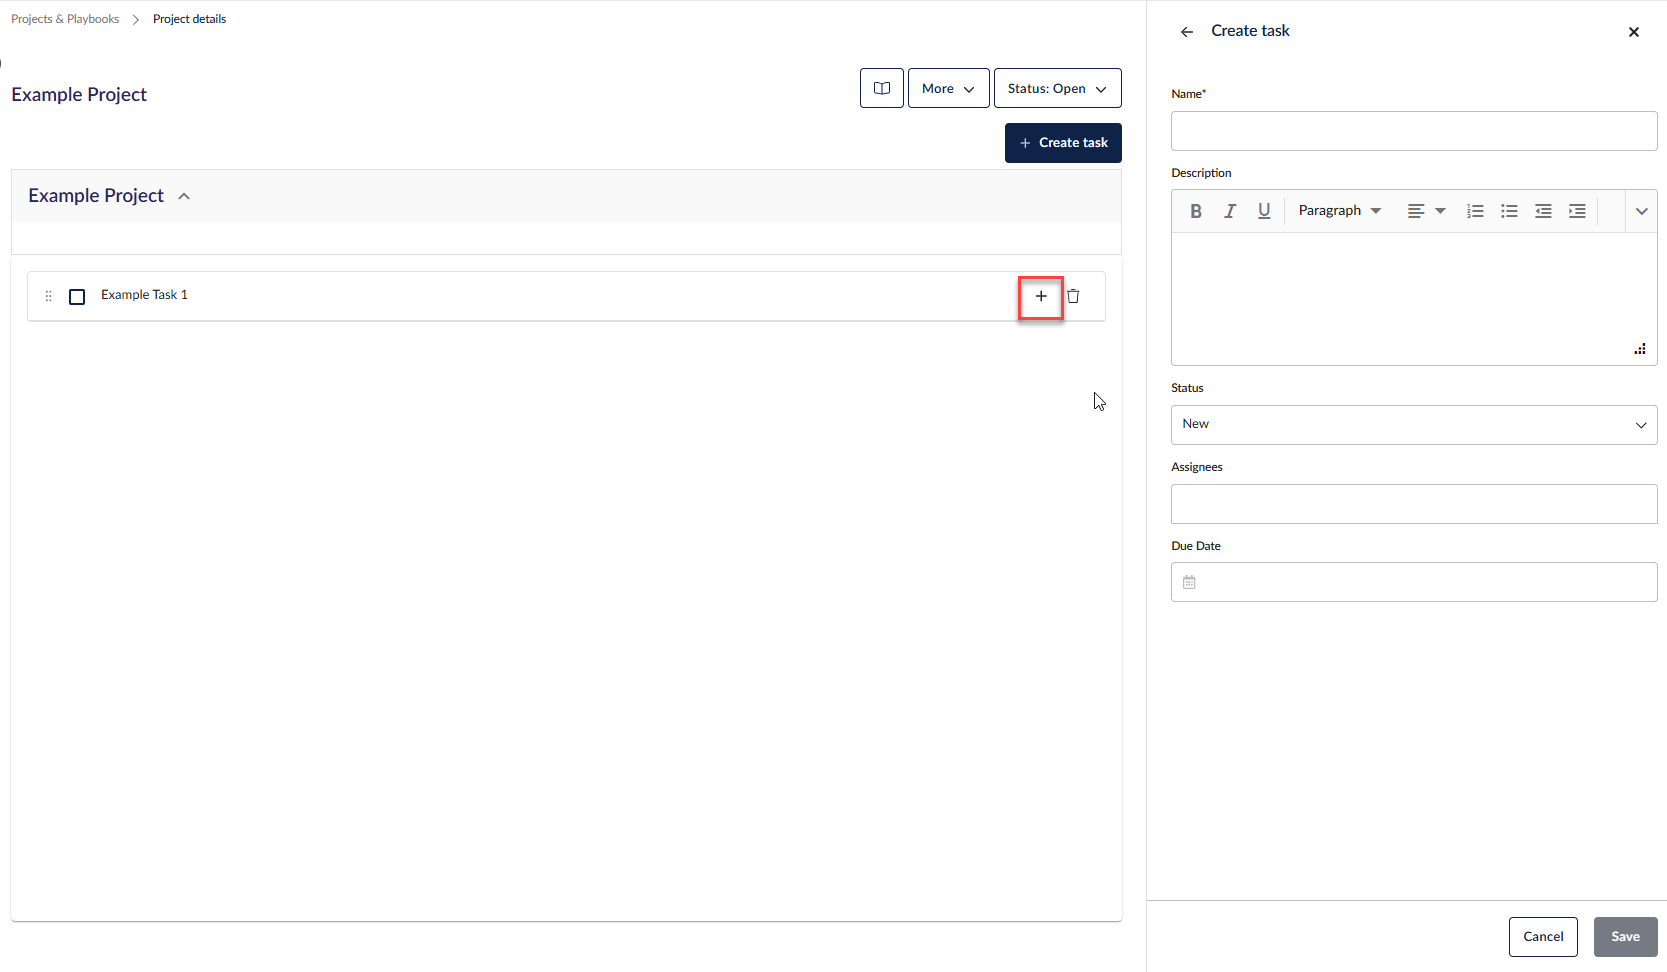
To add a new task, click on the + Create task button. This will open a side panel on the right-hand side of the screen. From there, you can enter the task name, description, status, assignee, and due date. Once all necessary details have been added, click Save to create the task.
To add subtasks to a task, click on the + Add subtask option next to each task. Once selected, you can then enter the subtask details in the right-hand column. Be sure to complete all relevant fields and click Save to ensure your changes are recorded.
To move tasks within a project, hover your cursor over the six dots located to the left of the task. Click and hold to drag the task to the desired position and release to drop it. The same process can be used to move subtasks.
Tasks and subtasks can be closed by clicking on the checkbox. If you close a task with subtasks, all the subtasks will also be closed.

Delete tasks and subtasks by clicking on the trash icon. If you delete a task that has subtasks, all the subtasks will also be deleted.
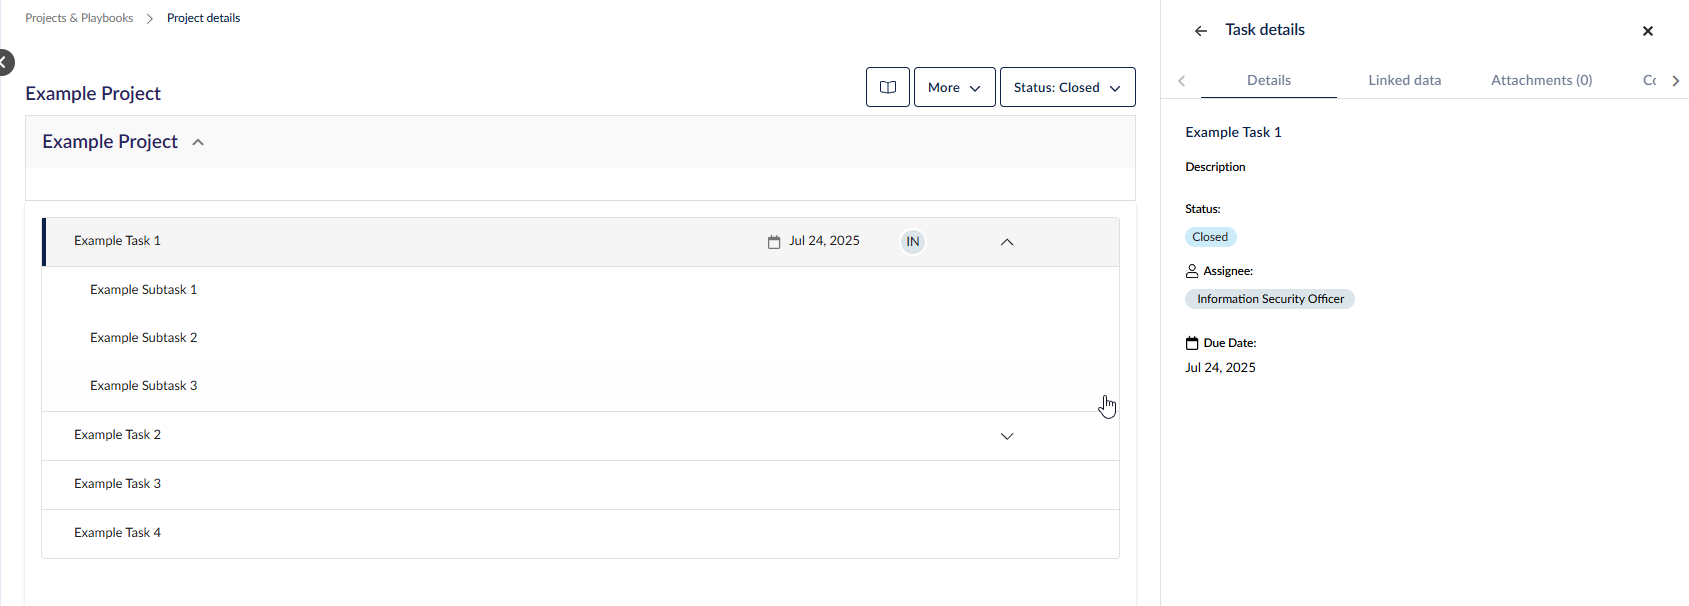
Task details
Click on a task to see its details to the right.
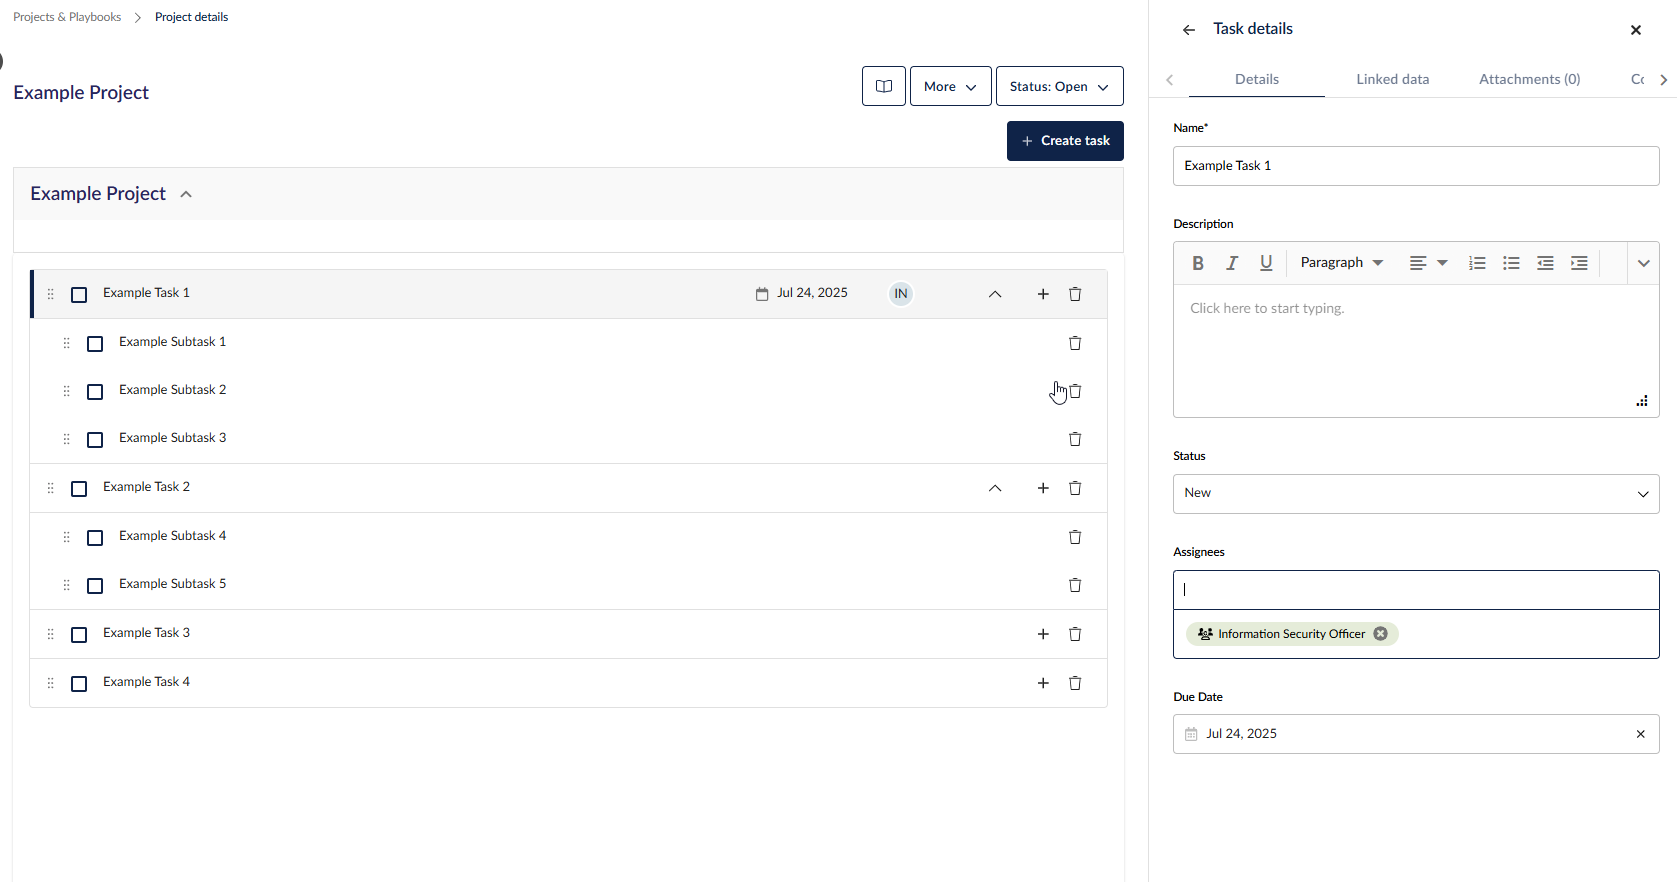
In the task Details tab, you can:
- Update the task name.
- Update the task description.
- Change the status of the task.
- Add/remove assignees. Anyone assigned a task will see it in their My Tasks view.
- Add a due date. When the due date is close, the assignee will receive an email reminder.
- Upload and download documents.
- Add comments.
- Add linked data.
The details will be added to a task can be viewed at any time in the task details panel.
The Comments tab can be used by anyone to comment on the task with the correct permissions.
Project details
The project/playbook itself also has details.
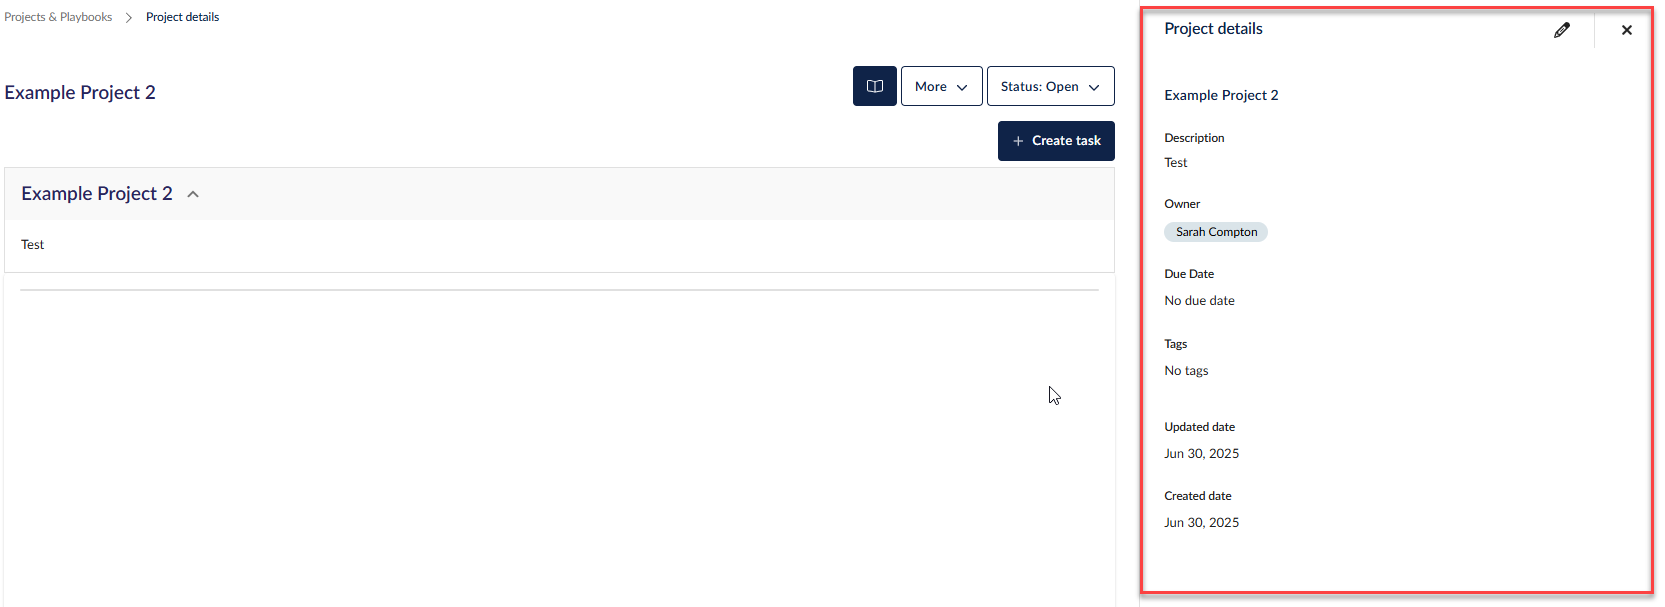
The project/playbooks Details side panel allows you to:
- View and update the name. To update, click on the pencil to edit.
- Add, view and update project description.
- Update the project owner.
- Add project tags. Tags can be used to filter on the project table.
To change the status of the project, use the Status dropdown.
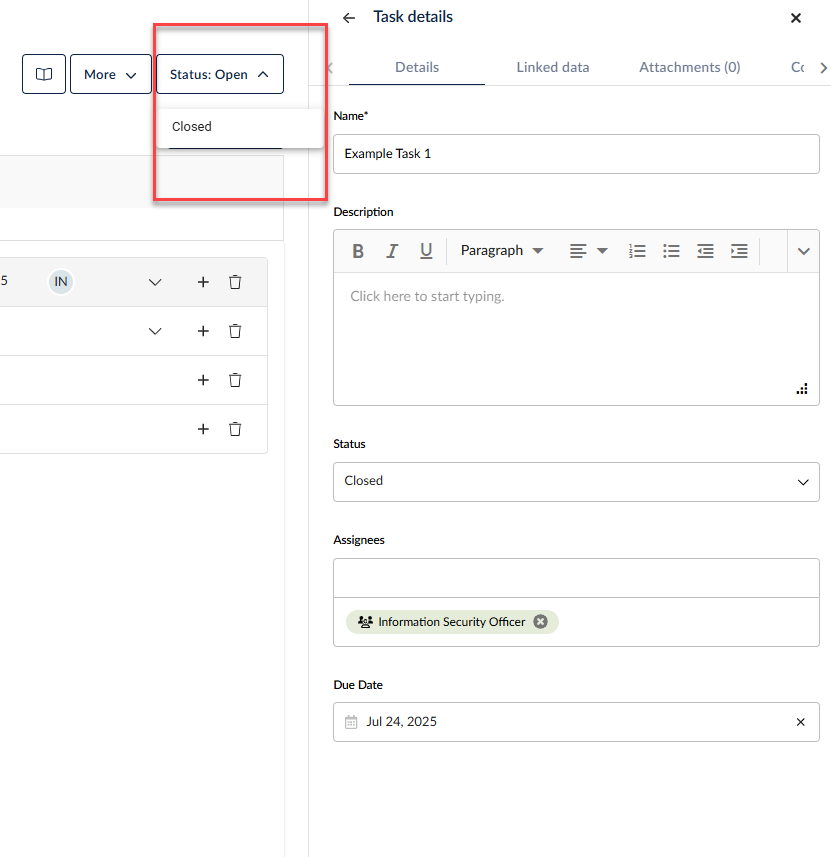
Closing the project closes all tasks and makes all tasks non-editable. You can change the status back to Open and this will unlock all the tasks, but the tasks will all be closed. You can reopen tasks after changing the project status back to Open.
Import and Export projects/playbooks by clicking More, if you have access to multiple Spokes but not the Hub, and want to use the same project/playbook in your Spokes.

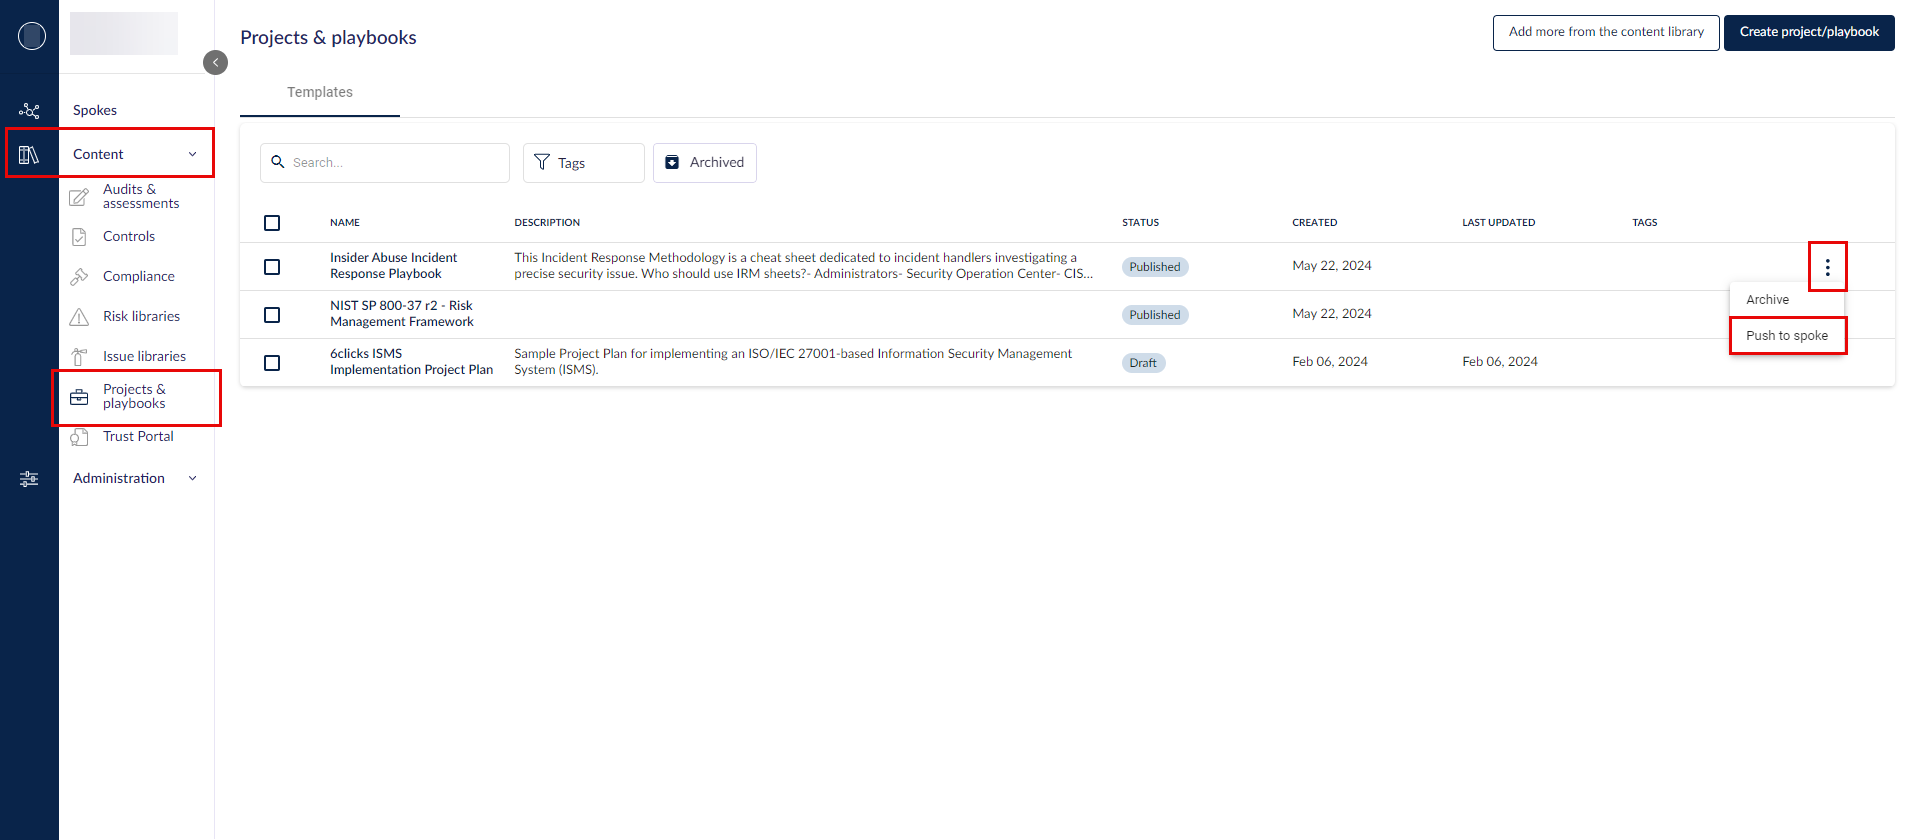
Pushing templates from the Hub
If you have access to the Hub, you can create project/playbook templates at the Hub and easily push them down to Spokes.
First, create your template in the Hub or add them from the Content Library, then click on the 3 dots to the right of the template and select Push to spoke.
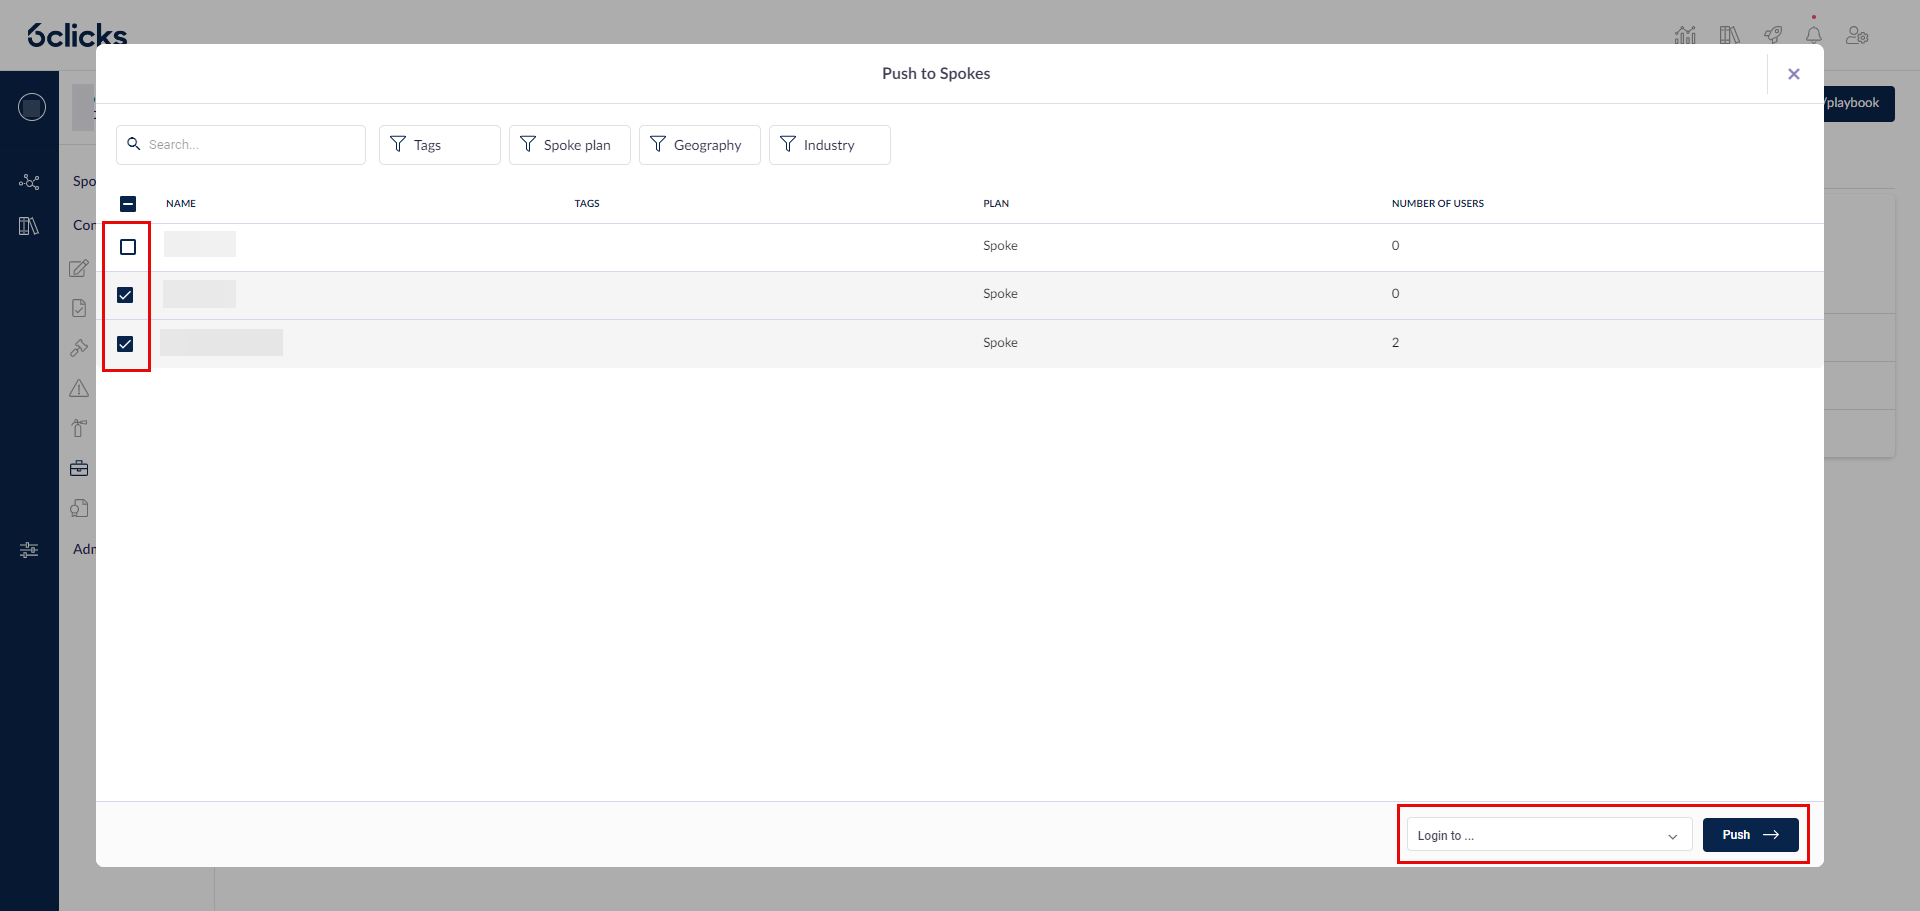
Select the spokes you want to push the template to and click Push. Optionally, you can choose to log into one of them.
To learn more about projects and playbooks, head here.