You can add custom fields to your registers, to better capture the information that your organisation needs to keep track of.
To learn how to create a custom register, head here.
Table of contents
- Getting started
- Dropdown
- Multiselect dropdown
- Free text
- Rich text
- Date
- Number
- User
- Working with Custom Fields in Registers
Getting started
Go to Administration > Custom data, and locate the table that corresponds to the register.
If you are doing this for a custom register, look for the table that has the name of the register.
If you are doing this for the assets register, look for the Asset custom attributes table.
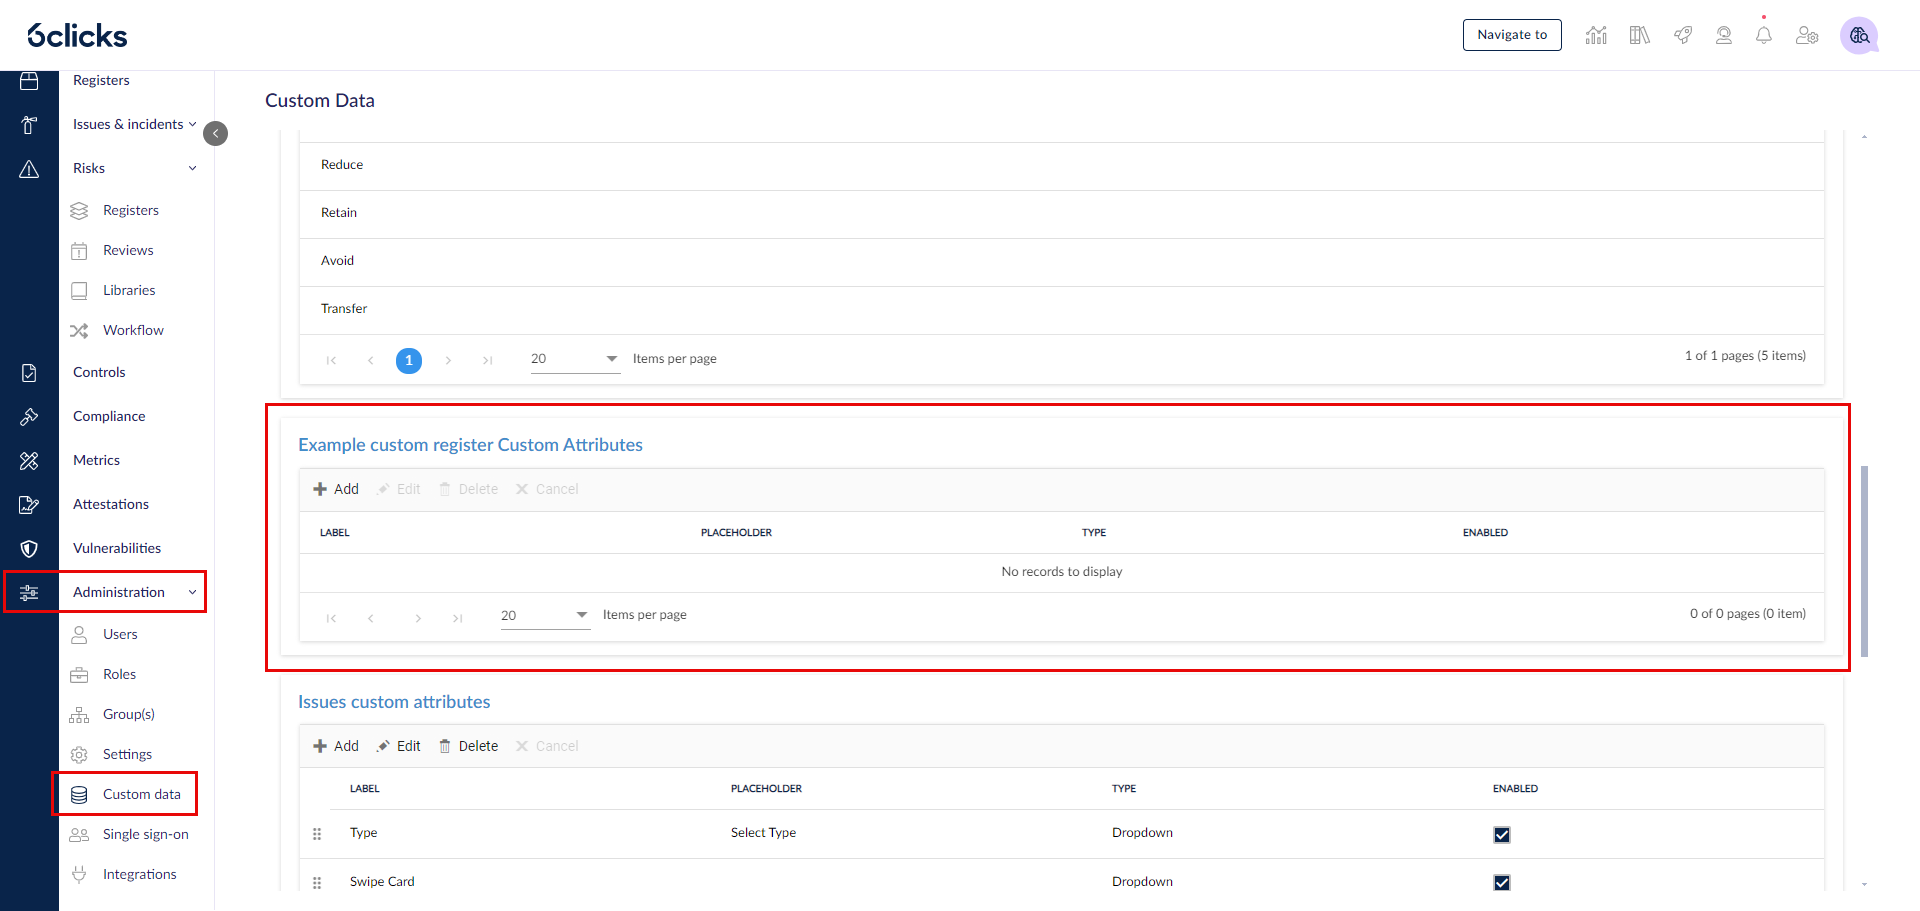
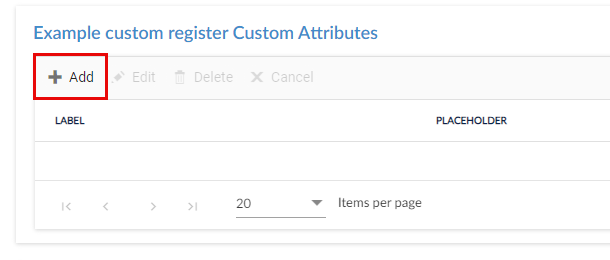
To create a new custom field, click Add.
The following fields will be shown when you create a new custom field:
- Name - the name or title of the custom field
- Placeholder - placeholder text that will display in the custom field when empty
- Type - this can be any of the following:
- Enabled - check the box to display the field to users, e.g. when it's ready to use
Dropdown
A dropdown displays a series of values, from which a user can select one.
To set up a dropdown, enter its name, add the placeholder, select type Dropdown, and check Enabled. Click Save.
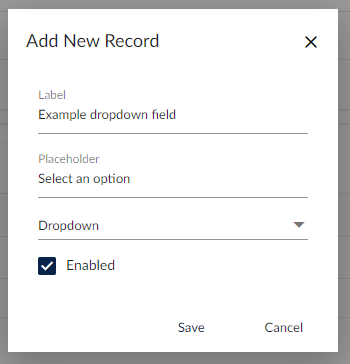
The new custom field will now be in the table.

To add the dropdown values, double-click on the dropdown's name and the Custom Data modal will appear. Here you can add the values of the dropdown.
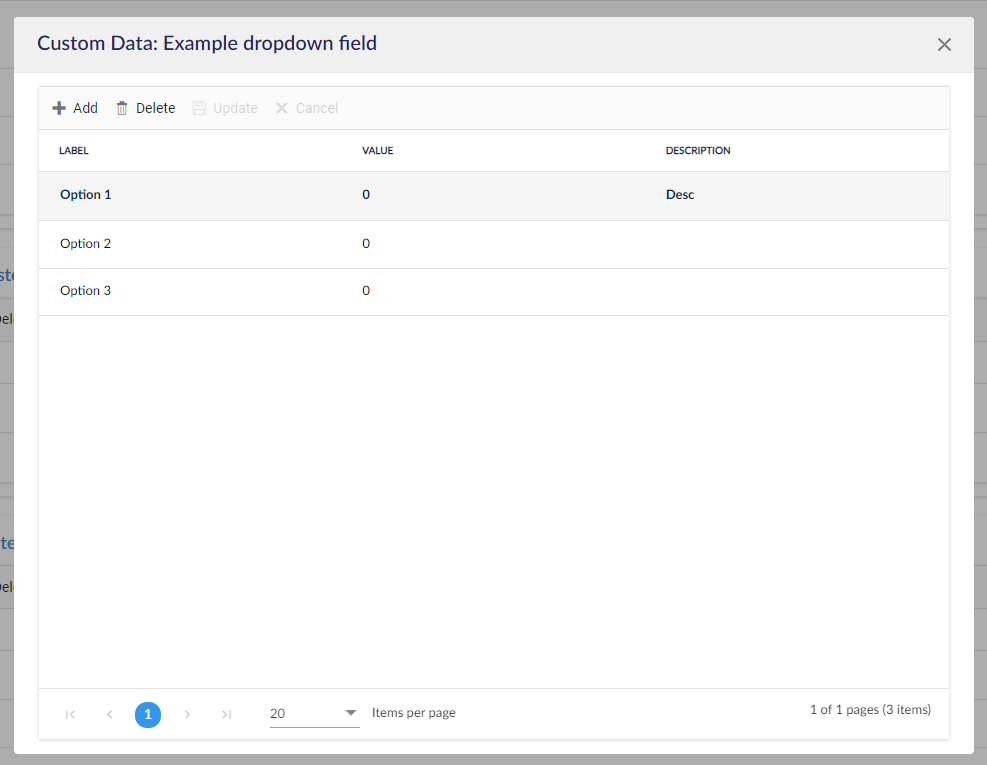
To create a new value, click Add.

A row will appear in the table, where you can add the name of the first option, a value (optional), and a description (optional - this will show as a tooltip when the user hovers over it). Click Update or hit Enter on the keyboard to confirm.
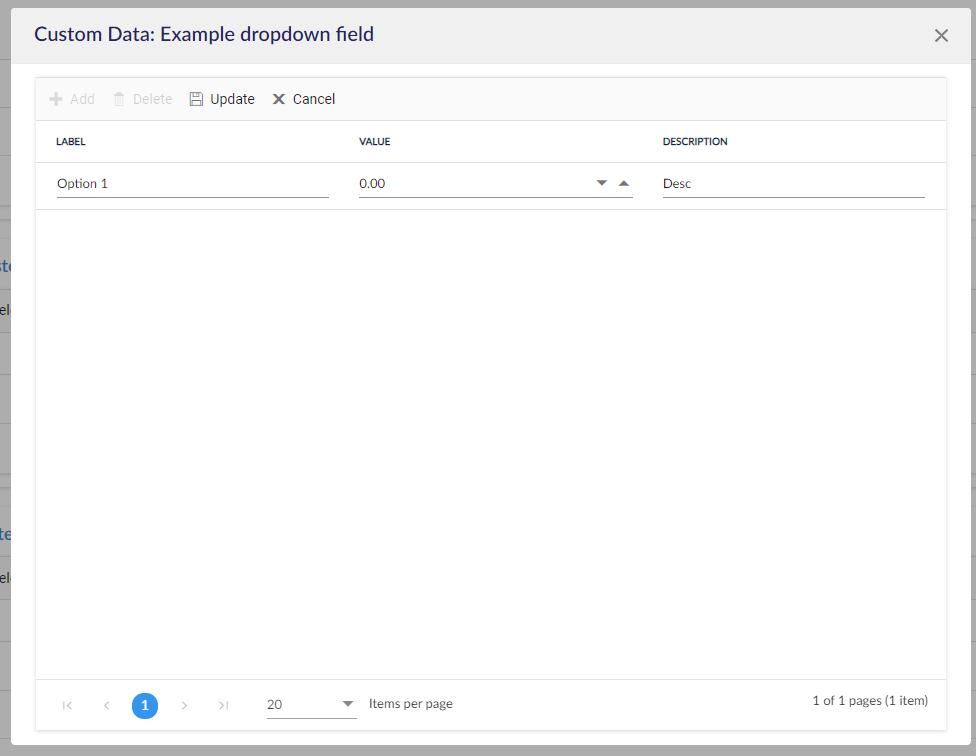
Add as many options as required. You can also delete options by selecting them and hitting Delete. To edit an option, double-click it. To exit, hit the close button on the top right of the modal.
You can find this field available for use in your register records.
Multiselect dropdown
This type of custom field displays a series of values from which a user can select one or multiple. To set it up, enter its name, add an optional placeholder, select type Multiselect Dropdown and check Enabled. Click Save.

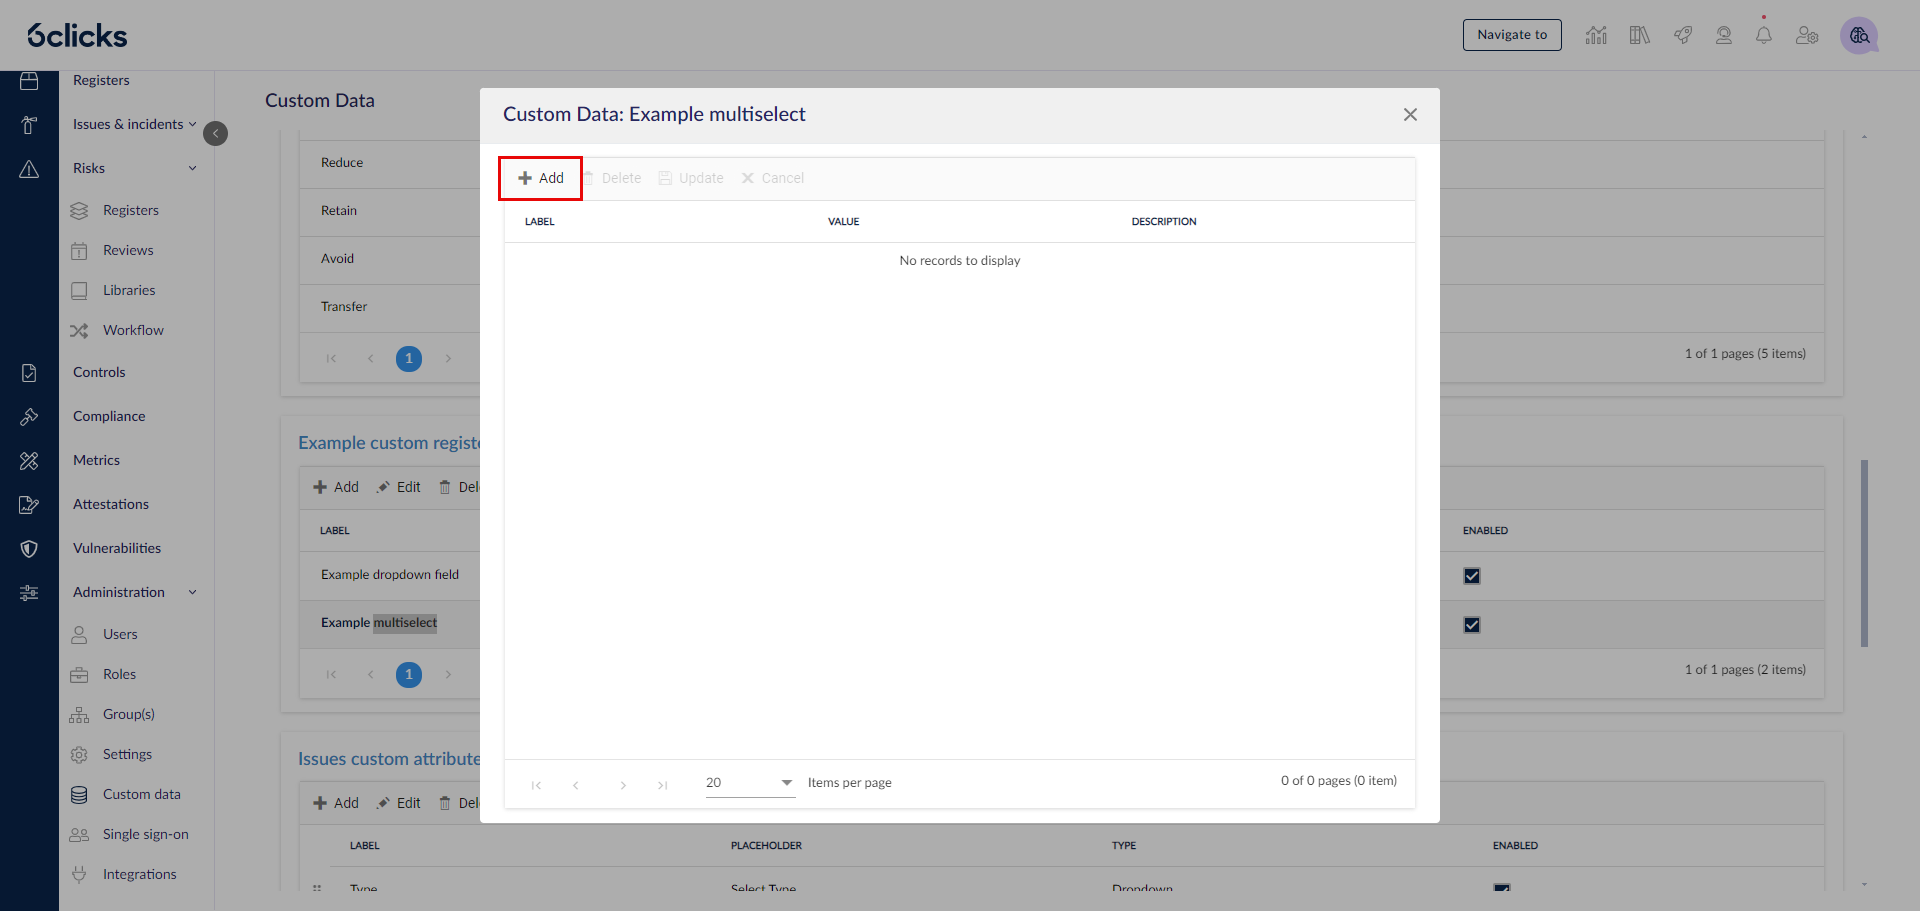
To add values, double-click on the name of the multi-select custom field you have just created. The Custom Data modal will appear. Here you can add values to this field.
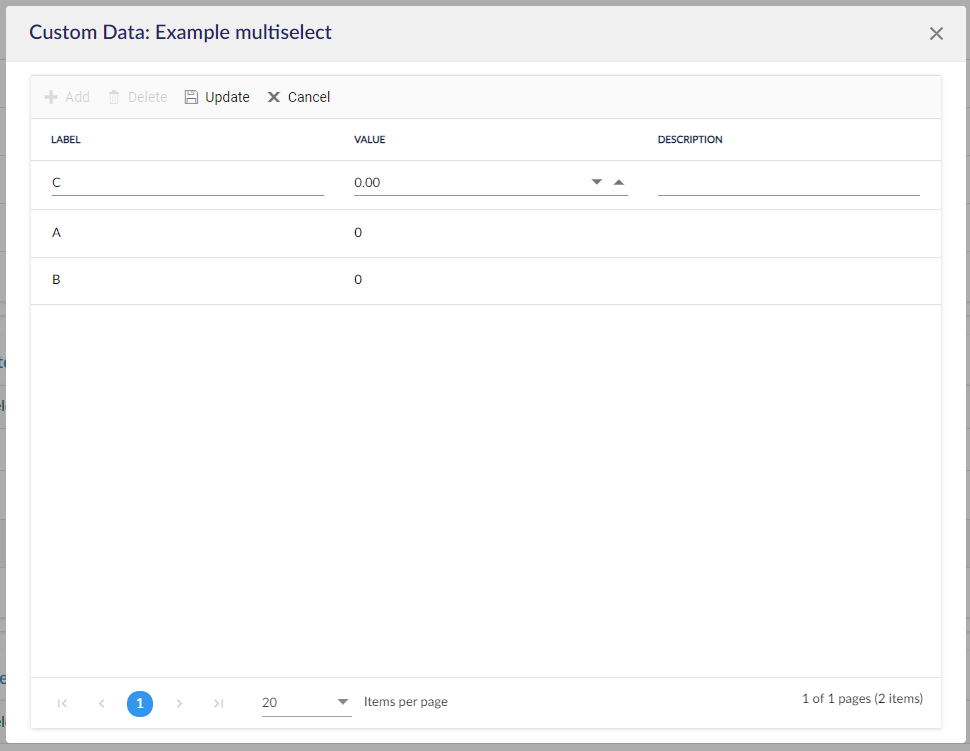
To create a new value, click Add.
A row will appear in the table, where you can add the name of the option, a value (optional), and a description (optional). Click Update or hit enter on the keyboard to confirm.
Add as many options as required. You can also delete options by selecting them and hitting Delete. To edit an option, double-click it. To exit, hit the close button on the top right of the modal.
You can find this field available for use in your register records.
Free text
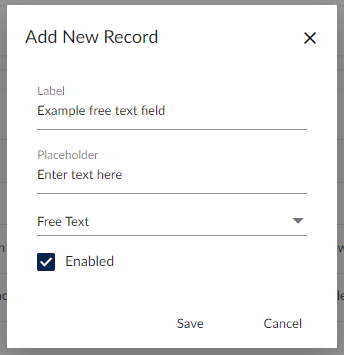
A free text field allows the user to enter plain text into a field. To set up a free text field, enter a name, add an optional placeholder, select type Free Text, and check Enabled. Click Save.
You can find this field available for use in your register records.
Rich text
A rich text custom field allows the user to enter text with formatting into a text box. To set it up, enter its name, add an optional placeholder, select type Rich Text, and check Enabled. Click Save.
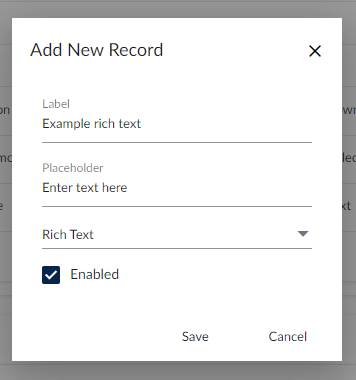
You can find this field available for use in your register records.
Date
A date custom field allows the user to add a date. To set up a date field, enter in its name, add an optional placeholder, select type Date, and check Enabled. Click Save.
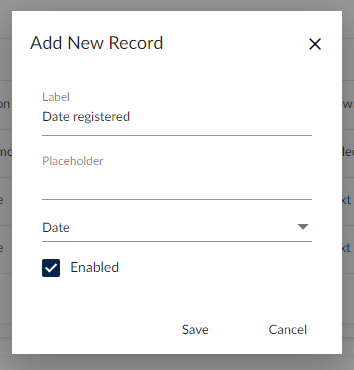
You can find this field available for use in your register records.
Number
A number custom field allows the user to add only numbers. To set this up, enter in its name, add an optional placeholder, select type Number, and check Enabled. Click Save.
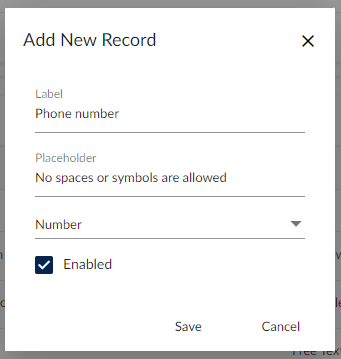
You can find this field available for use in your register records.
User
The User type custom field option for Custom Registers enables administrators to create fields that reference one or more users or user groups, supporting flexible assignment of individuals or teams within the platform. This makes it easy to assign ownership, collaboration, or responsibility directly within register items, creating a stronger connection between data and the people accountable for it.
By linking records to specific users or groups, organizations can better structure workflows, clarify accountability, and improve overall coordination across teams.
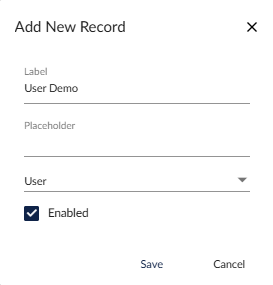
Once saved, the field will be available within register items for that register.
Add as many custom fields as necessary, and they will all be displayed under the default fields if they are enabled.
Working with Custom Fields in Registers
View in the Overview Window
You can display custom fields in the register overview by:
-
Selecting Columns in the Overview Window
-
Locating the field in the list
-
Enabling it using the tick box
Filter by a Custom Field
You can filter register items using custom fields by:
-
Selecting More in the overview window
-
Clicking Add filter
-
Choosing the relevant custom field
-
Where applicable, selecting any additional options or values to refine the filter
Bulk Update Support
Custom fields support bulk updates and can be updated by following the standard bulk update process.
Audit and History Tracking
All entries and changes made to custom fields are automatically tracked and recorded in the History tab of the register item, supporting transparency and auditability.
To learn more about custom registers, head here.