Importing risks into the Risk Registers
Learn to bulk import risks using Excel so you can start addressing them immediately
This article discusses bulk importing risks using an Excel spreadsheet. To learn more about creating risks natively in the Risk Registers, head here.
You can import risks into the Risk Registers so that you can start actioning them straight away, such as assessing them or actioning risk treatment plans. You can also import or add risk templates into Risk Libraries so that you have these risks ready to be added into the Registers if and when you need to combat them.
After importing risks, your next steps may be importing risk assessments against those risks or importing risk treatment plans for those risks.
Table of contents:
Preparing your import template
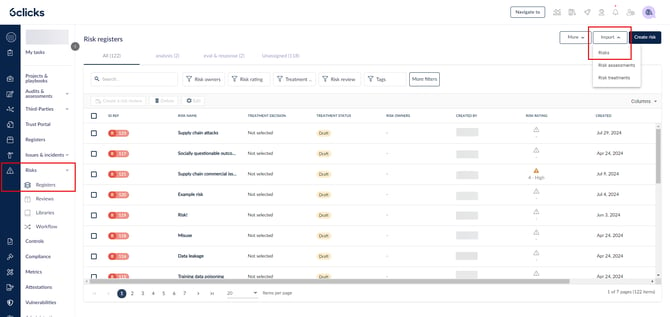
Go to Risks > Registers and click on Import > Risks.
If you don't see this, check your permission.
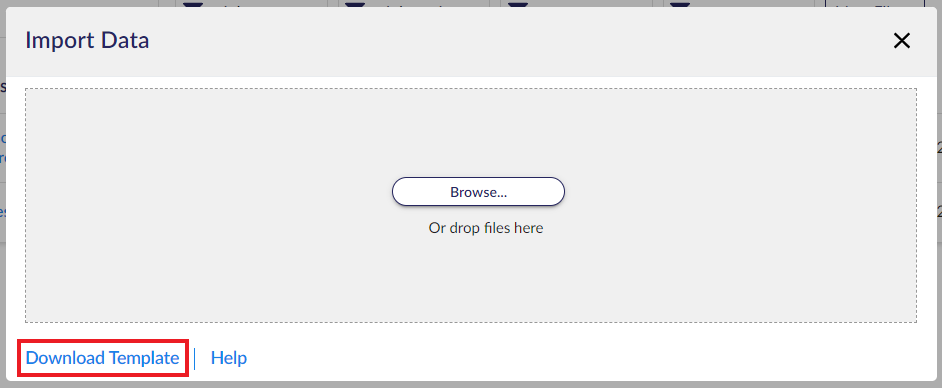
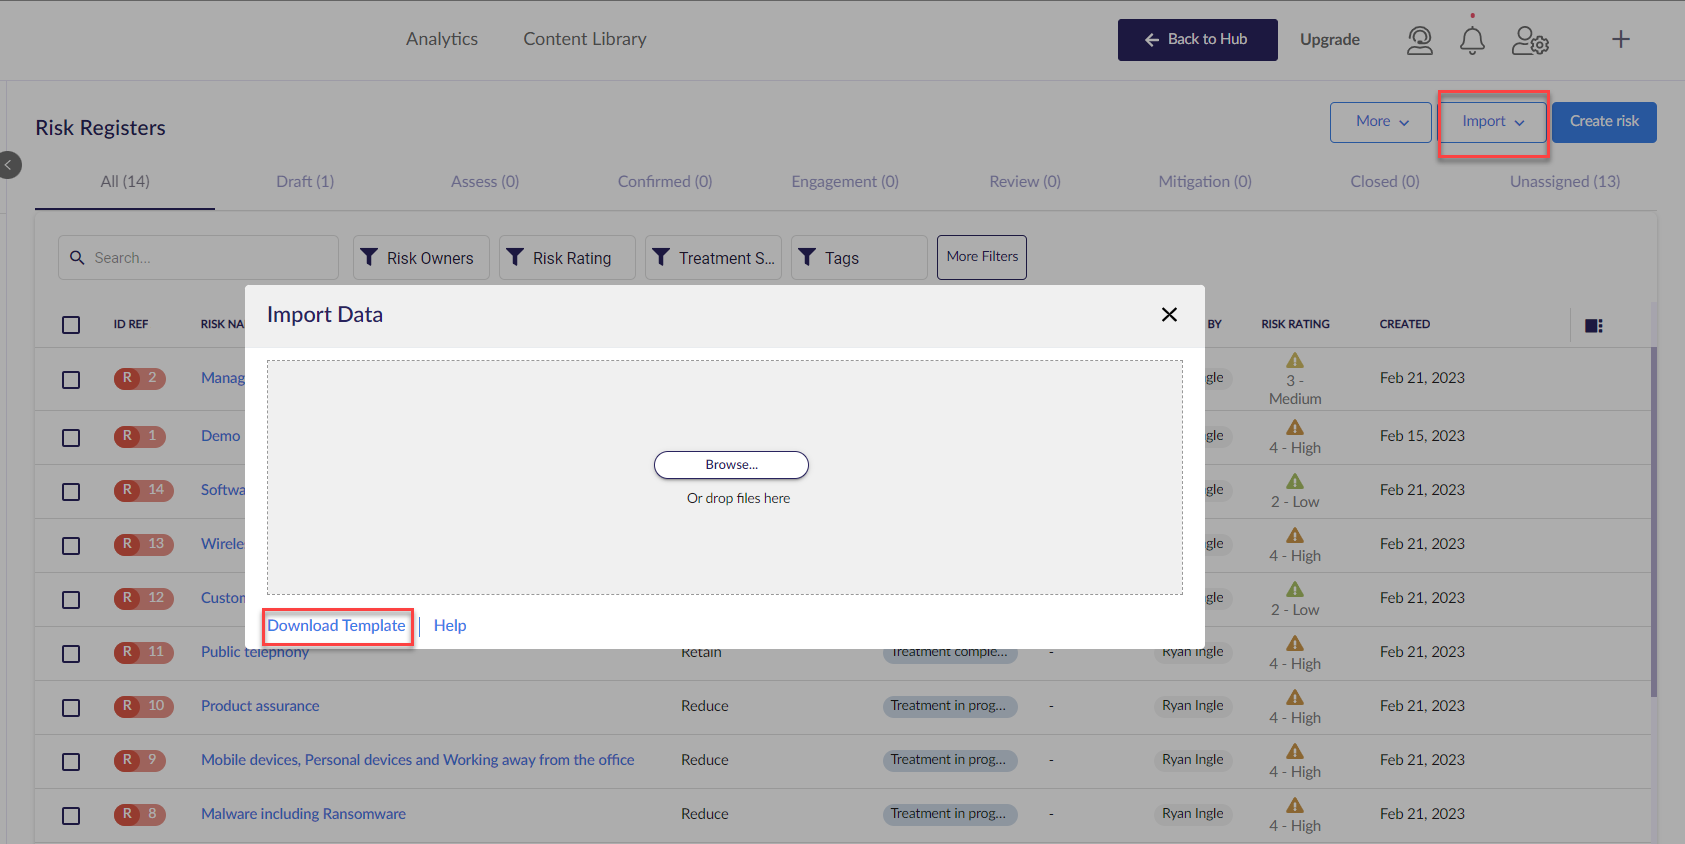
Click on Download Template.
Fill out the template, one line for each risk.
The template is named ImportRisksTemplate and has the below default column headings that correspond with the fields that risks in your registers have, plus any custom fields you may have created.
- Risk Name: This field is mandatory
- Description: Describe the risk
- Risk Owners: Add the email address of an existing user, or the name of a user group. Multiple entries can be made with a separating comma (,). If the user or group does not yet exist, they will be created at import.
- Associated Assets: Link your risk to an asset in the Asset Register by adding the name of the asset in this column.
- Access Members: The users or groups who have access to view and update this risk. Separate multiple entries using commas. Users are added using email addresses, while groups are added with the group name. The user who imports the risk(s) is added as an access member to the asset by default.
- Tags: Add relevant tags; you can add as many as you like using a comma as a separator (e.g. "Tag 1, Tag 2"). Tags are used for categorization and filtering. Learn more here.
- Common Cause: Add relevant common causes; add each common cause to a new line
- Potential Impact: Add relevant potential impacts; add each potential impact to a new line
- Treatment Decision: Use one of the below default values, or use a custom value. (Find and manage your custom decisions values in Administration > Custom data > Treatment decisions.)
- Reduce
- Retain
- Avoid
- Transfer
- Treatment Status: Use one of the below.
- Draft
- Approved
- Treatment in progress
- Treatment paused
- Treatment cancelled
- Treatment completed
- Closed
- Risk Domain: Add the domain of the risk. This will include separate columns for Child and Grandchild Domains if these have been configured. Learn more here.
The below fields will be automatically populated at import.
- Created By: The user who imported the risk
- Created: The date the risk was imported
Custom fields
If you are looking to import data into custom risk fields, these fields need to be configured first. To learn more, head here.
Once custom fields are configured, they will be generated in the import template automatically.
Do not change the formatting of the template or move around the columns.
Ensure that data is entered correctly for custom fields according to the below list.
- Dropdown: enter a selectable option as defined by the field. The text must match identically and is case-sensitive.
- Multiselect Dropdown: enter selectable option(s) as defined by the field, separate multiple option(s) with a comma (,). The text must match identically and is case-sensitive.
- Date: use DD/MM/YYYY and make sure the cell format is text, e.g. 31/07/2024.
- Long Text: enter any text.
- Number: enter number values only, no letters or spaces or special characters.
- User: add the email address of an existing user, or the name of a user group. Separate multiple entries with a comma (,).
Importing risks
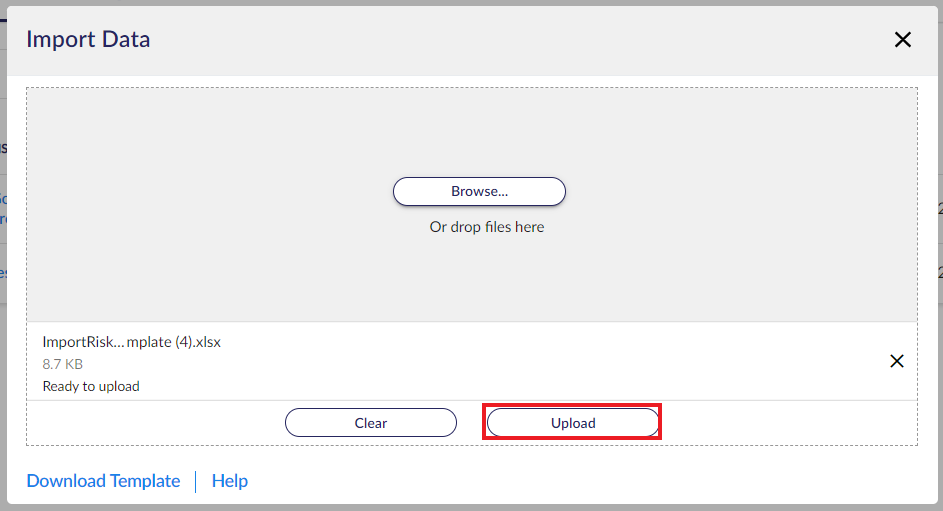
To import your risks, select Import > Risks, then select the Browse button or drag and drop the import file directly. Once the file says 'Ready to upload', select Upload.
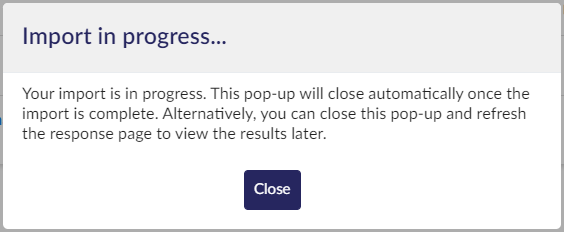
6clicks will notify you via popup once the import has started and once it has completed successfully.
Once completed, you will now see the risks appearing at the top of the register with data from the template.
Your next steps may be importing risk assessments or importing risk treatment plans.
6clicks will notify you if the import is unsuccessful. A popup will display information on the error to allow you to troubleshoot and fix the import template.
In the case of an error, the import is cancelled, and no change is made to the Risk Registers.
Common causes of import errors include:
- Mandatory fields not populated
- Incorrect data detected
- ID Ref not found within the Register (when updating existing risks)
Bulk updating existing risks via import
Existing risks can also be updated in bulk via import; this requires you to manipulate the template.
Instead of using the import template and filling out existing information from scratch, you can bulk export (all fields) and use the output to get started.
Updating existing risks via import requires manipulation of the import template and can lead to import errors or deletion of data if not done correctly.
Use the bulk update functionality within the platform where possible.
- Include a first column to the import template labelled ID Ref. If you use the export (all fields) file, this should already be included.

- When filling out the template, add the Risk ID of the risks that need to be updated in this column.
- Remove any columns that do not need to be updated.
For example, a template with the columns ID Ref, Risk Name, Description will only update the Risk Name and Description. - Add data to the remaining columns.
Do not remove ID Ref and Risk Name columns, or the import will fail with an absent field error.
Leaving a field blank will update the field with a blank value. If this is not the intention, this will result in either an import error (if the field is required) or deletion of data.
Only include a column if you wish to update this field for all risks in the template. Otherwise, copy and paste any existing data you wish to remain the same into the template.
Once the template is completed, import it as you would a regular import template.
Importing comments
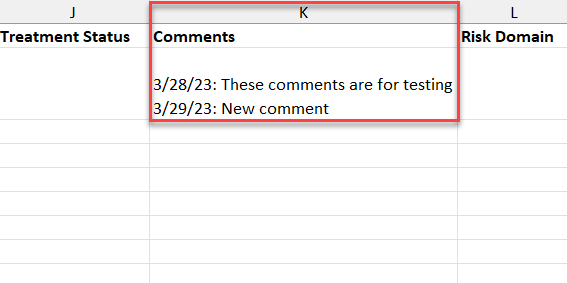
You can import comments along with each risk. Download the template.
Find the Comments column.
You can add existing comments in a single cell only.
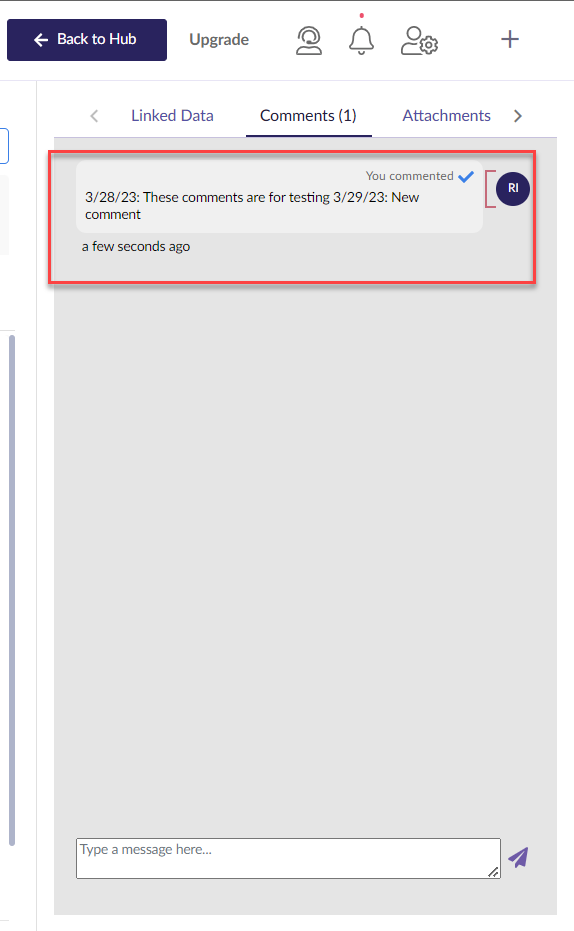
Once you have successfully uploaded the document, you will now be able to see your comments in the Comments tab in the side panel when you click into the risk.
Updating and adding a comment follow the same process.
Workflow Stage at import
By default, there is no workflow stage assigned on import. To import risks with a specific workflow stage, download the template and add a column called Current Stage. This can be done when both creating and updating risks via import.
Add the workflow stage of the risk under the Current Stage column.
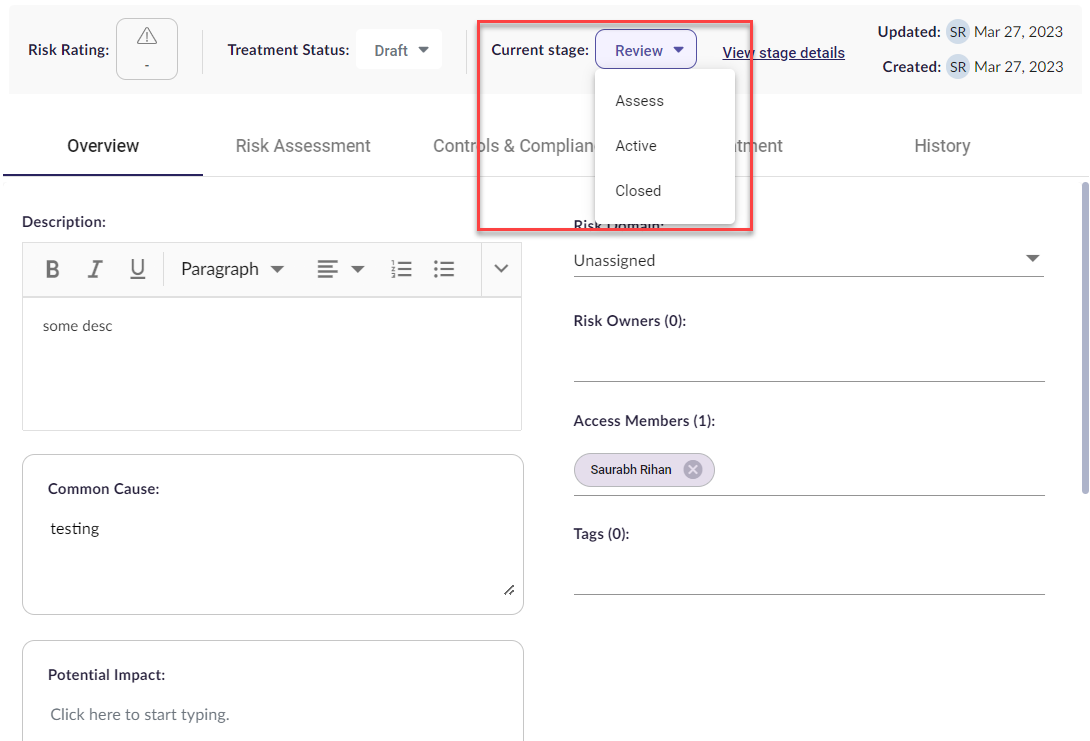
Your workflow stages can be customized. Check what stages your organization has configured by checking the Current stage dropdown in an existing risk. Learn more about risk workflow stage management.
Permission needed
You need the permission Import Risks, Assessments, Treatments to see and use the import function in the Risk Registers.
By default, Administrators and Advisors have this permission on.
Learn more about Creating a risk in the Risk Registers, Assigning Tags to Risks, and Risk Register Reporting.
