Learn about the assets register
The Registers module allows organizations to create and use registers according to their needs.
You can add assets to the assets register, or create your own custom registers for events or items like breaches, gifts, or conflicts of interest.
Table of contents:
- Assets register overview
- Managing the register
- Adding custom fields to the registers
- Adding an item to the register
- Importing items into the register
Assets register overview
Find your assets register by navigating to Registers > Assets.
To learn how to create an asset in the assets register, head here.
The main differences between the assets register and custom registers are:
- The assets register cannot be deleted.
- The assets register has 2 additional default fields, which are:
- Type, which can be edited in Administration > Custom data > Asset Types, and
- Associated Third-Party (or what your Third-Parties are renamed to).
- The assets register comes with 3 custom fields, which you can find in Administration > Custom data > Asset custom attributes. These are Availability, Confidentiality, and Integrity. You can delete or edit them like other custom fields.
Otherwise, the assets register functions similarly to a custom register and you can perform similar actions in them, such as managing custom fields and importing items.
Managing the register
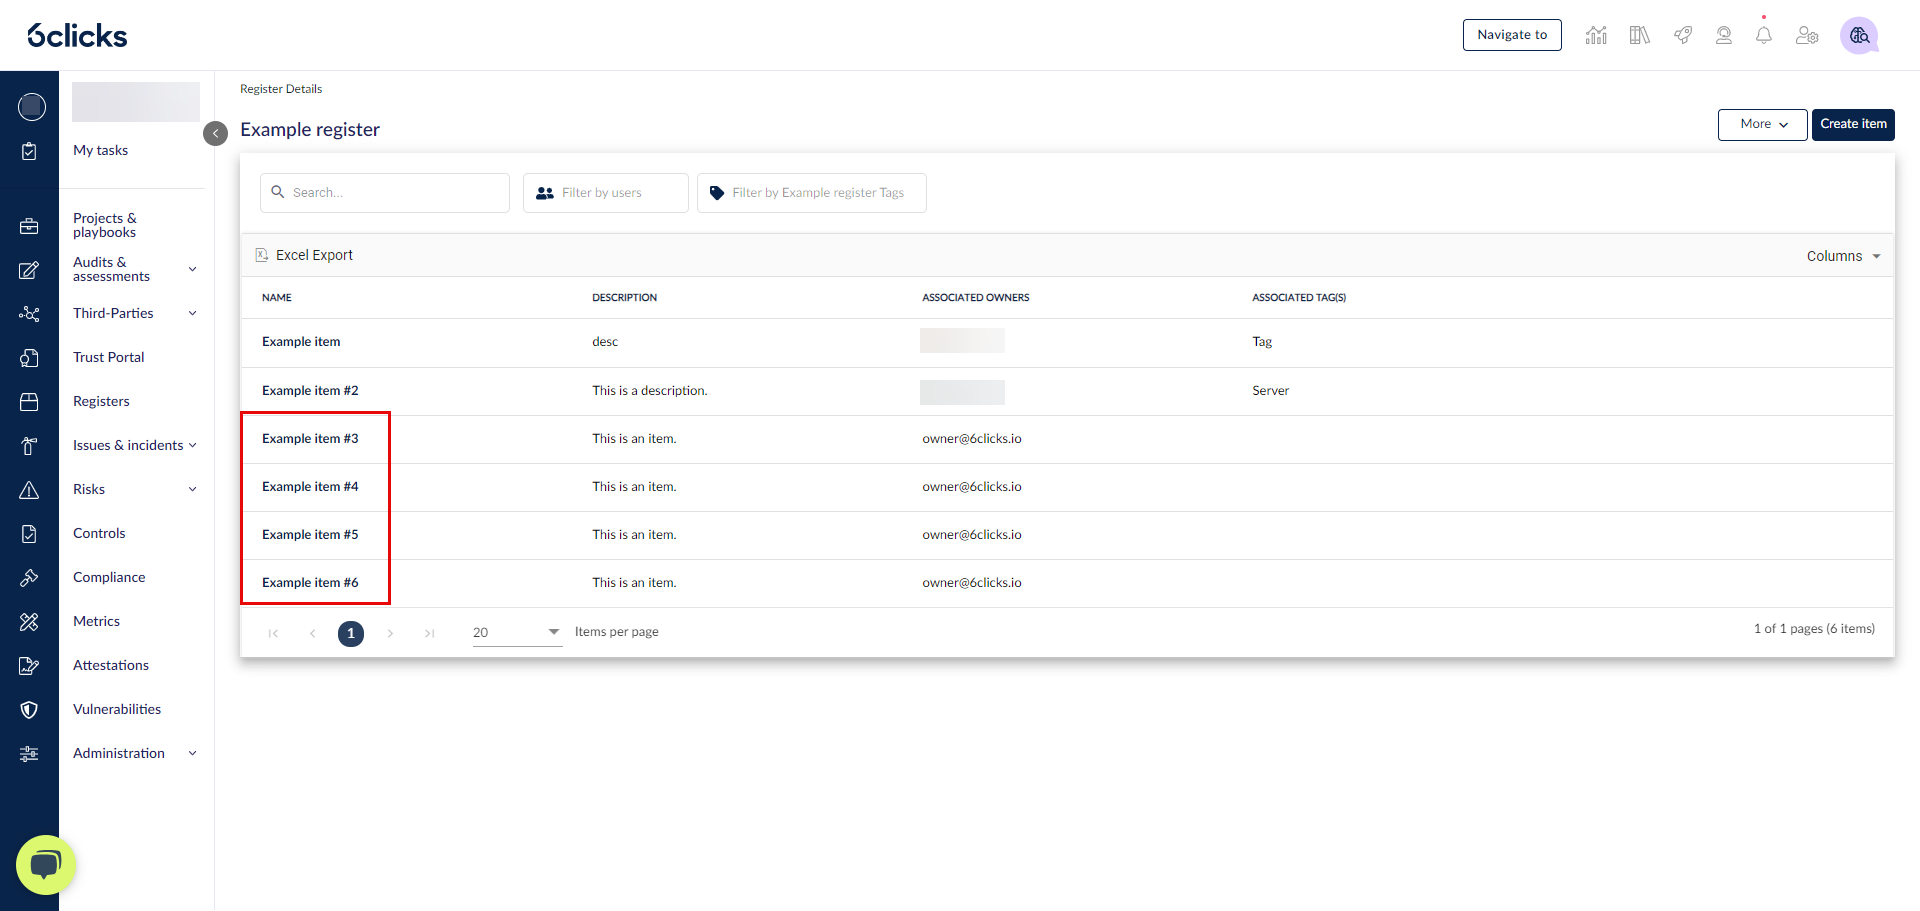
You can use the search bar, Filter by Users, or Filter by Tags to find items in the register. You can also sort by column values by clicking on each column name.
To learn more about managing access to the assets register, head here.
To learn more about managing access to individual assets, head here.
Adding custom fields to the assets register
To learn how to add custom fields to your assets register, head here.
To learn how to bulk import items in your registers when they have custom fields, head here.
Adding an item to the register
To start adding items to the register, click New item. Fill in the fields.
For step-by-step instructions, head here.
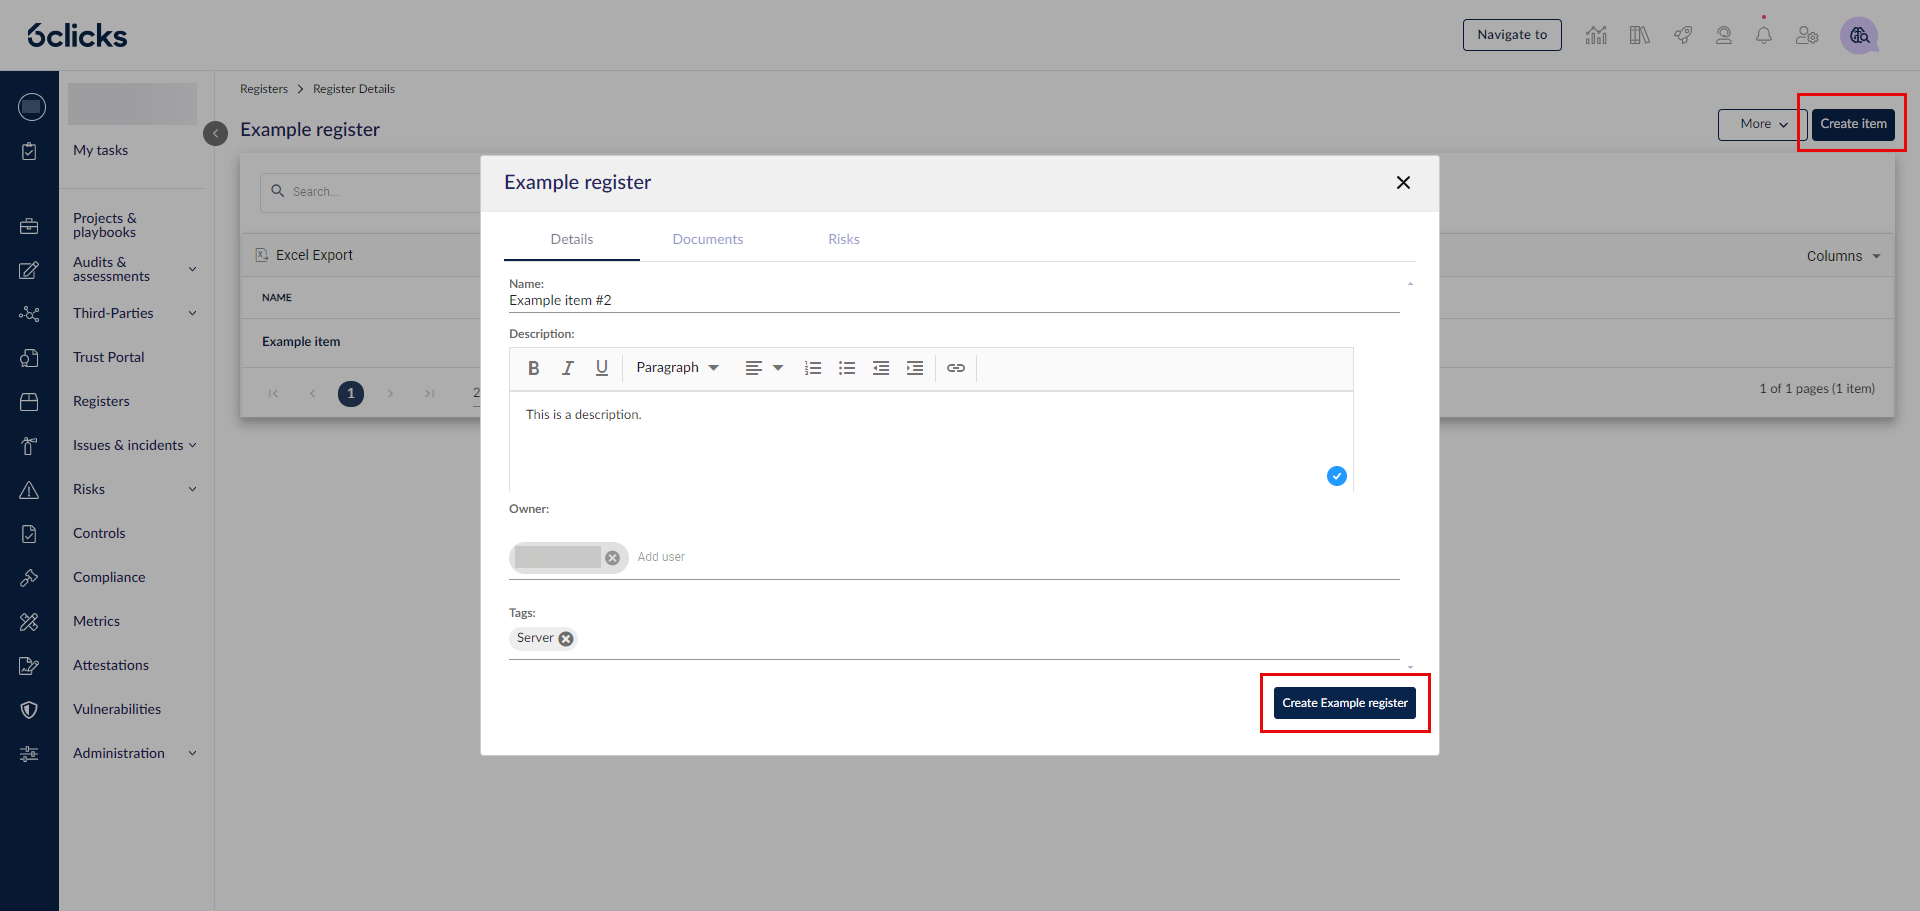
You can also upload necessary documents in the Documents tab.

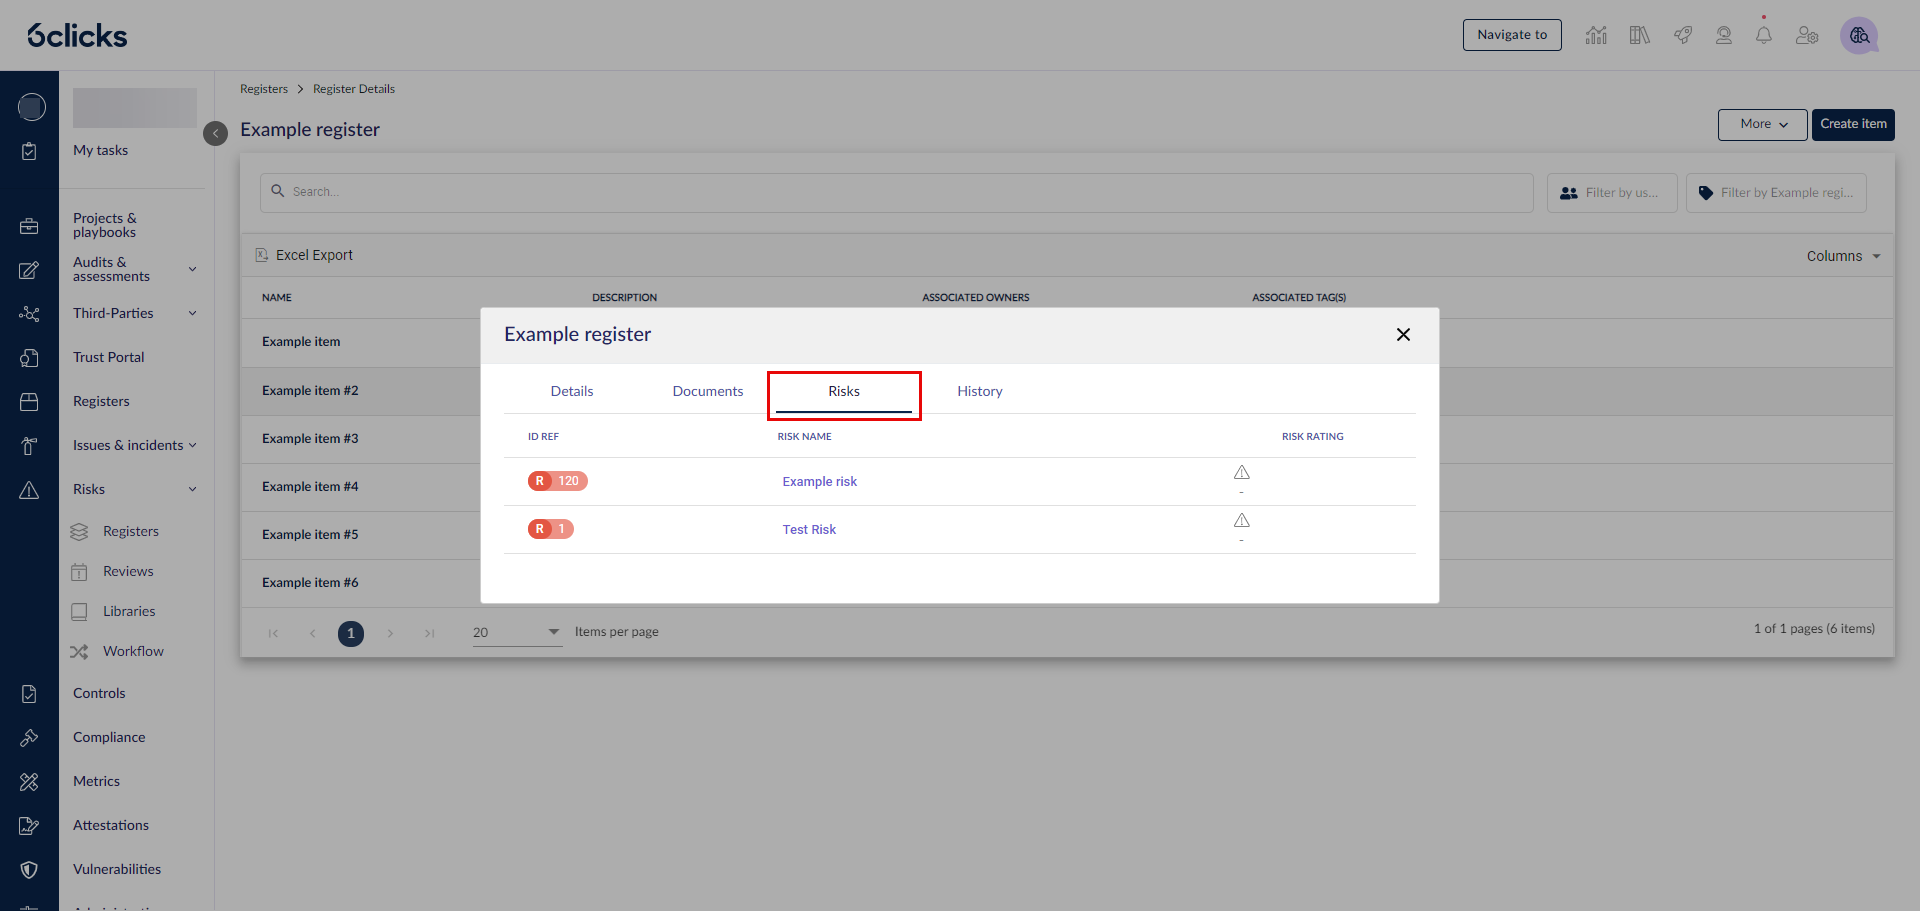
To link items to risks, do so from the risk registers. If any items are linked to a risk, you can see this linkage in its Risks tab.
Importing items into the register
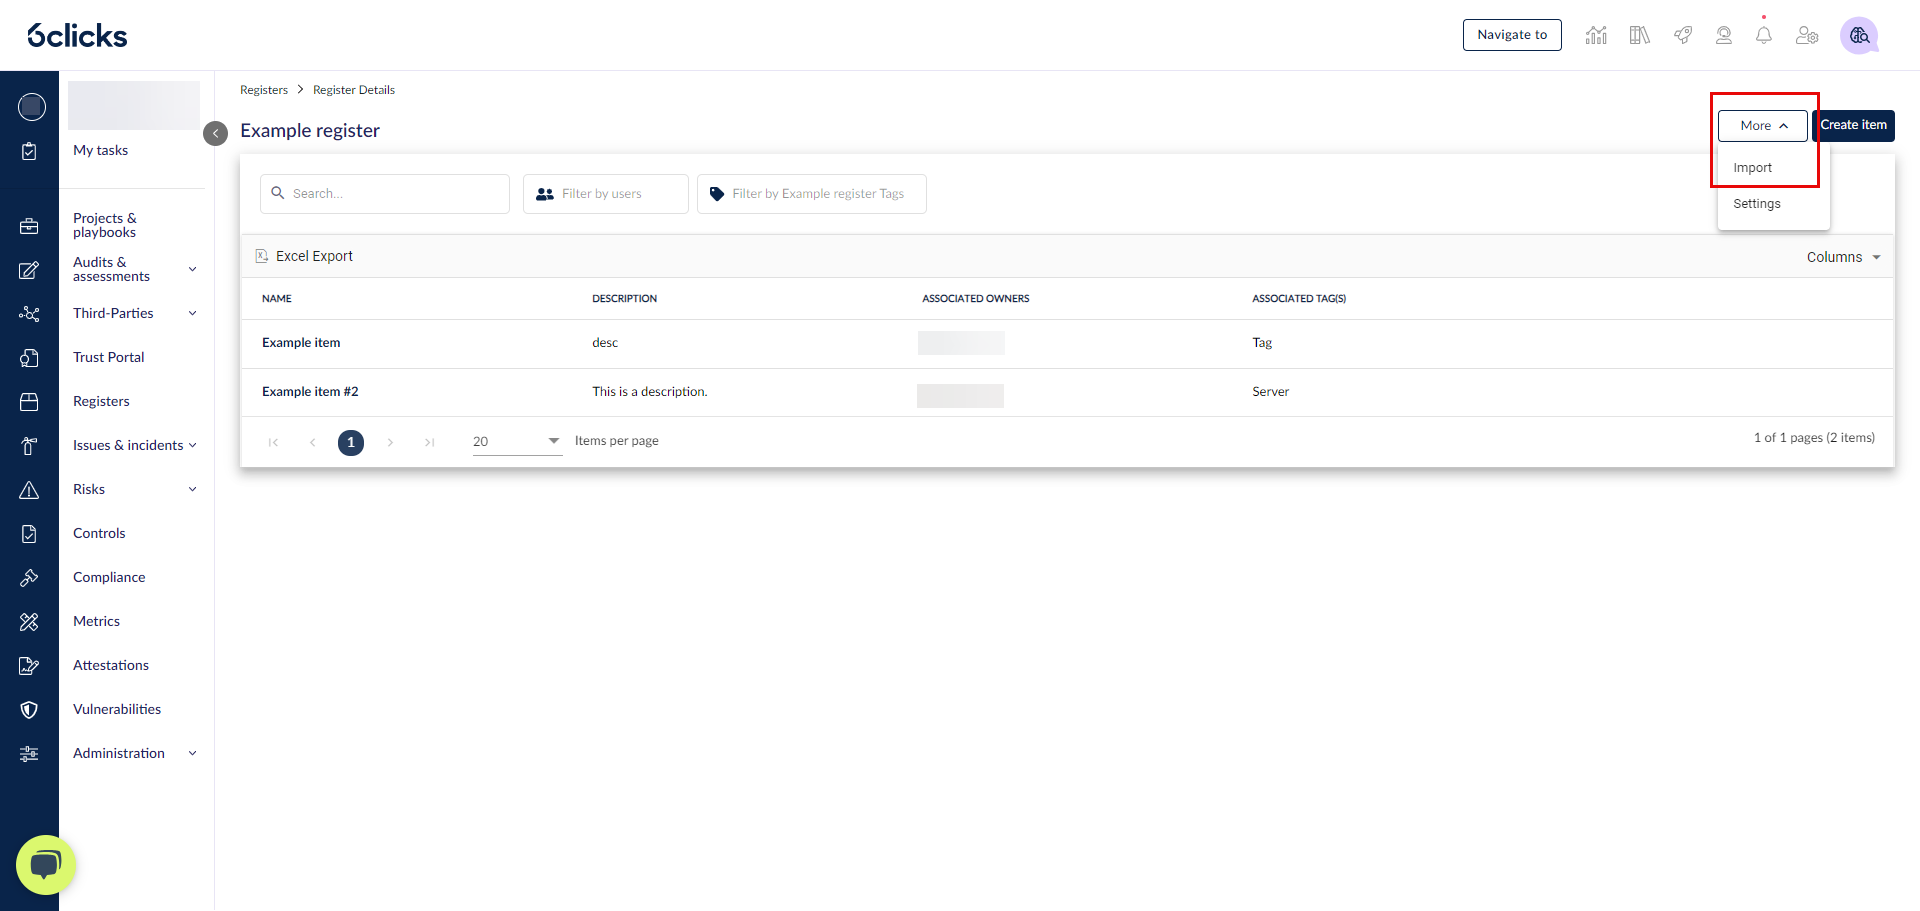
You can bulk import items to the register by clicking More > Import.
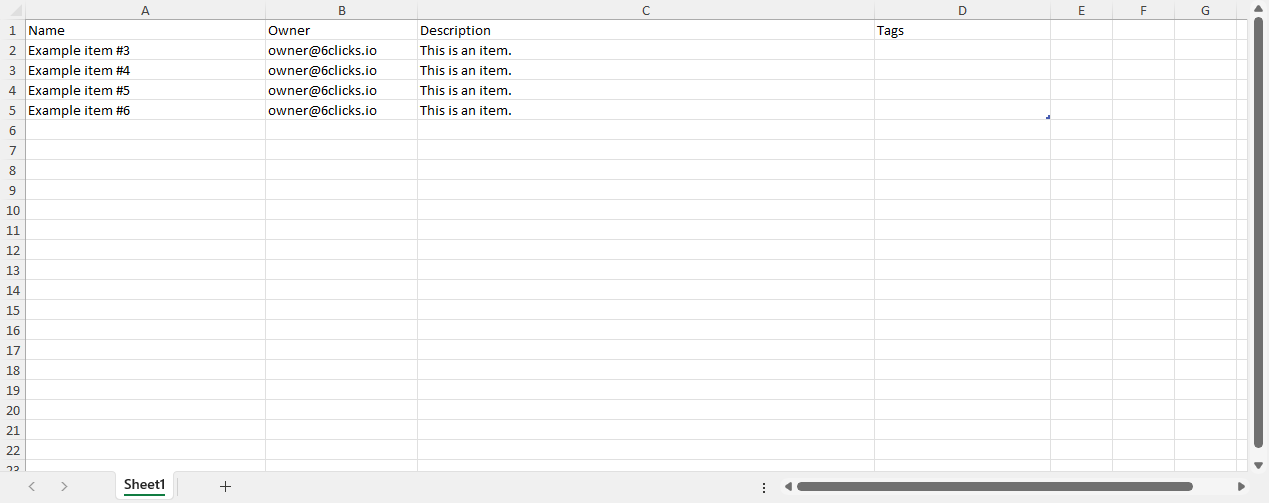
Click Download Template to download an empty template where you can enter the details of each register item.
If you have any custom fields, add them into the spreadsheet as columns, where the name of the field is the title of the column.
- Match the values for dropdown fields to the available options, which you can find in Administration > Custom data.
- The cells for date fields should be in text format and not date format, and in DD/MM/YYYY, e.g. 01/01/2025.
- Ensure your custom field columns come after the default columns.
- The order of the columns should be: Name, Type, Owner, Associated Third-Party, Description, Tags, then custom fields if any.
Once done, go back to More > Import and Upload the populated spreadsheet.
Once uploaded, the register will be populated with the listed items.