
- Knowledge Base Home
- Registers
-
Getting Started
-
Hubs, Partners & Advisors
-
Task Management
-
Projects & Playbooks
-
Question-Based Assessments
-
Requirement-Based Assessments
-
Third-Parties/Vendors
-
Trust Portal
-
Registers
-
Issues & Incidents
-
Risk Management
-
Controls
-
Compliance
-
Reporting & Analytics
-
Attestations
-
Vulnerabilities
-
Administration
-
SSO
-
Integrations
-
Help and Support
Creating an asset in the register
Learn how to create an asset in the Assets Register
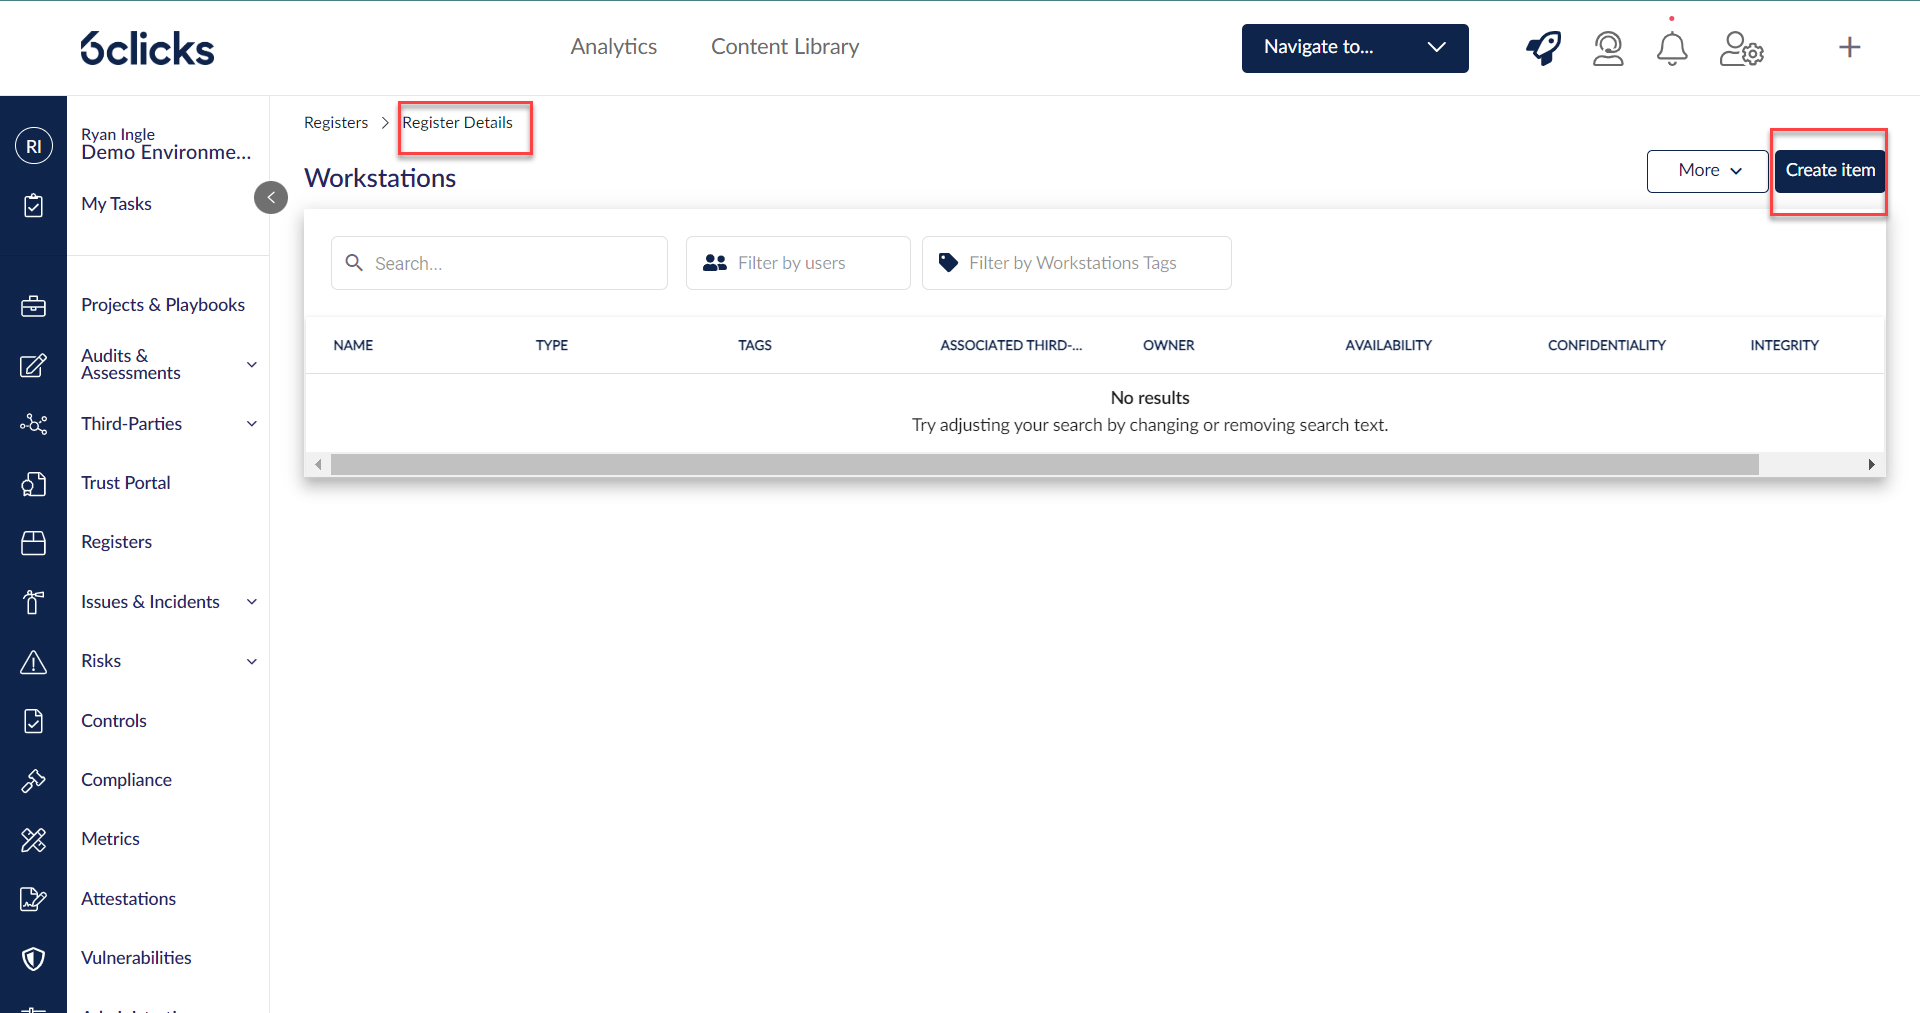
To create an asset, go to Registers > Assets then click Create item on the top right.
Enter the asset details on this screen.
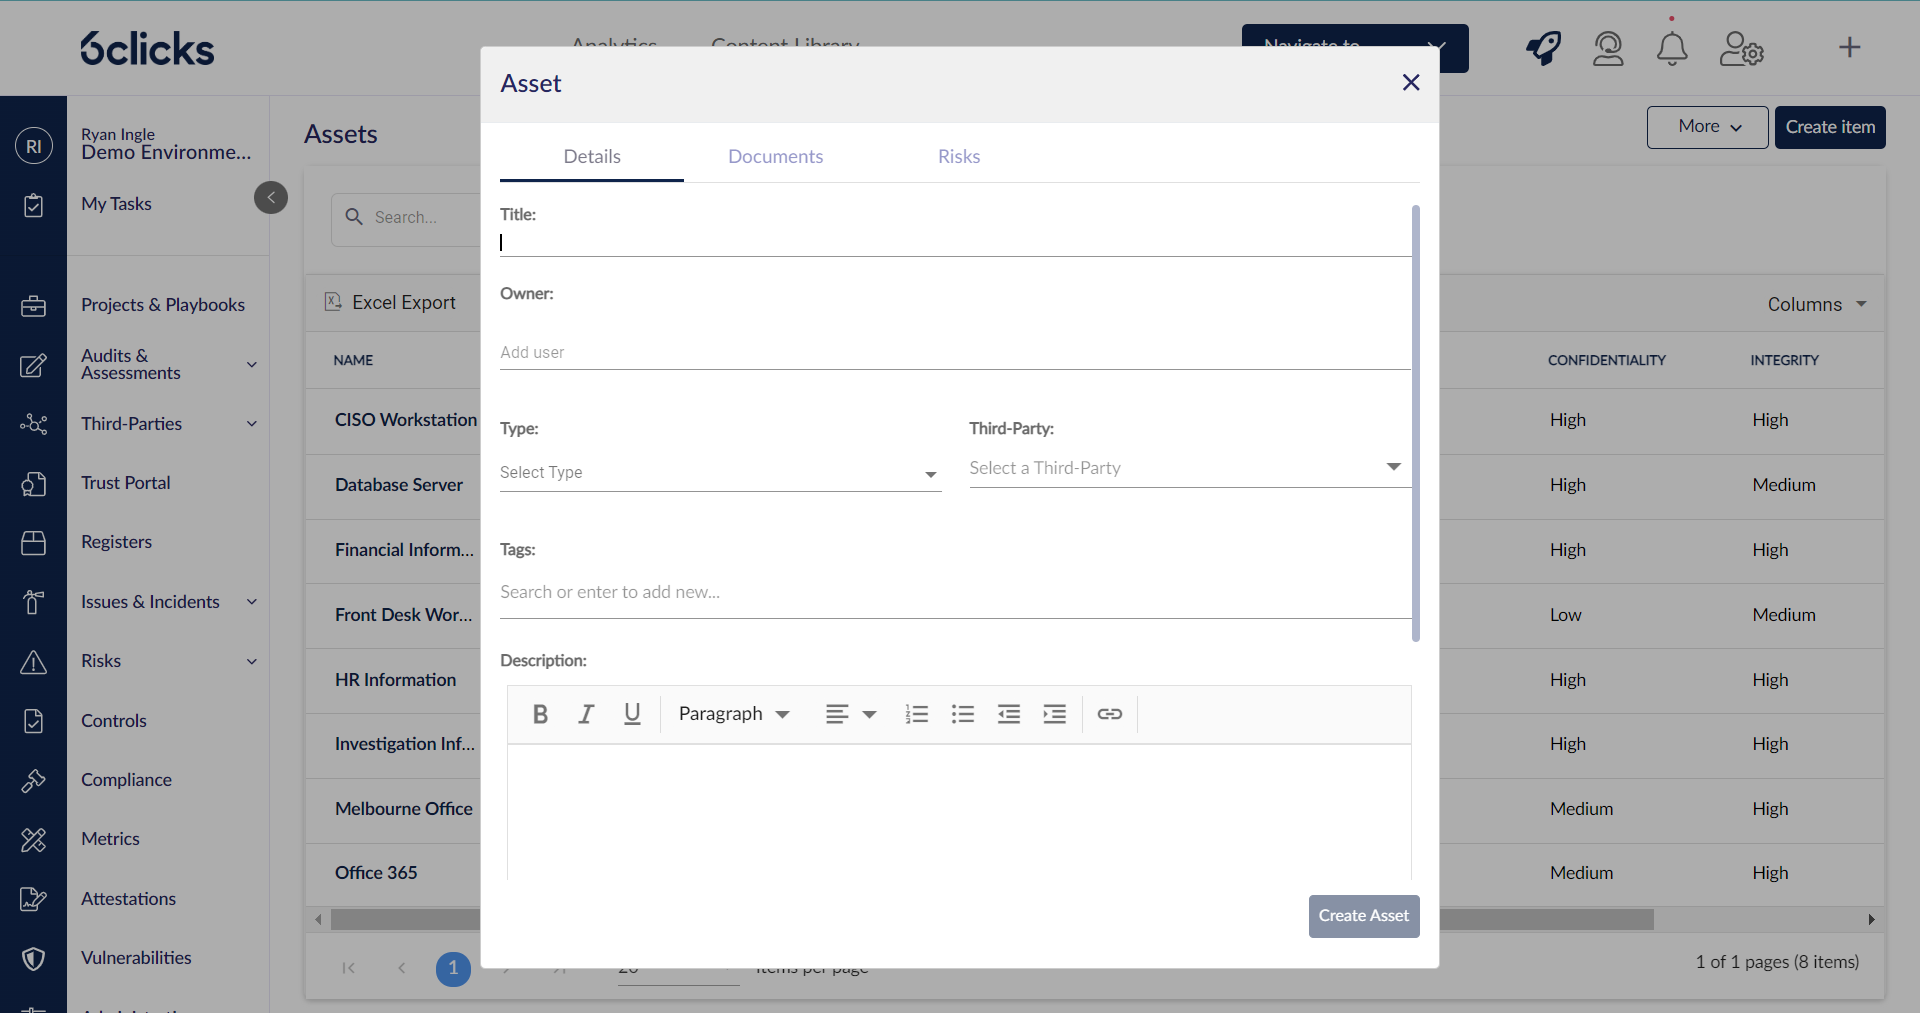
- Title (required) – Enter the name of the asset
- Owner (optional) – Select an owner or enter the email address of the owner
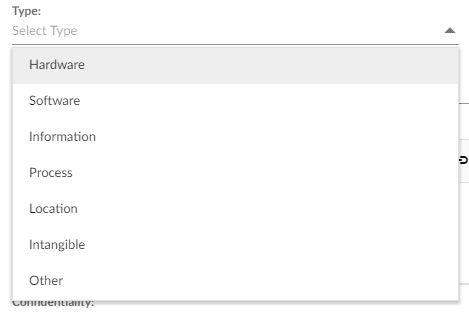
- Type (optional) – Select a type from the dropdown; this list can be edited in Administration > Custom data > Asset Types.
- Third-Party (optional) – Select a Third-Party for the asset, if applicable. Head here to learn about Third-Party management, or here to learn about renaming the Third-Parties module to suit your organization.
- Tags (Optional) – Select a tag from the pre-filled drop-down or enter a new tag, select it and then add the new tag.
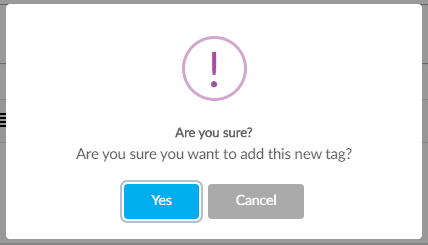
To manage tags, users must have the relevant permission. Refer to this article to find and set the relevant permission, or contact your administrator.
- Description (optional) – Enter a long text description for the Asset.
Any custom fields defined in your Assets Register will also be here.
Host IP and Domain have to be unique for each asset.
Once you have finished detailing the new Asset, click Create item. The asset should then appear in the Assets Register.
To learn more about the assets register, head here.