Custom fields for risk registers
Learn how to create, manage, and use custom fields in the risk registers
Table of contents
Managing custom fields for risk registers
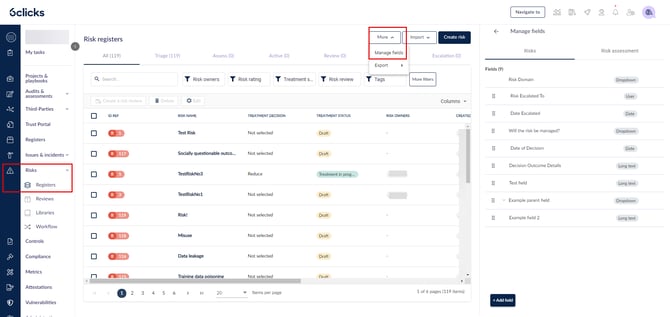
Click on Risks > Registers, then More > Manage fields.
You need to be an Administrator to see the Manage fields option.
You can modify spoke-managed custom fields in the Manage fields side panel menu.
If you are unable to edit a field here, that means the field is managed at the Hub level.
To learn more about hub-managed risk custom fields, head here.
You can drag and drop the 6 dots on the left to rearrange their order as they appear in the risk overview, or click on the three dots on the right to Edit, Delete and Enable/Disable a field.
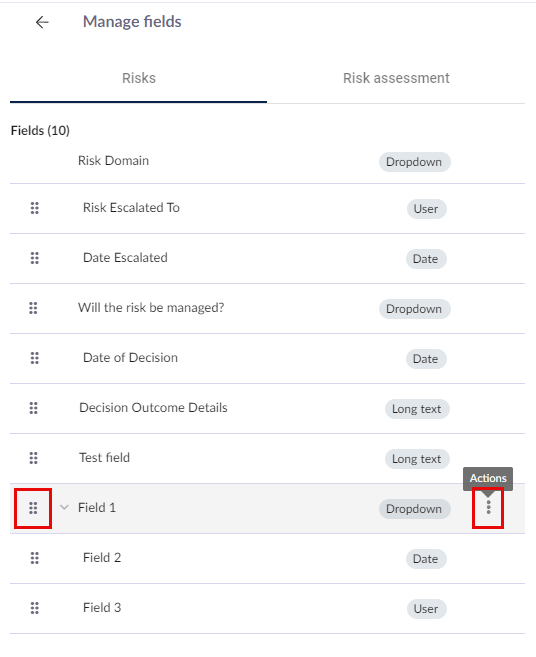
Every field is considered a Parent, which can have child/grandchild fields with their own options.
If a parent is disabled, all its child/grandchild fiends will be disabled.
To add a new field, click on the + Add Field button.
Enter the new field name, then its details, and hit Save.
You can still edit your field name on the details screen by double-clicking it.
Risk Admins can manage and edit custom fields even when those fields are used as entry or exit requirements within a Risk workflow. The application supports updating custom fields regardless of their use in workflow criteria and automatically handles any related cascading changes. This ensures that workflows remain consistent and functional without requiring manual reconfiguration when changes are made to custom fields.
Bulk adding response options
Single-level fields
When creating a custom multiselect or dropdown field, you can bulk add answer options.
To do this, Click the Bulk answers button when creating/editing the custom field.
In the Add answer option field, enter your answer options, with each answer option on a separate line. Once you have entered your response options, click Save answer options.
The answer options will be displayed in their respective answer option fields. Click Save to complete the custom field setup.
The custom field has now been successfully created and available in all risks.
Parent-child fields
When creating a custom multi-select or dropdown field with child fields and even grandchild fields, you can bulk add response options for parent, child, and grandchild custom fields all at once. To do this, first create the parent, child and/or grandchild fields without adding any answer options (keep the answer option field blank).
When creating child and grandchild fields, the warning indicates the parent field does not have any answer options. That's ok because we are defining the parent, child and grandchild structure first, then we will bulk add answer options. Click Save to continue.
Once the field structure has been defined, click Edit in the dropdown menu of the parent field.
Next, click Bulk answers.

When bulk adding, you will need to define answers for all the field answers, which in this example is:
- Parent field
- First-level or parent field answer options are defined by adding text directly to the line.
- Child field
- Second-level or child field answer options are added under parent field answer options, with '- ' appended to the front of the answer option (note the space after the dash).
- Grandchild field
- Third-level or grandchild field answer options are added under child field answer options with '-- ' appended to the front of the answer option (note the space after the dash).
Answer options are delineated by hitting enter on the keyboard (new line/carriage return).
Once done, click Save answer options.
After saving, you will see the answer options added to the parent field.
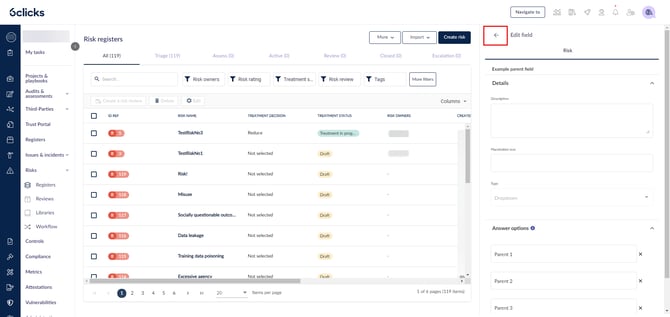
Click the back button at the top to return to the Manage fields screen in the side panel.
If you go to edit either the child or grandchild fields, you can see the answer options have been added.
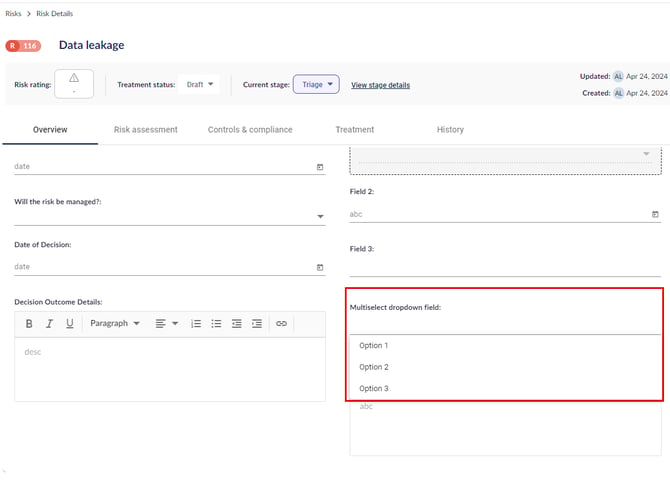
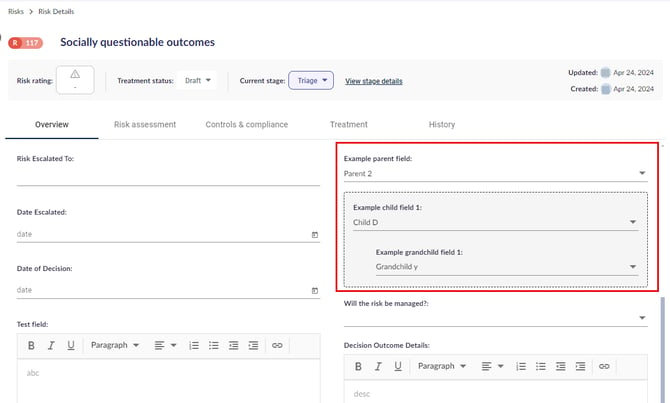
The fields and answer options will also appear in the overview of every risk to be used.
