Learn to create and manage issues on the 6clicks Issues & Incidents Registers
Table of contents:
How to create issues & incidents
Issues & incidents can be added to the registers using the below methods.
- Manually created in the Issues & Incidents module
- Import using Excel
- Issue Submission Forms
- Create issues while responding to Requirement-Based Assessments (RBA)
- Automation based on Question-Based Assessment (QBA) results
- Automation based on Requirement-Based Assessments (RBA)
Creating a standalone issue in the Issues & Incidents module
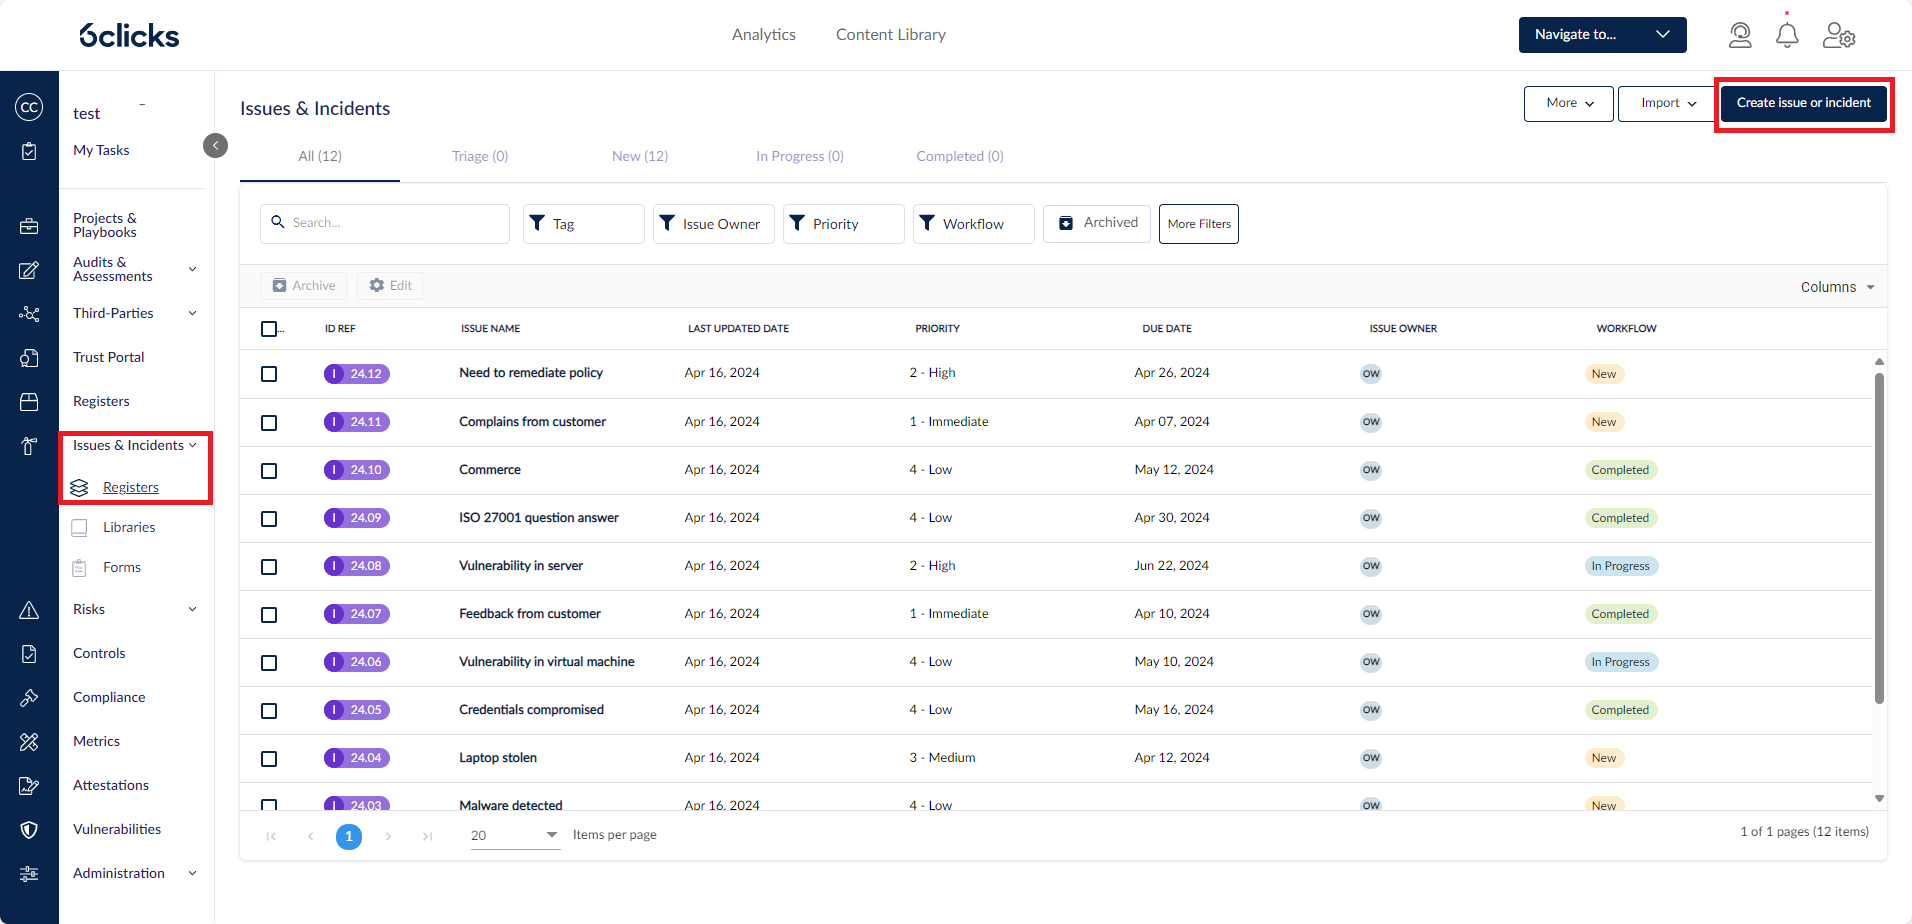
To create a standalone record, select Issues & incidents > Registers. This will open the Issue Registers table, which displays a list of issues and incidents recorded by your organization.
Click Create Issue or Incident to record a new issue.
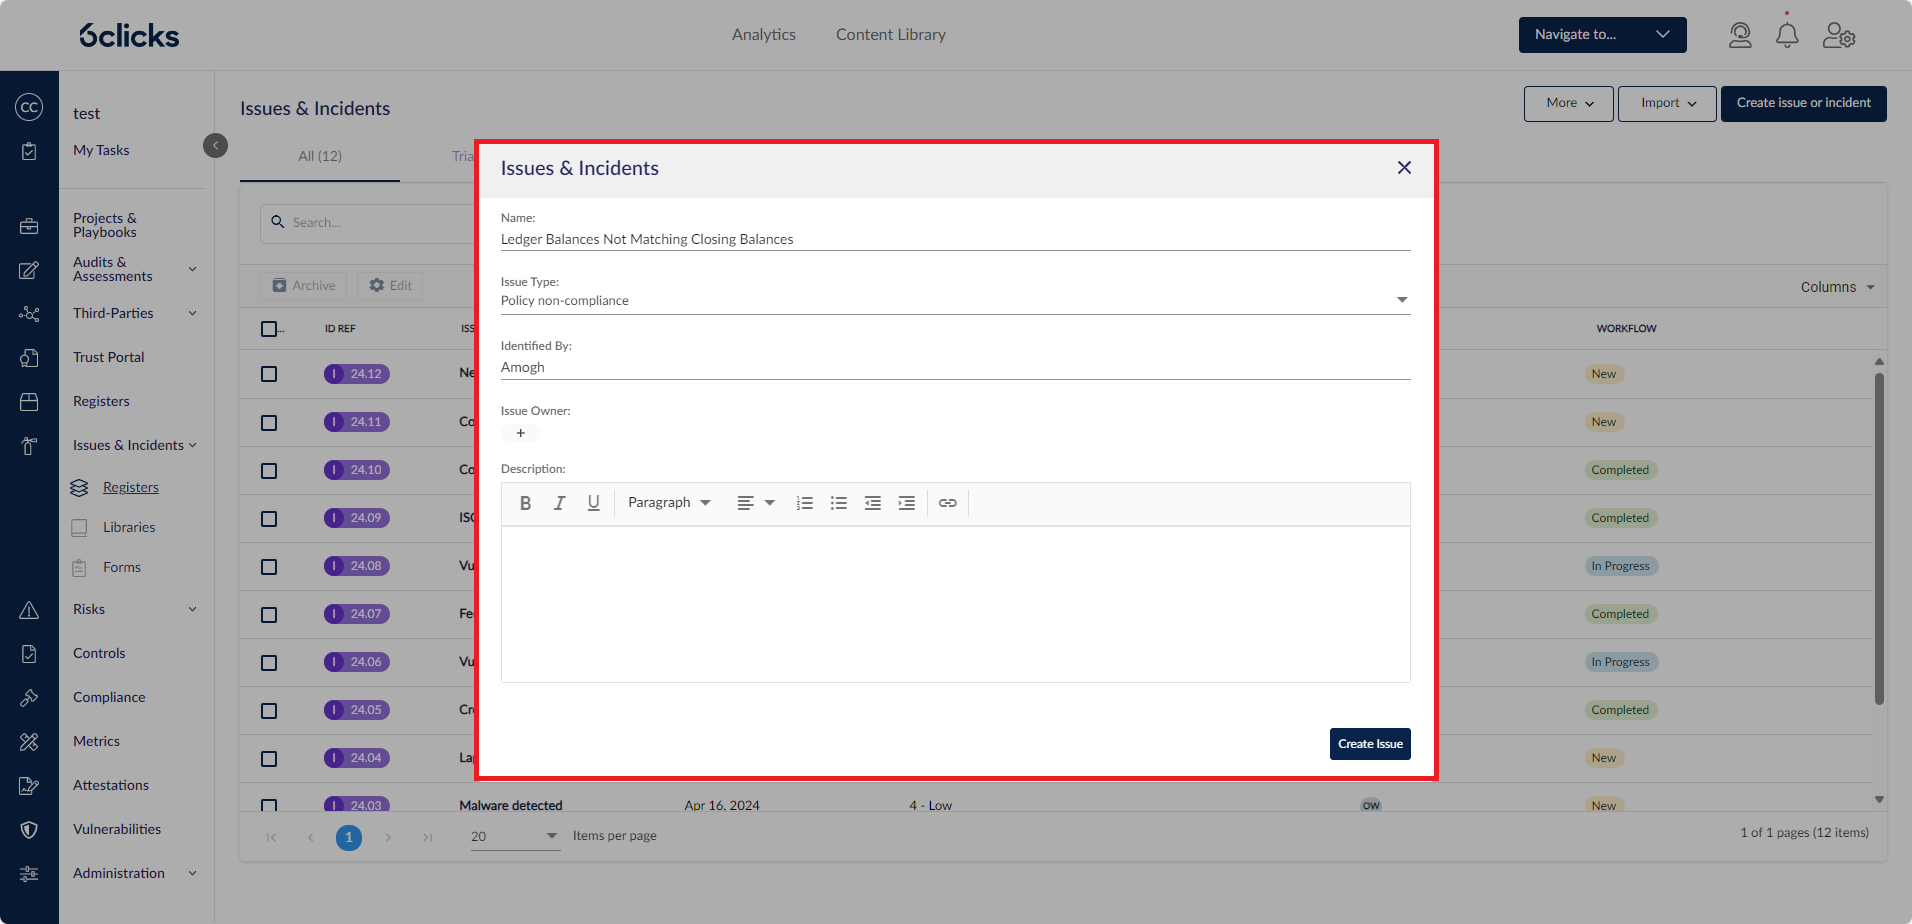
The Issues & Incidents modal will open. Enter a Name for the issue, choose the Issue Type from the drop-down list, add a Description, and then click Create Issue.
Issue Type can be edited in Administration > Custom Data > Issues Custom Attributes. Learn more about setting up custom attributes.
The newly created issue will then open.
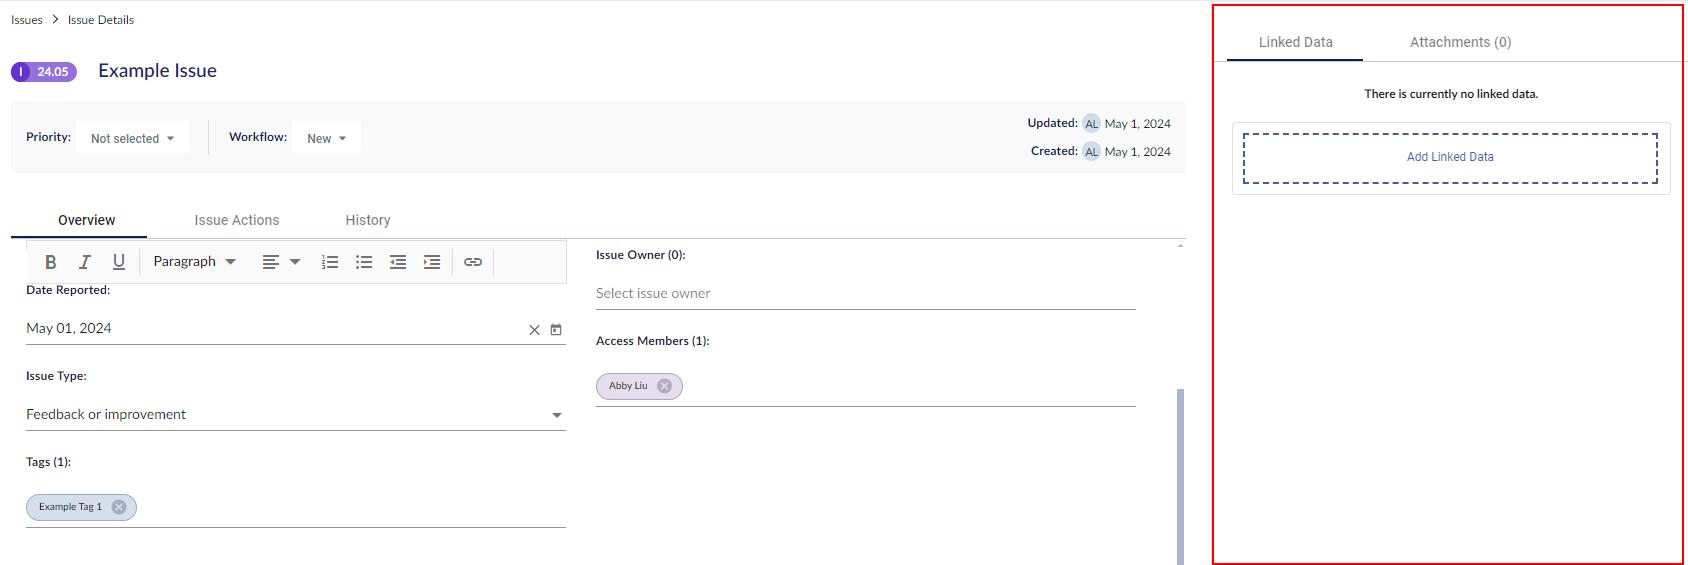
The Issue Details modal has 3 tabs: Overview, Issue Actions, and History.
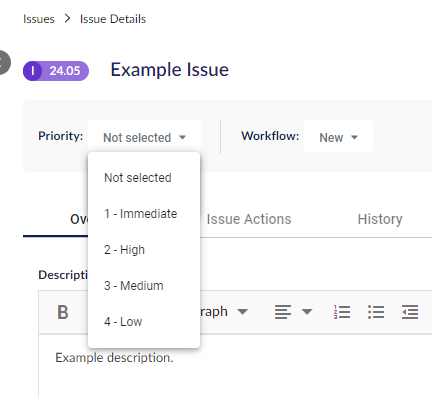
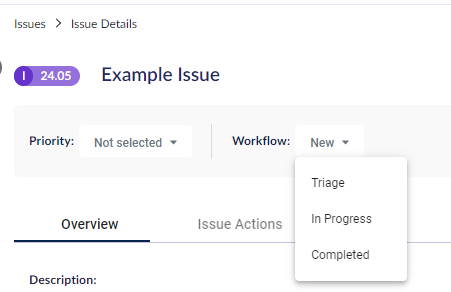
From top to bottom, the Overview tab outlines the details of the issue, including the Priority level and Workflow stage (1), default fields (2), and any custom fields (3).
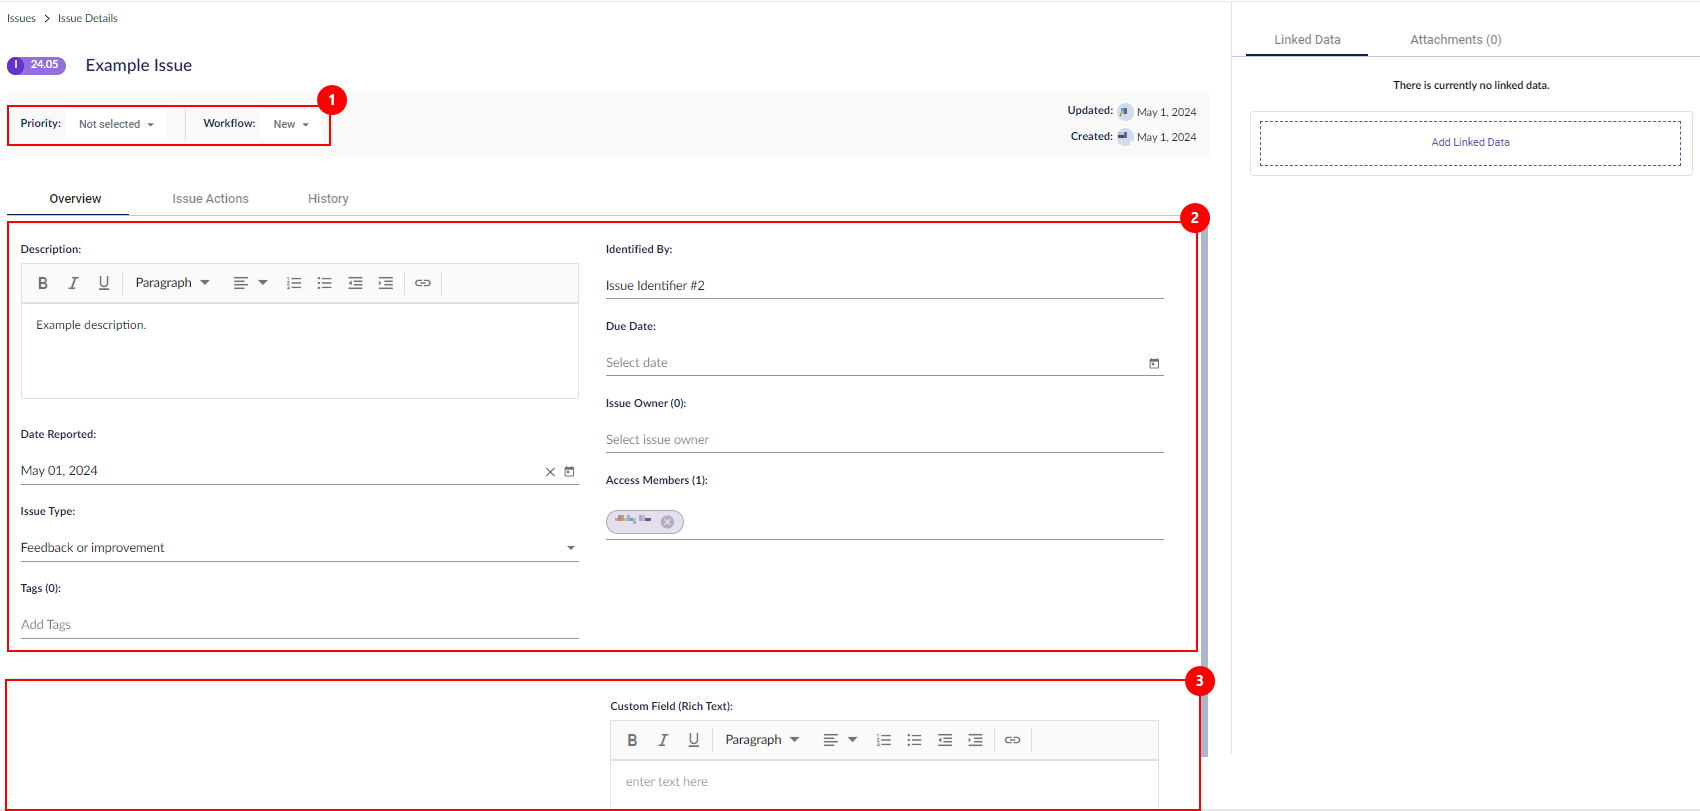
Change the Priority level and Workflow stage by selecting from their respective dropdown lists.
Under the Overview tab, you can add more details. The default fields are:
- Description: This is a free-form text field
- Date Reported
- Issue Type
- Identified By: This is a free-form text field
- Due Date
- Tags
- Issue Owner(s)
- Assigned Member(s)
An owner is the party whose jurisdiction the issue falls under from the governance perspective, while an assigned member is the party who is responsible for mitigating the issue. Learn more about the difference between record owners and assigned members.
To learn more about custom fields for issues, head here.
Create action tasks and assign them to users in the Issue Actions tab. Learn how to create actions.
Linking data to issues
The Linked Data tab allows complete connectivity across records within the platform. It is located on the right-side panel.
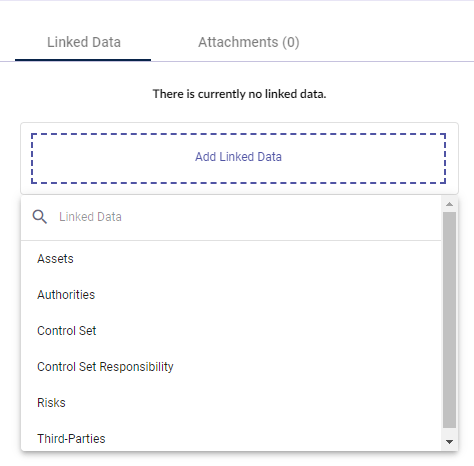
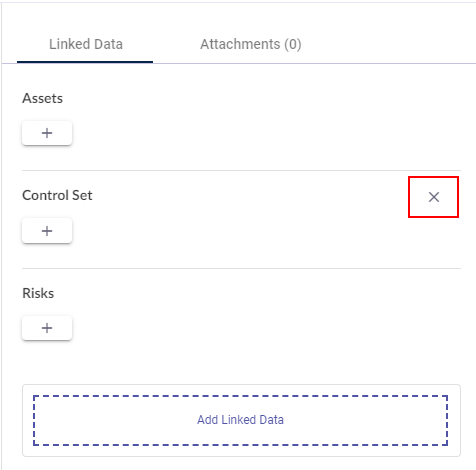
Click Add Linked Data to select the type of data you want to link to the issue.
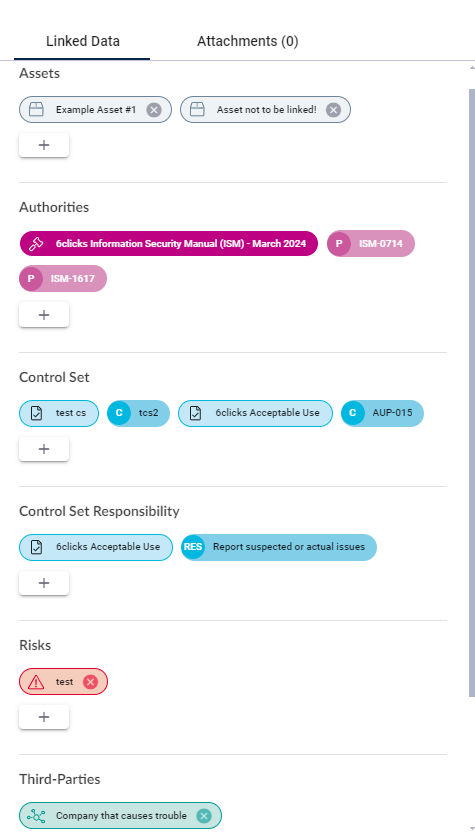
Once you have selected a data type, it will appear under the Linked Data tab. To remove a data type or unlink it to the issue, hover over the data type and click the x icon.
The types of data that you can link to an issue are:
- Assets
- Authorities & provisions
- Control sets & controls
- Control responsibilities
- Custom register items
- Risks
- Third-Parties
Assets
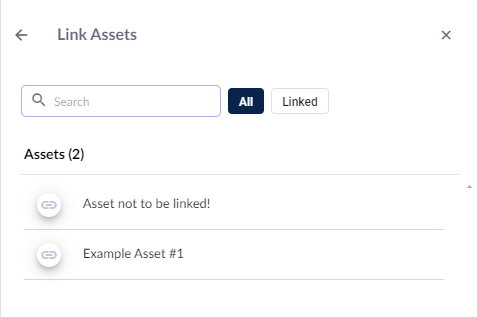
Link assets by clicking on the + icon under the Assets column. Once in the Link Assets modal, all assets will be shown. Switch to the Linked option to see the assets already linked, if any.
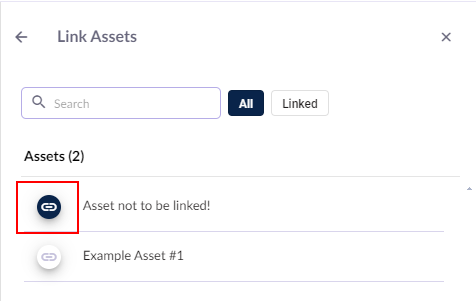
Click on the link icon next to an asset you want to link to the issue. Unlink by clicking again.
Easily see all the assets linked to the issue by going back to the Linked Data tab under the Assets column. Unlink an asset from here by clicking on the x icon next to it.
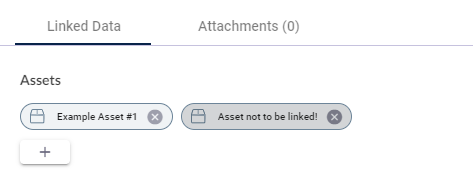
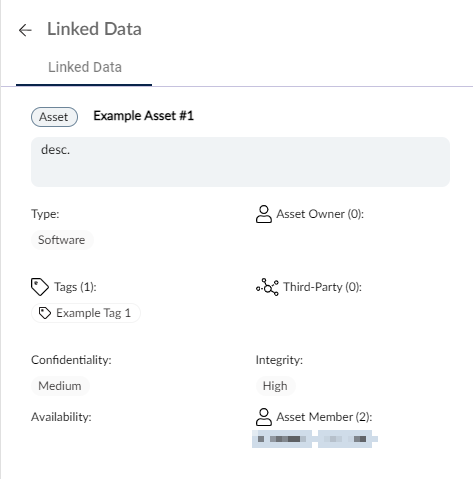
Click on an asset to view its details in a read-only view.
Authorities & provisions
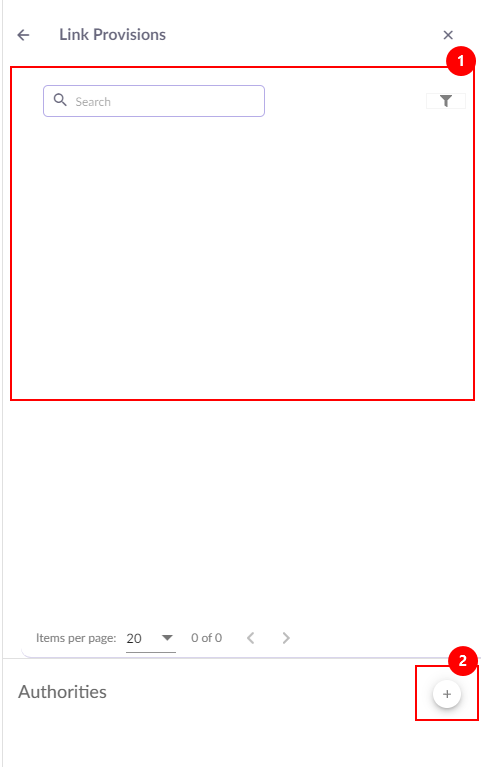
Link authorities by clicking the + next to Authorities. Authority provisions that are already linked to the issue will be displayed (1). Click the + to link an authority (2).
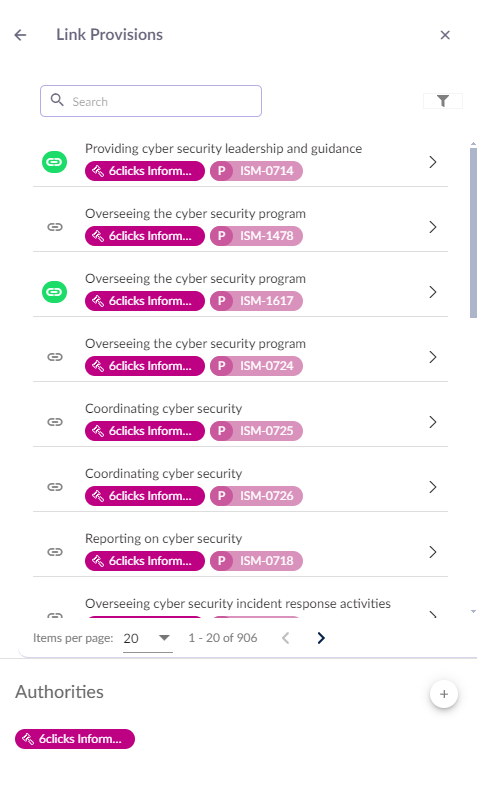
The Link Provisions modal will open and authorities that are not already linked will be displayed. Select an authority and all its provisions will appear. Use the search function to easily access the provision you're looking for, and link it by clicking the link icon.
Multiple authorities can be added, after which you can filter provisions by the authority they originate from.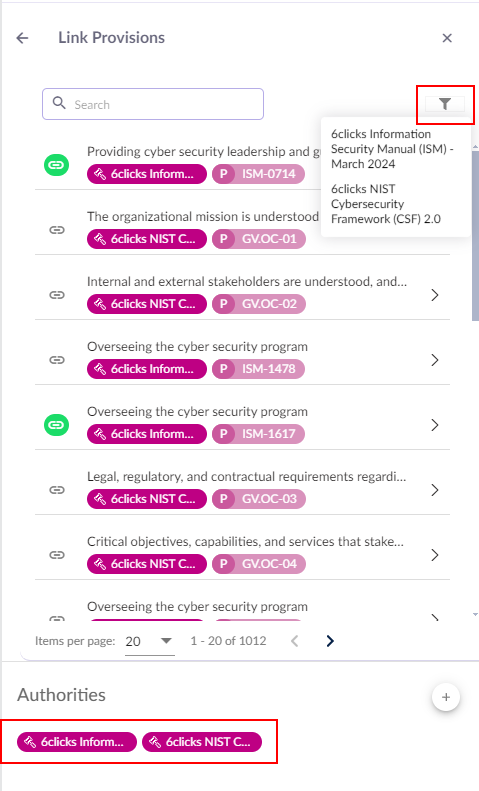
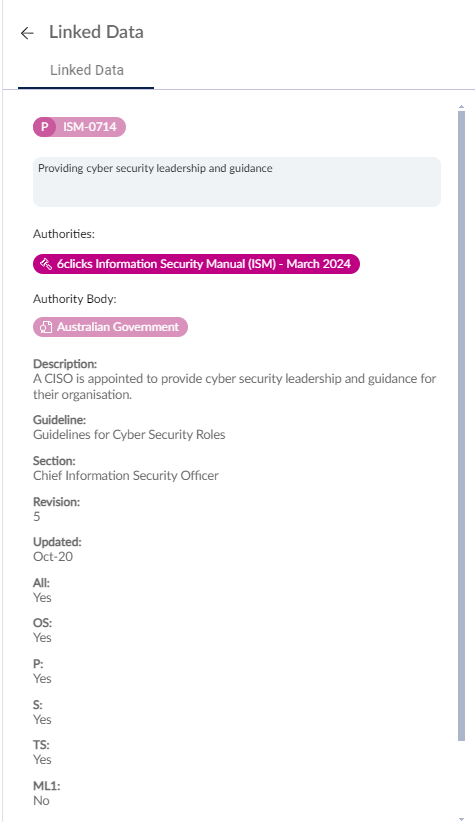
See all the provisions linked to the issue by going back to the Linked Data tab under Authorities. Unlink a provision from here by clicking the x next to it. Click on a provision to view its details in a read-only view.
Control sets & controls
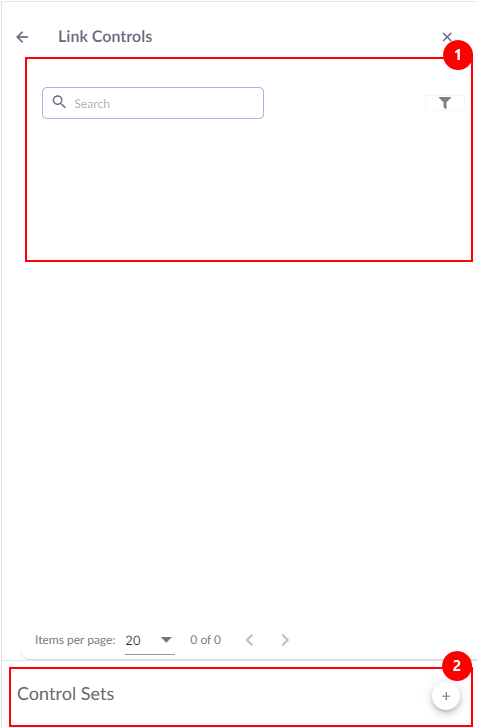
Link control sets by clicking the + under the Control Set column. This will open the Link Controls modal that displays all the controls that are already linked to the issue (1). Click on the + to link a control set (2).
Control sets that are not already linked will be available. Select a control set and all its controls will appear. Use the search function to easily access the control you're looking for, and link it by clicking the link icon.
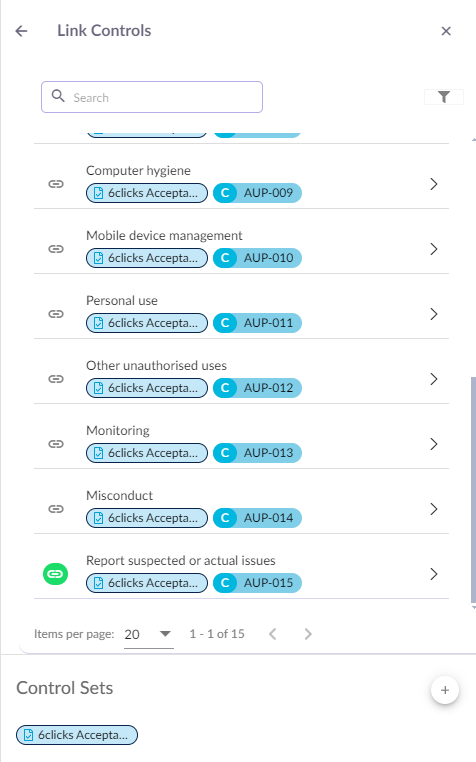
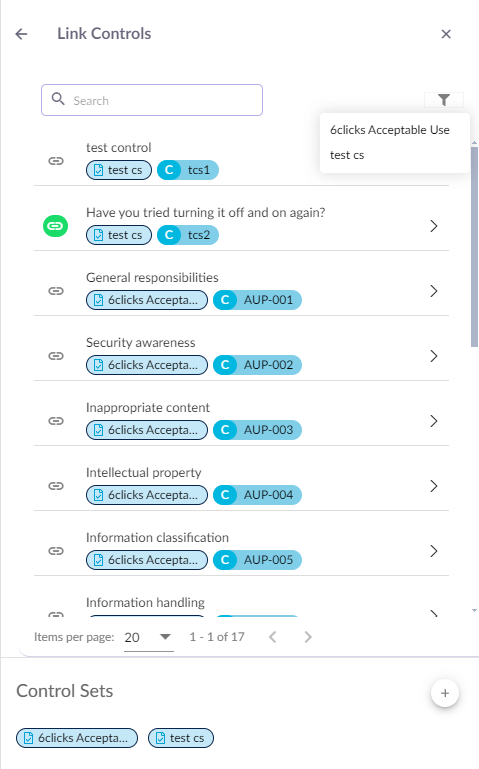
Multiple control sets can be added, after which you can filter controls by the control set they originate from.
See all the controls linked to the issue by going back to the Linked Data tab under Control Set. Unlink a control from here by clicking the x icon next to it. Click on a control to view its details in a read-only view.
Controls or provisions linked to an assessment question in a risk or issue become integrated, automatically pulling through the control or provision when a risk or issue is added to the Risk or Issue Registers from the assessment module (for Question-Based or Requirement-Based Assessments).
Once a new control or authority is added to a question in the Assessment module (RBA and QBA), the control or authority will automatically be added to the issue and linked automatically.
Learn more about adding actions to issues.
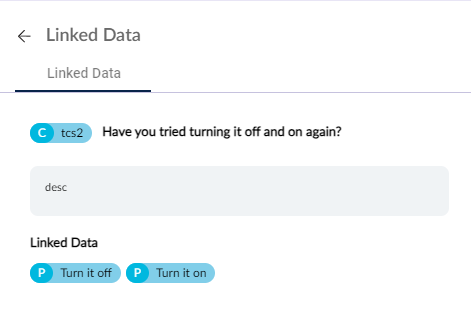
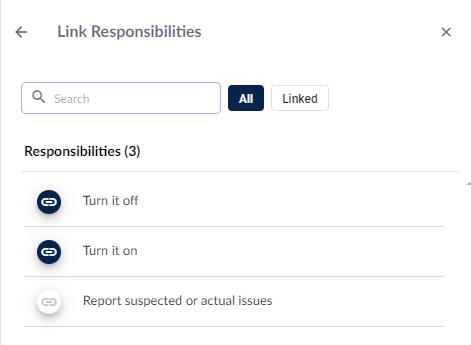
Control responsibilities
Once there are controls linked to the issue, their respective responsibilities (if any) can be linked. Click on the link icon to link, and click again to unlink.
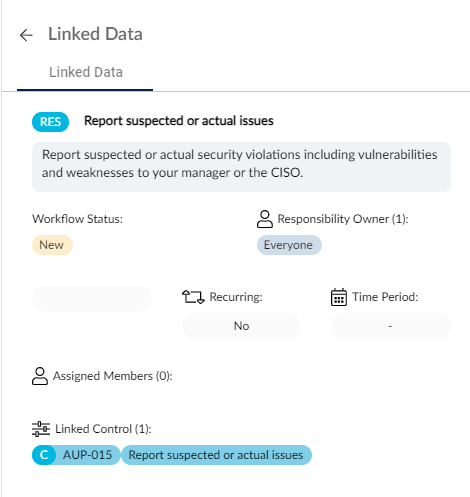
Easily see all the responsibilities linked to the issue by going back to the Linked Data tab. Unlink a responsibility from here by clicking on the x next to it. Click on a responsibility to view its details in a read-only view.
Custom register items
A custom register functions similarly to the Assets register. Refer to the Assets section.
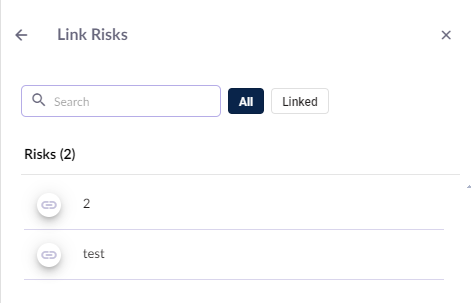
Risks
Link risks by clicking on the + under Risks. Once in the Link Risks modal, all risks will be shown. Click on the link icon next to a risk you want to link to the issue. Click again to unlink. Switch to the Linked filter to see the risks already linked, if any.
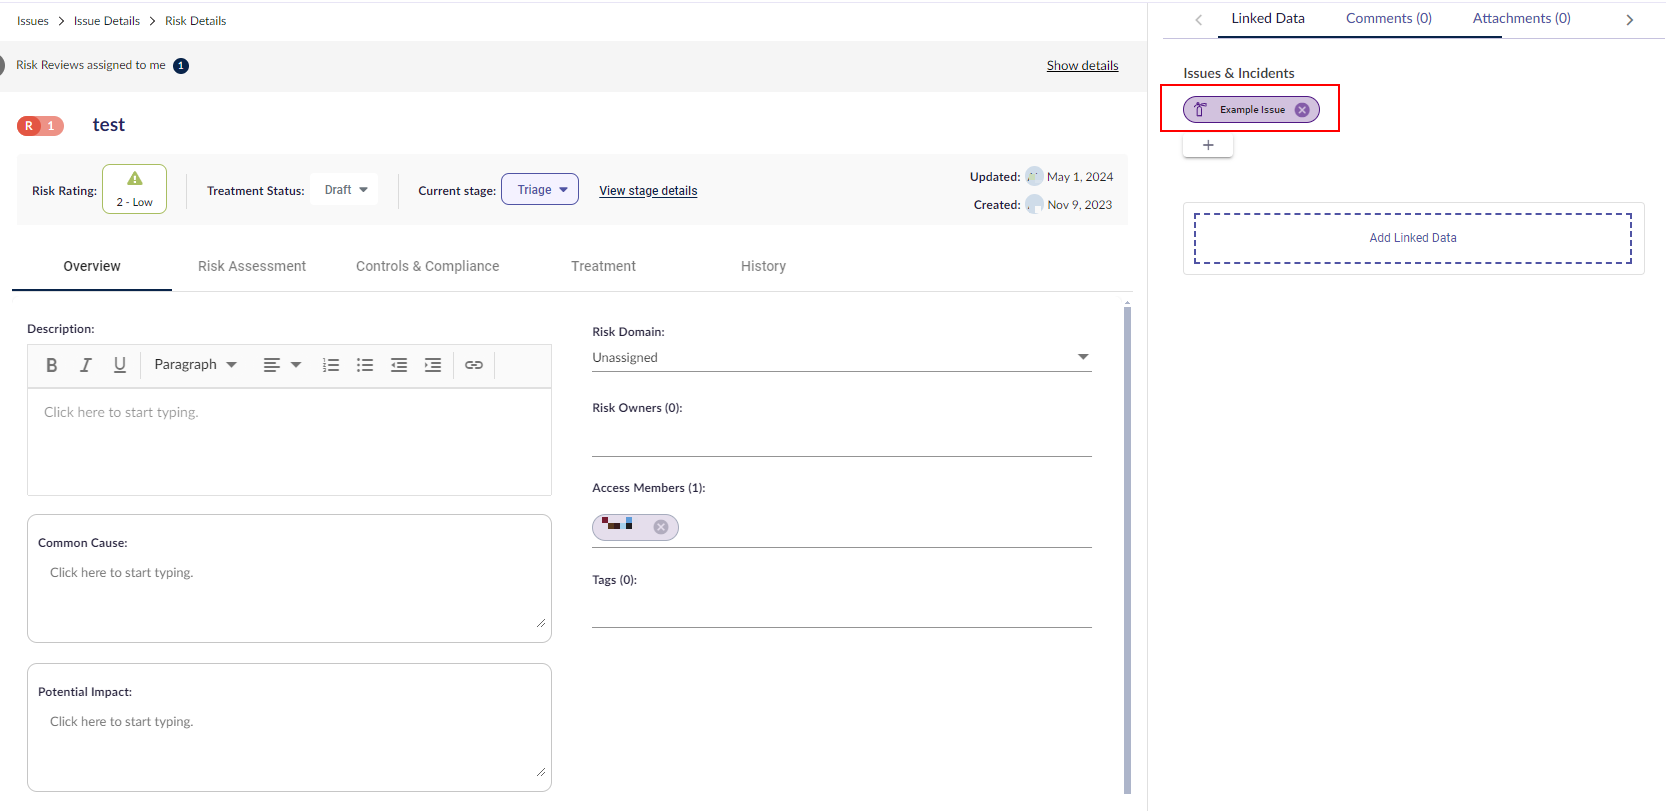
See all the risks linked to the issue by going back to the Linked Data tab under the Risks column. Unlink a risk from here by clicking the x icon next to it.

Clicking on a risk takes you to the Risks module to see more details.
Third-Parties
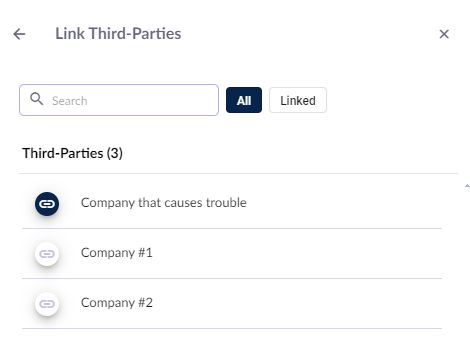
Link third parties by clicking on the + under Third-Parties. Once in the Link Third-Parties modal, all third parties will be shown. Switch to the Linked option to see the third parties already linked, if any. Click on the link icon next to the third party related to the issue to link it. Click again to unlink.
See all the third parties linked to the issue by going back to the Linked Data tab under Third-Parties. Unlink a third party from here by clicking on the x icon next to it. Click on a third party to see more details.
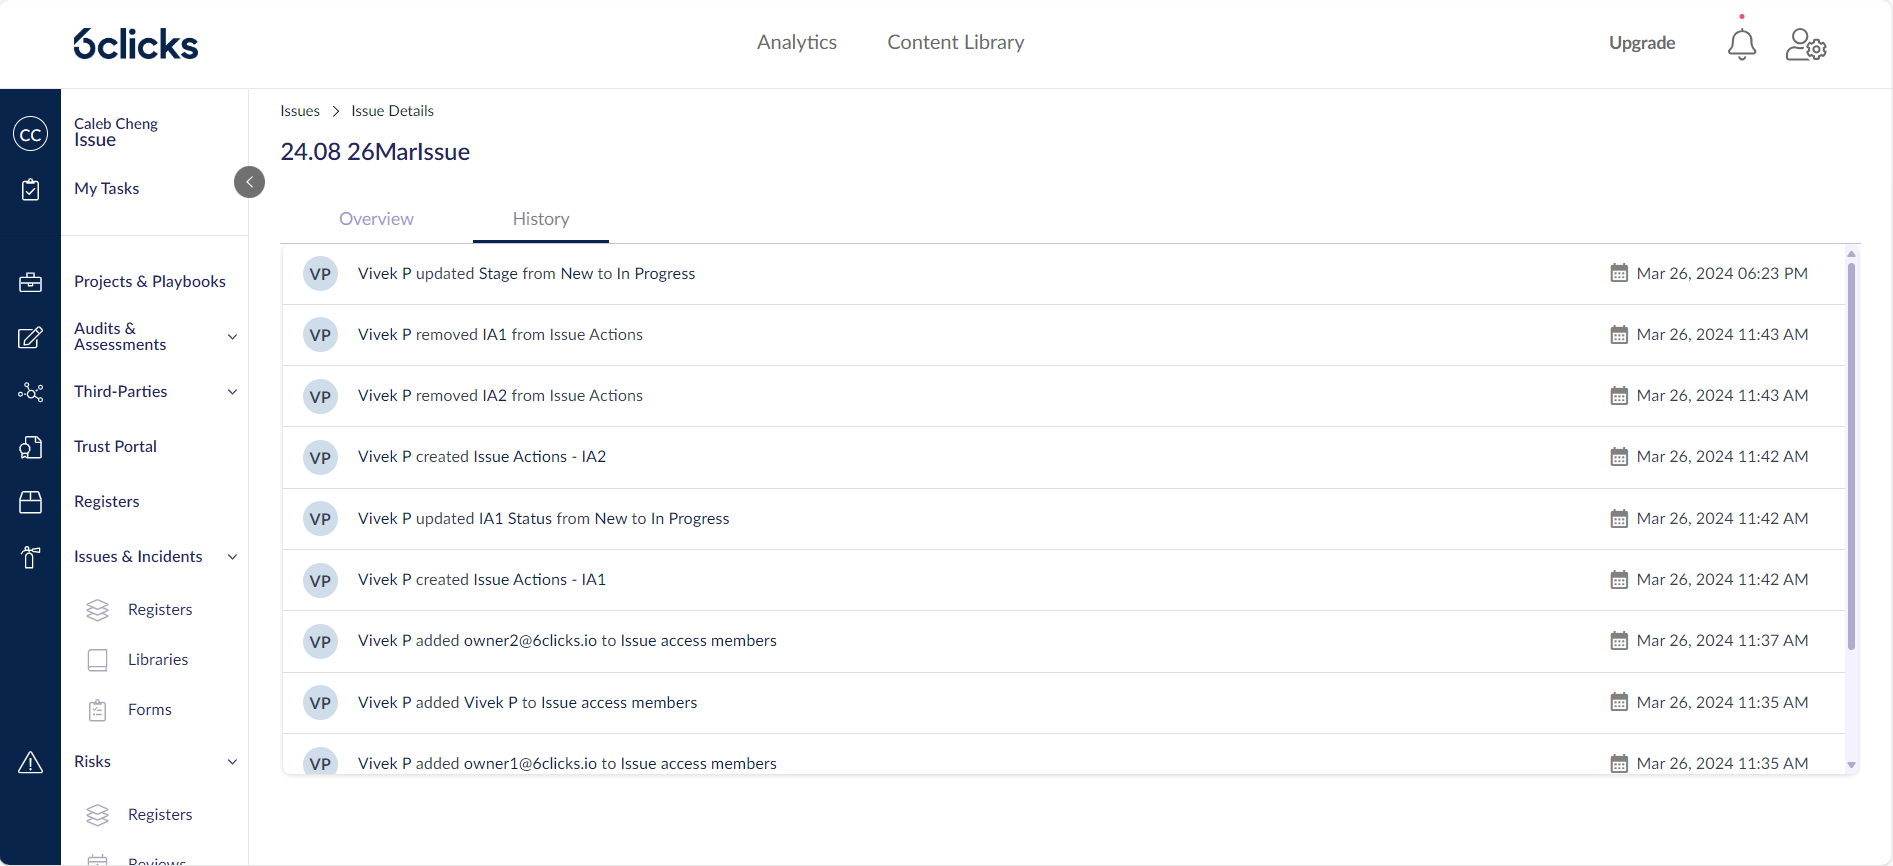
Issue history
The History tab in Issue Details shows all activities within the issue, including:
- The user's name
- The type of change that was made
- Date of change
- Time of change