Table of contents
- Ask Hailey to suggest or create an issue
- Creating new issues
- Linking existing issues
- Viewing linked issues
- Creating issue tasks
- Adding attachments to issues
Ask Hailey to suggest or create an issue
When responding to a Requirement-Based Assessment (RBA), you can create issues and actions as you progress.
You can bulk add issues and issue tasks by selecting multiple requirements and performing these actions.
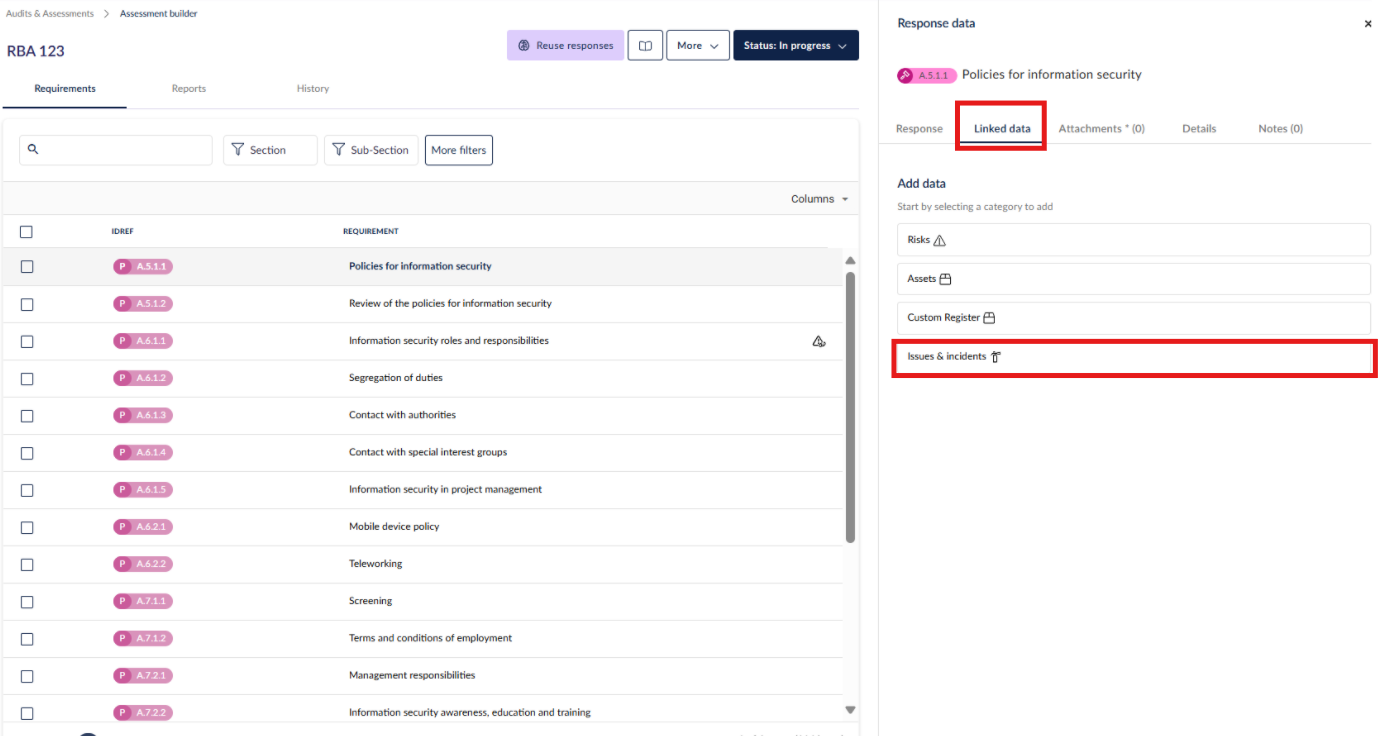
To add an issue, navigate to the Requirements window and select the relevant requirement. The side panel will then be displayed. From here, click on the Linked Data tab and choose the Issues and Incidents option.
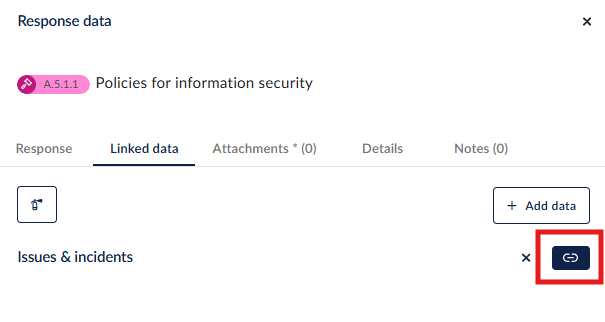
Once you have selected Issues and Incidents, click on the Linked data icon.
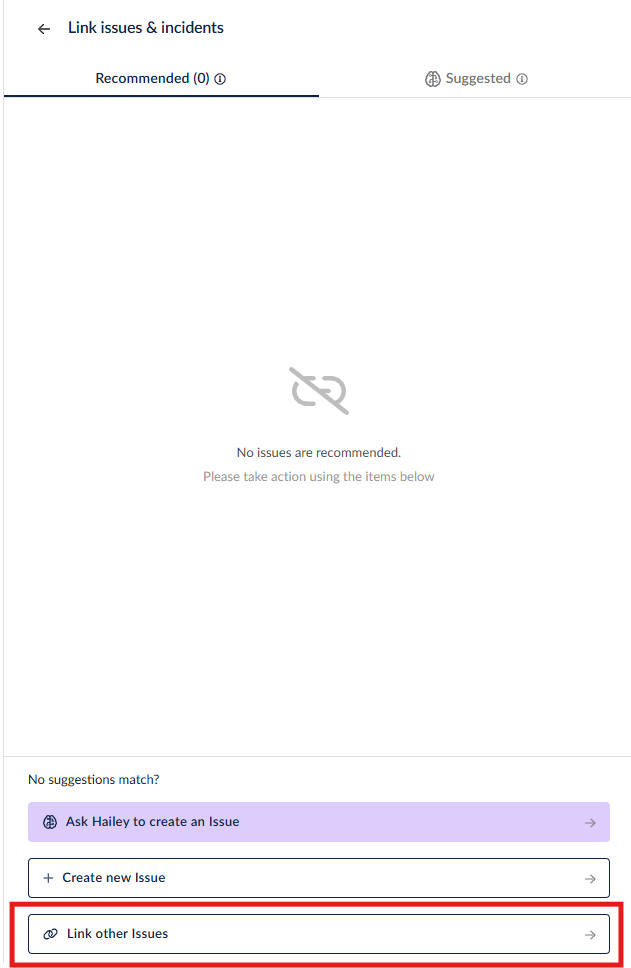
You can select one of the issues that Hailey recommends from your Issues Registers, ask Hailey to generate an issue relevant to the requirement, or create/link an issue yourself.
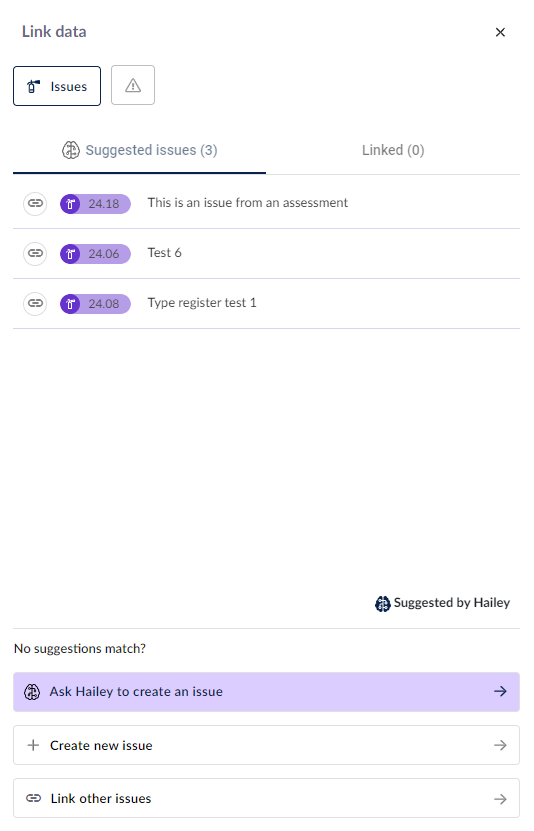
If you ask Hailey for help, it will use the relevant information from the requirement to create an issue.
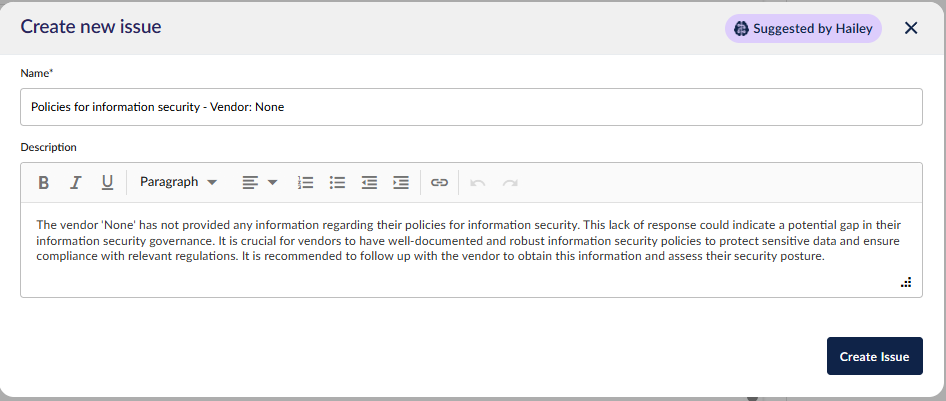
Depending on the current state of the response, such as the answer for each field, Hailey's suggestion may differ.
Creating new issues
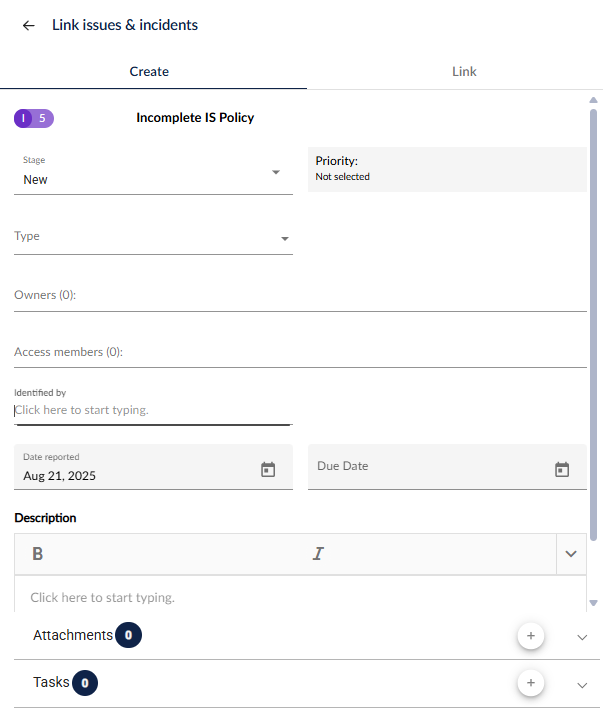
To create a new issue, select the option + Create new Issue, enter the name of the issue, and then hit Enter on the keyboard.

After hitting Enter, the issue will be created and added to the issue register. You can also update the name of the issue here by double-clicking on the issue name.
The following actions can be performed here or in the issue register.
- Update the workflow status of the issue
- Set the priority of the issue
- Select the issue type
- Select the owner and/or access member of the issue
- Update the identifier of the issue
- Update the issue's reported date
- Set the due date of the issue
- Add a description
Linking existing issues
To link an existing issue that has already been created in 6clicks, select the Link other issues option.
From here, you can browse for issues. To link an issue to the requirement, click the link icon next to it.
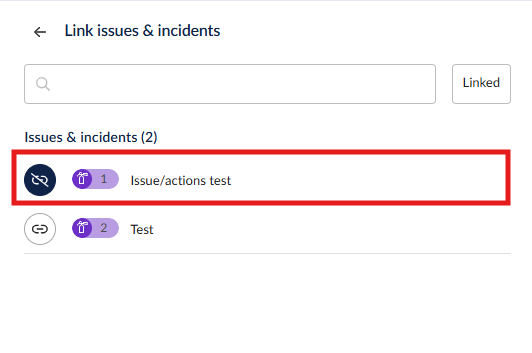
You can also view issues that have already been linked to the issue by selecting the Linked filter. Unlink already linked issues by clicking the Link icon next to it. In case you change your mind, unlinked issues will stay in this list until you leave.
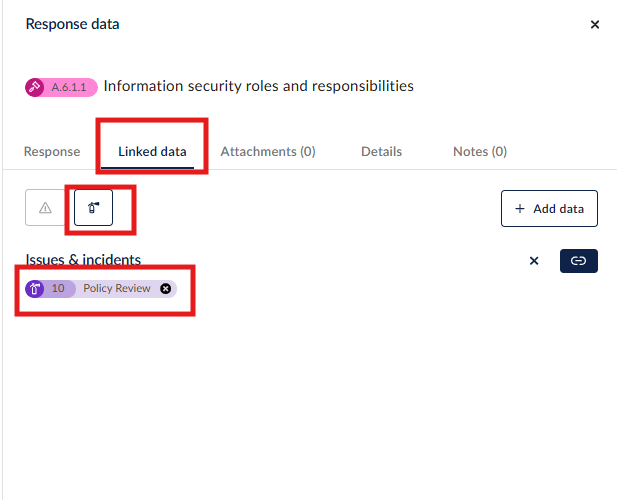
Viewing linked issues
To view the issues that have been linked to the requirement, navigate to the Linked data tab.
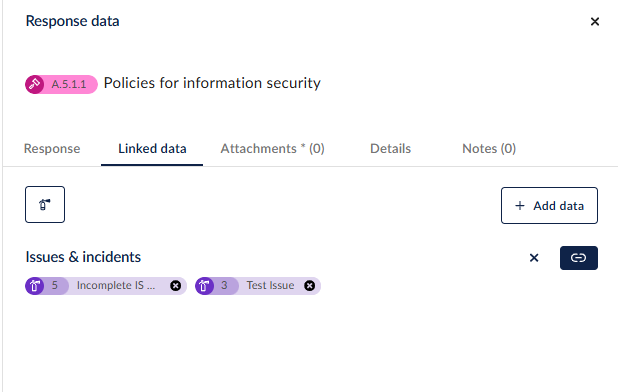
All requirements with linked issues have a fire extinguisher icon next to it.
The list of issues is now displayed in the side panel. To edit an issue, click directly on the issue from the Linked Data tab. This will navigate you to the issue, where you can make the necessary updates. To remove an issue, simply click on the cross icon next to the issue name.
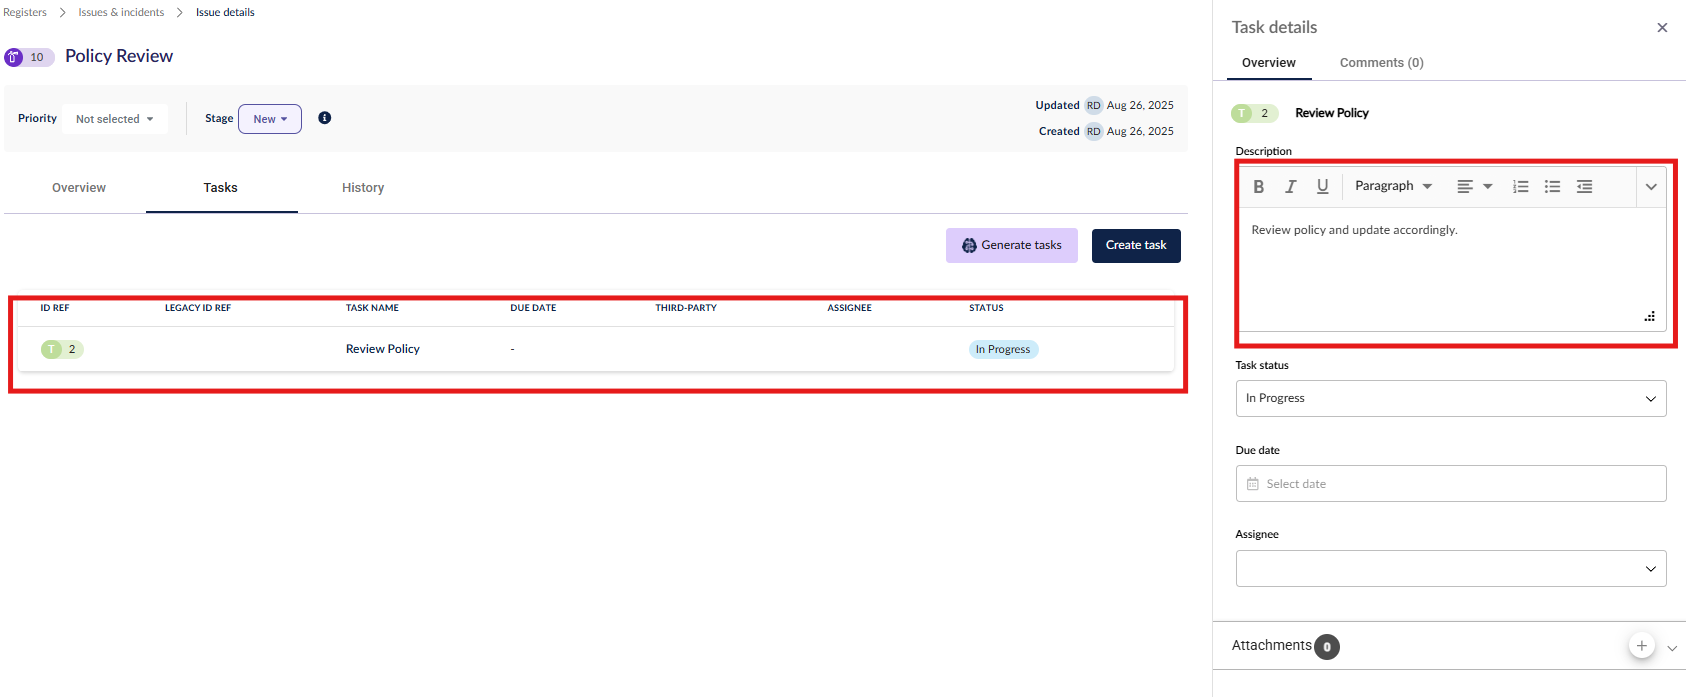
Creating issue tasks
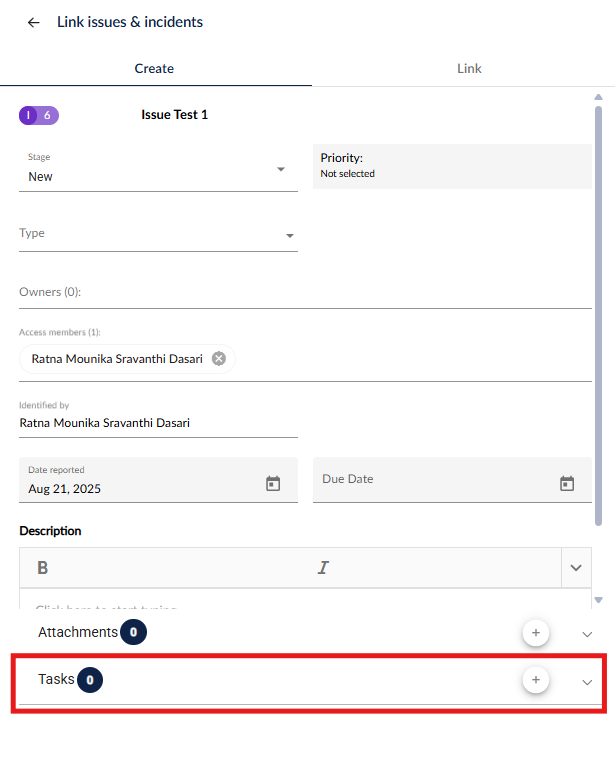
In the issue you want to create an action for, click the + next to Tasks.
Enter the name of the task and then hit enter on your keyboard.
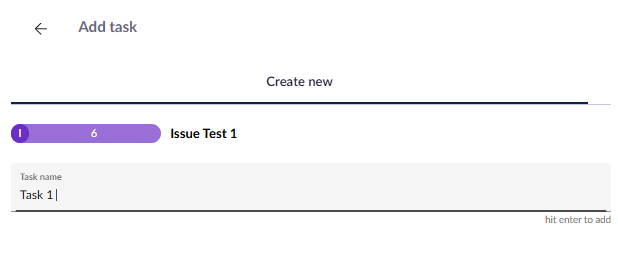
After hitting Enter, the task will be created and linked to the issue you are creating it under. You can also update the name of the task here by double-clicking on the name.
The following actions can be performed here or in the issue register (in the issue's Details > Tasks tab).
- Update the task's workflow status
- Set the task's owner
- Set the due date of the task
- Add a description to the task
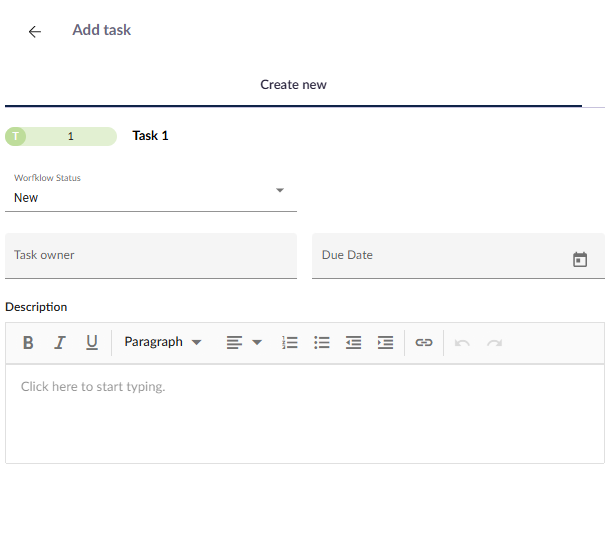
Once the details of the task have been added, click the back button next to Add task to return to the issue.
To review the tasks associated with a specific issue, navigate to the Linked Data tab and select Issues and Incidents. From there, you can drill through the relevant issue, which will open in a new browser tab, allowing you to view, edit, or delete any tasks assigned to that issue.
Adding attachments to issues
Documents can be added to an issue by clicking the + next to Attachments.
Add a file and click Upload.
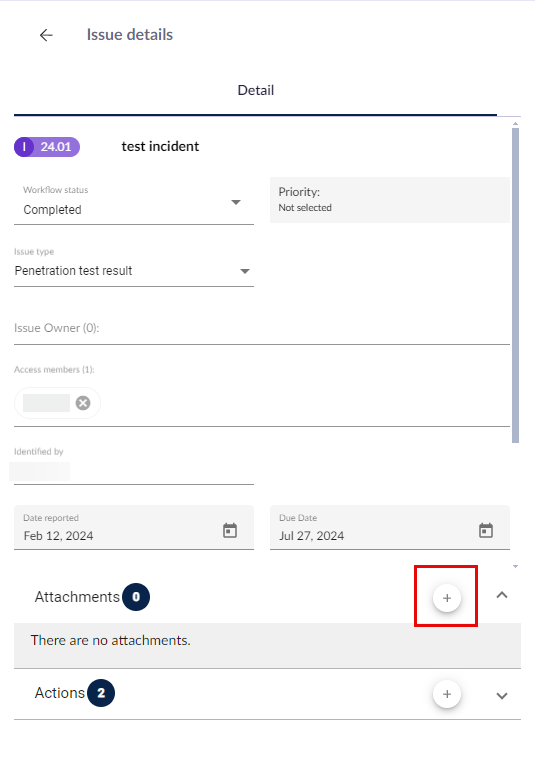
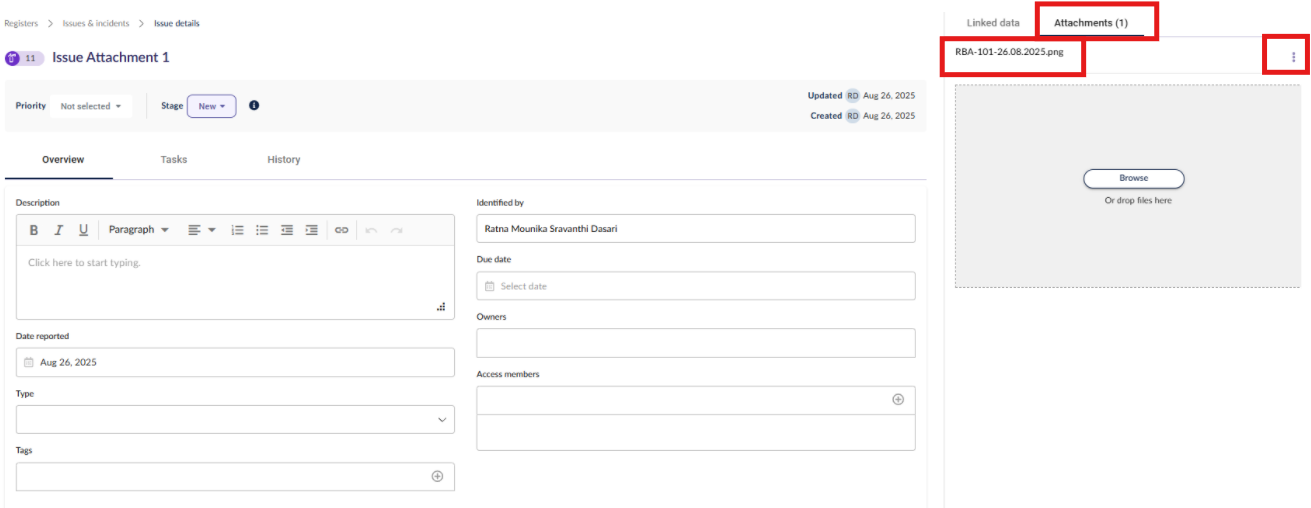
Once you have successfully uploaded documents to the issue, they will be automatically saved. To view the attachments, navigate to the Linked Data tab, select Issues and Incidents, and choose the relevant issue. This action will open the issue in a new browser window, where you can view the attachment by selecting the Attachments tab and clicking on the document name.
To delete the file, click on the three little dots and select Delete.