Table of contents
Issues & Incidents custom fields overview
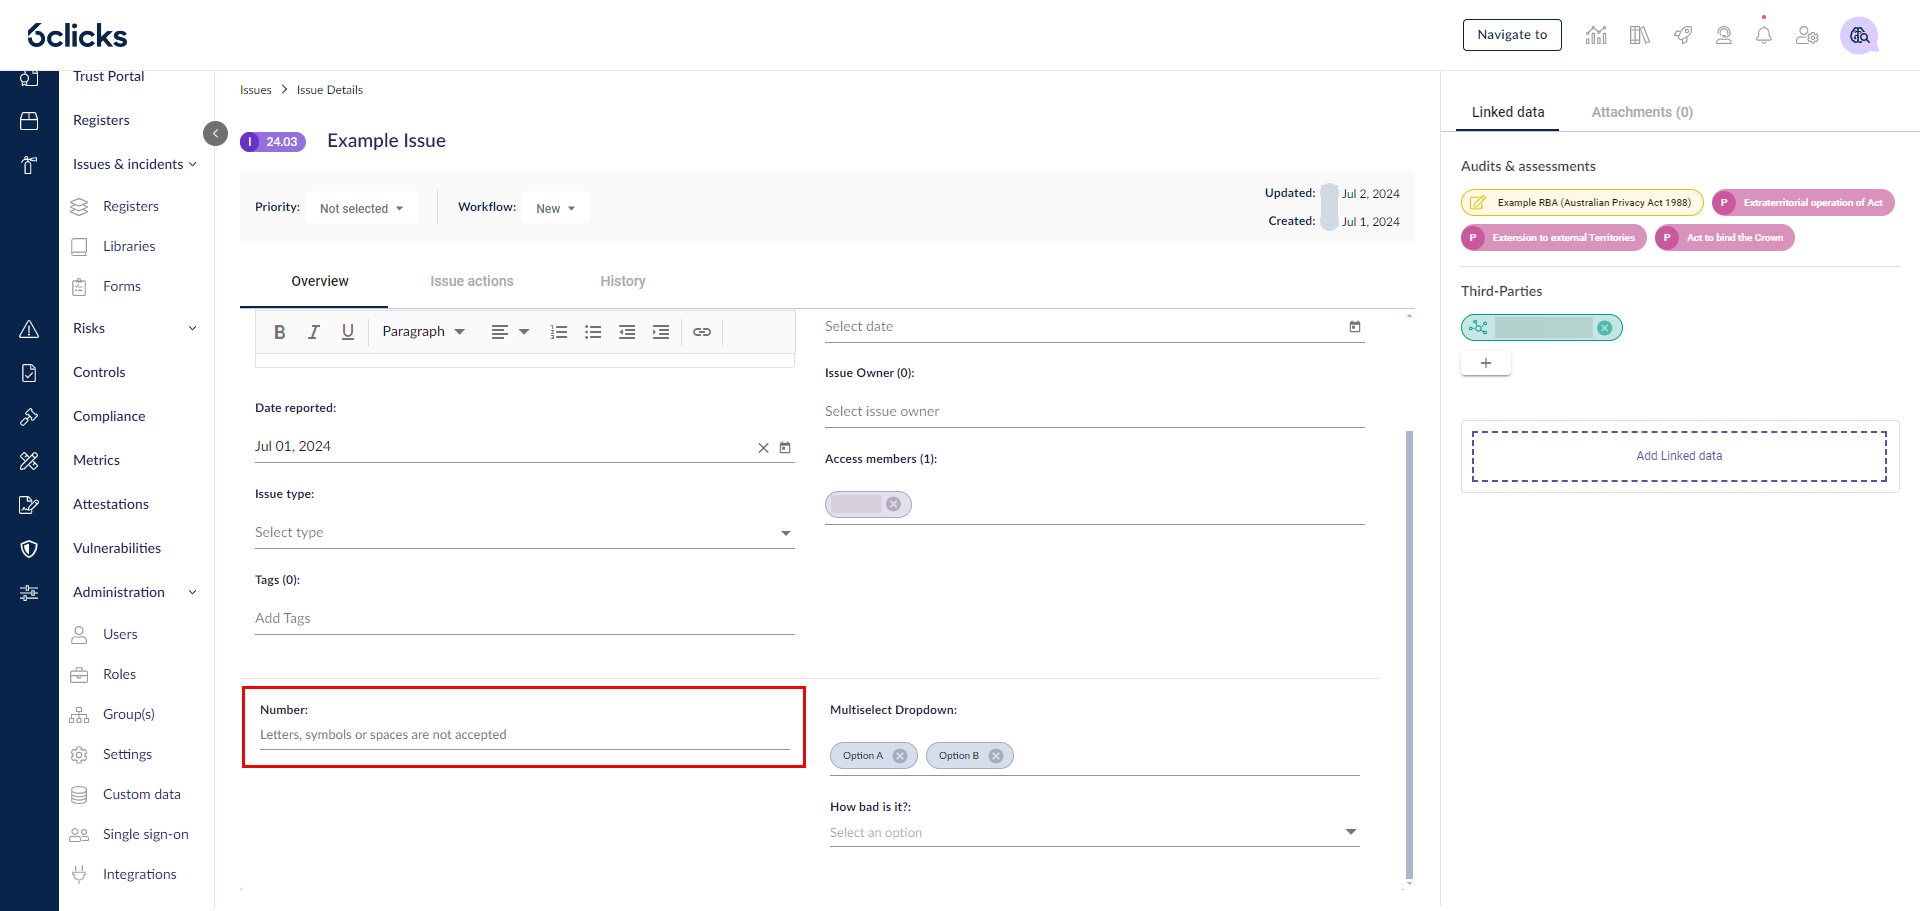
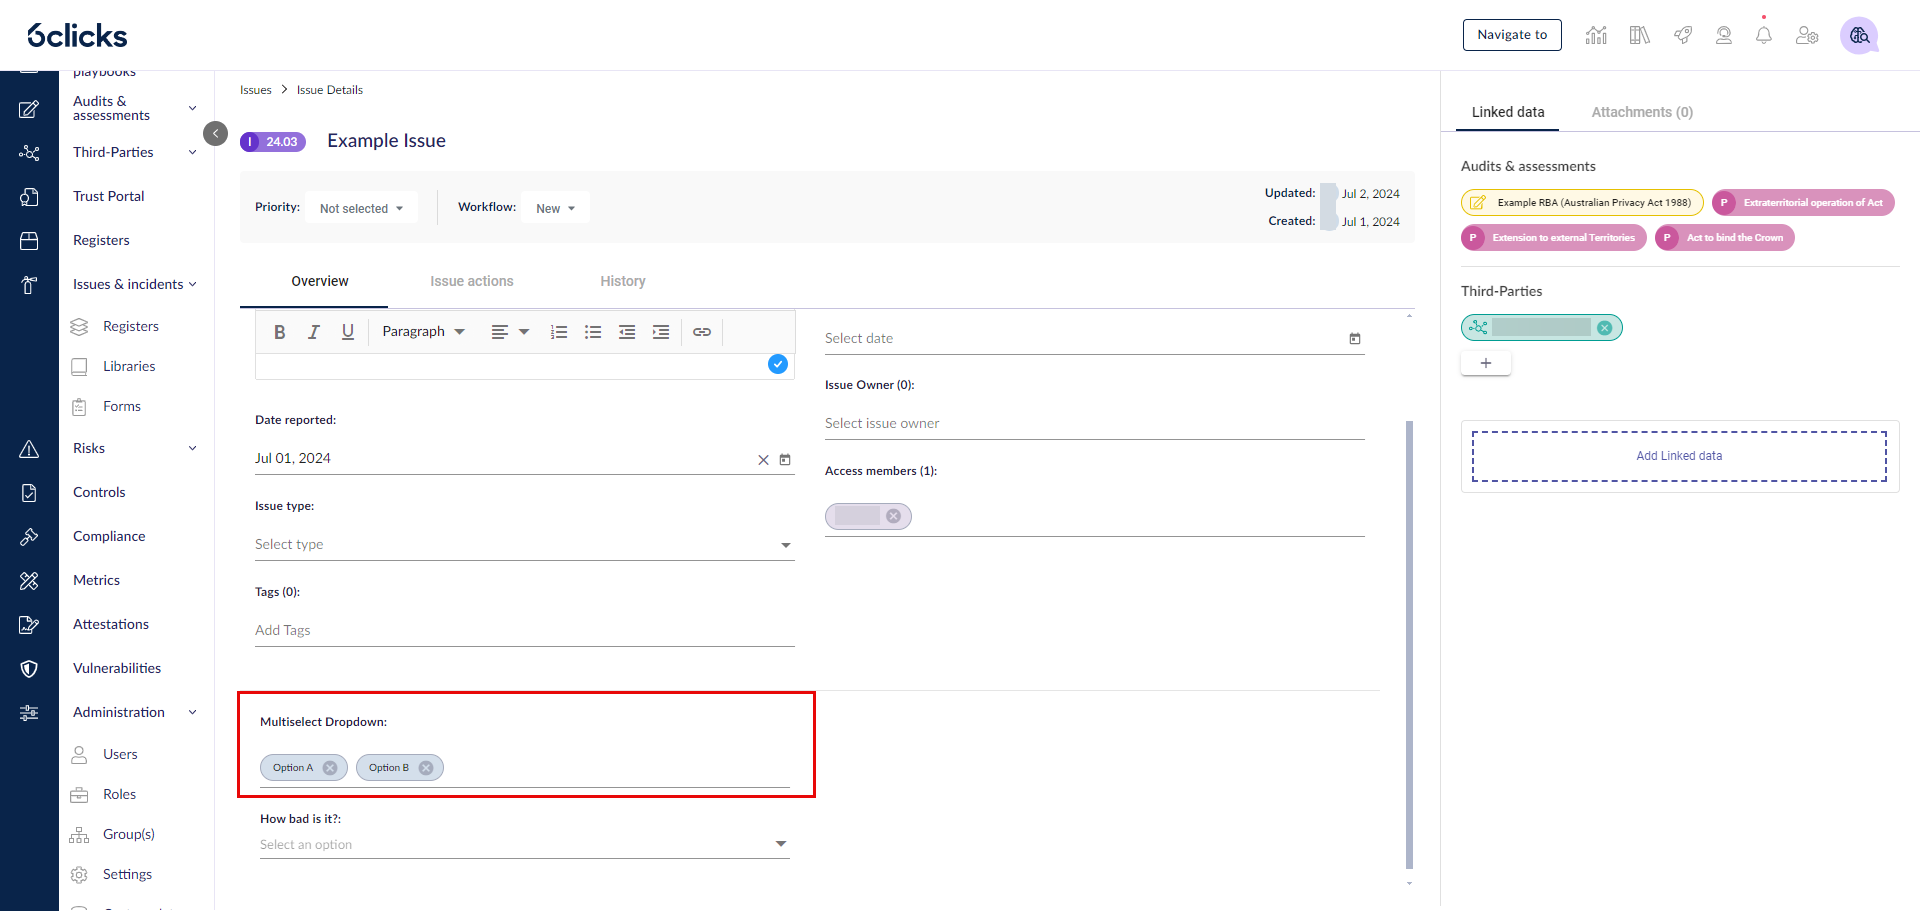
Custom fields will appear below the default fields in the Overview tab of an issue.
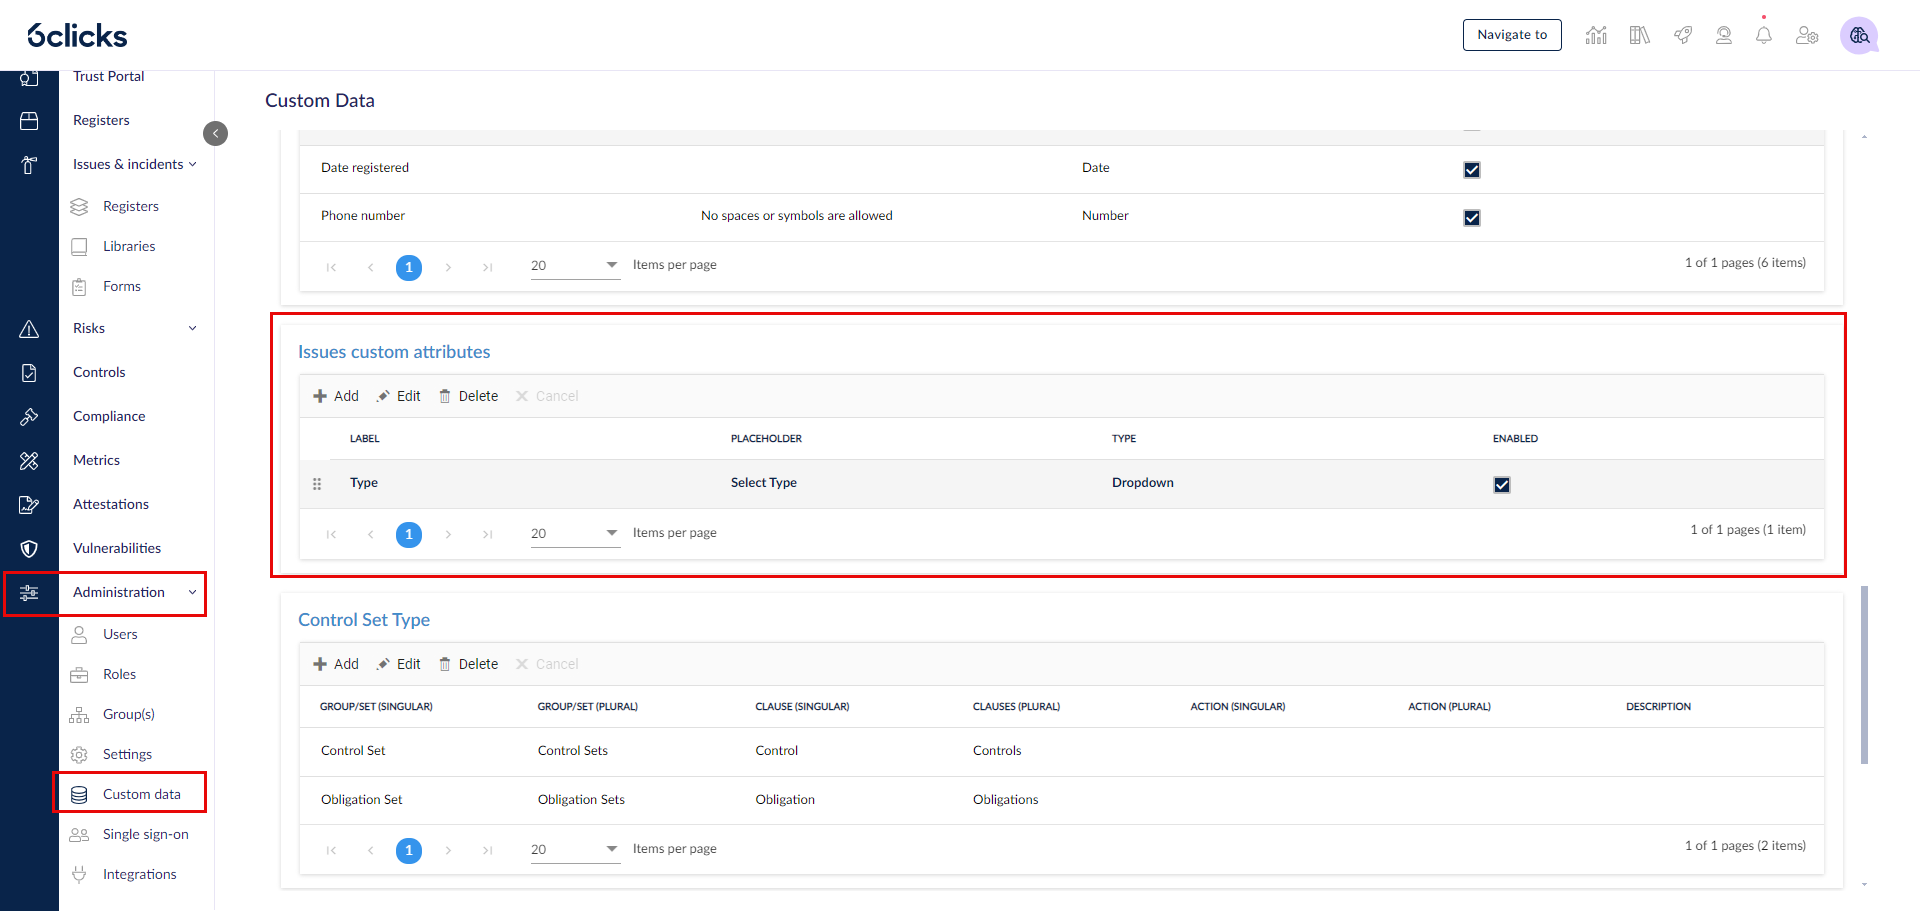
To create issue custom fields, select Administration > Custom data from the left navigation panel. Here you can see the Issues custom attributes table. By default, this table is empty except Type. This field cannot be deleted or edited.
Creating custom fields
To create a new custom field, click Add.

The following fields will be shown when you create a new custom field:
- Name - the name or title of the custom field
- Placeholder - placeholder text that will display in the custom field when empty
- Type - this can be any of the following:
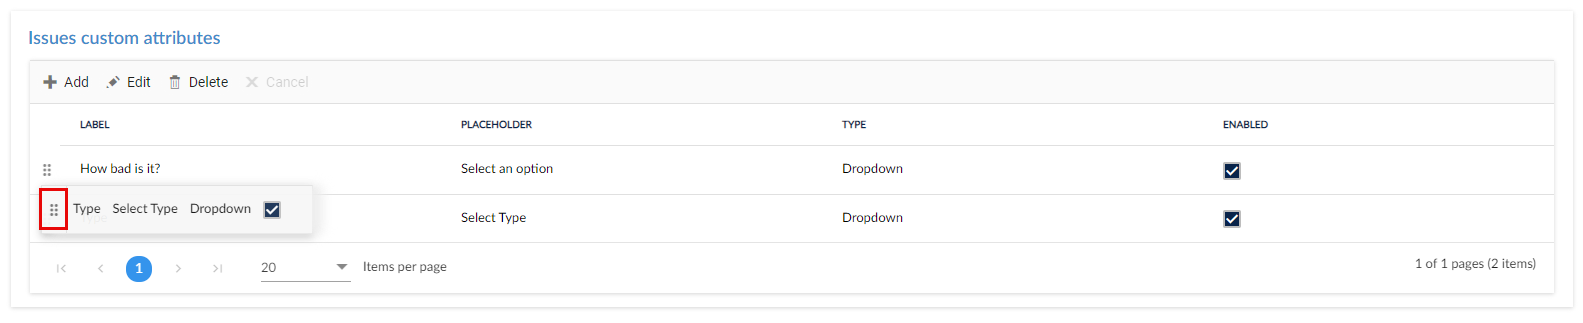
By default, custom attributes will be ordered in the order they were created. This can be manually adjusted by clicking and dragging the 6 dots to the left of the field name.
Dropdown
A dropdown displays a series of values, from which a user can select one.
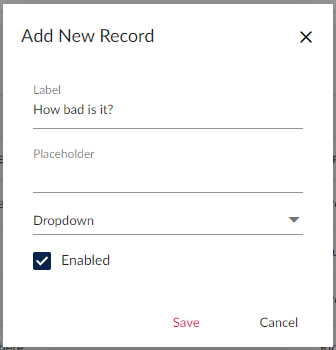
To set up a dropdown, enter its name, add the placeholder, select type Dropdown, and check Enabled. Click Save.
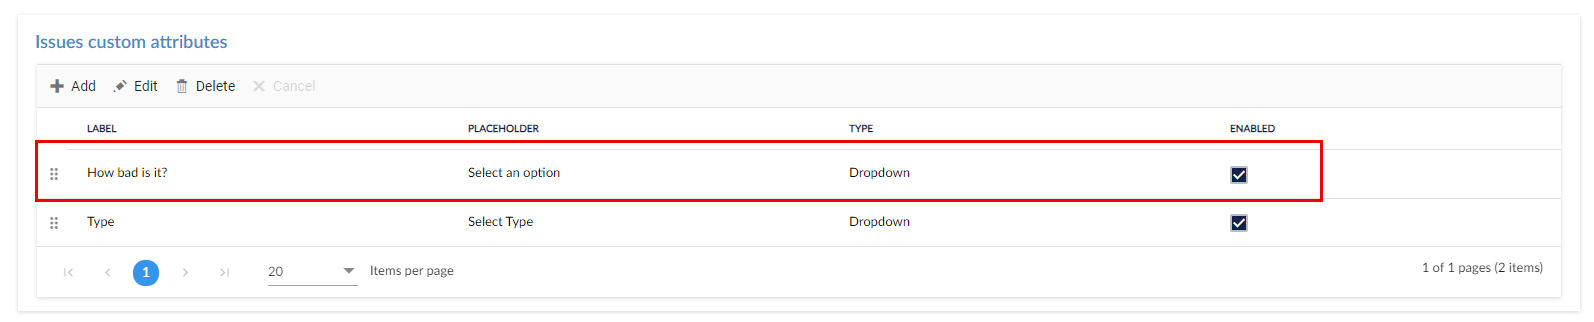
The new custom field will now be in the table.
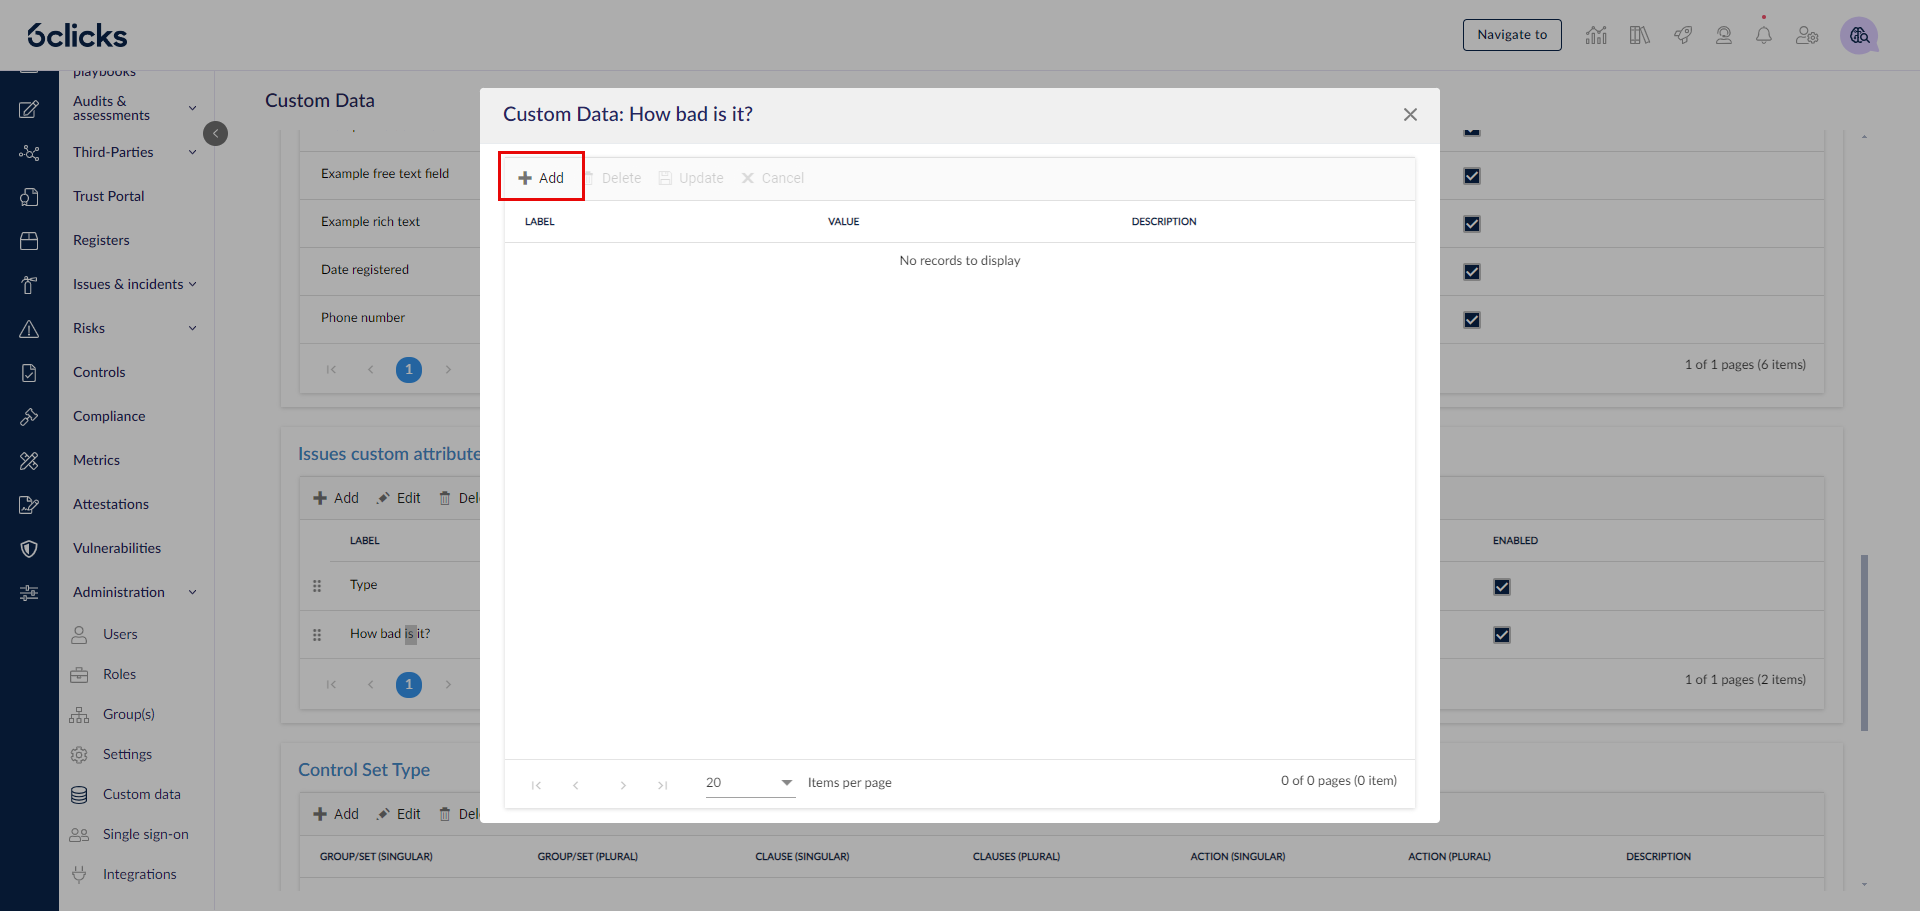
To add the dropdown values, double-click on the dropdown's name and the Custom Data modal will appear. Here you can add the values of the dropdown.
To create a new value, click Add.
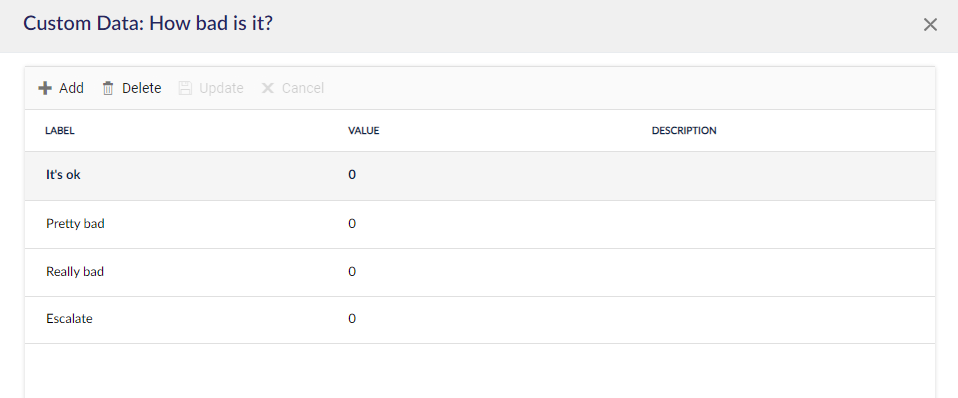
A row will appear in the table, where you can add the name of the first option, a value (optional), and a description (optional - this will show as a tooltip when the user hovers over it). Click Update or hit Enter on the keyboard to confirm.
Add as many options as required. You can also delete values by selecting them and hitting the Delete button. To edit a value, double-click on it. Once done, hit the close button on the top right of the modal.
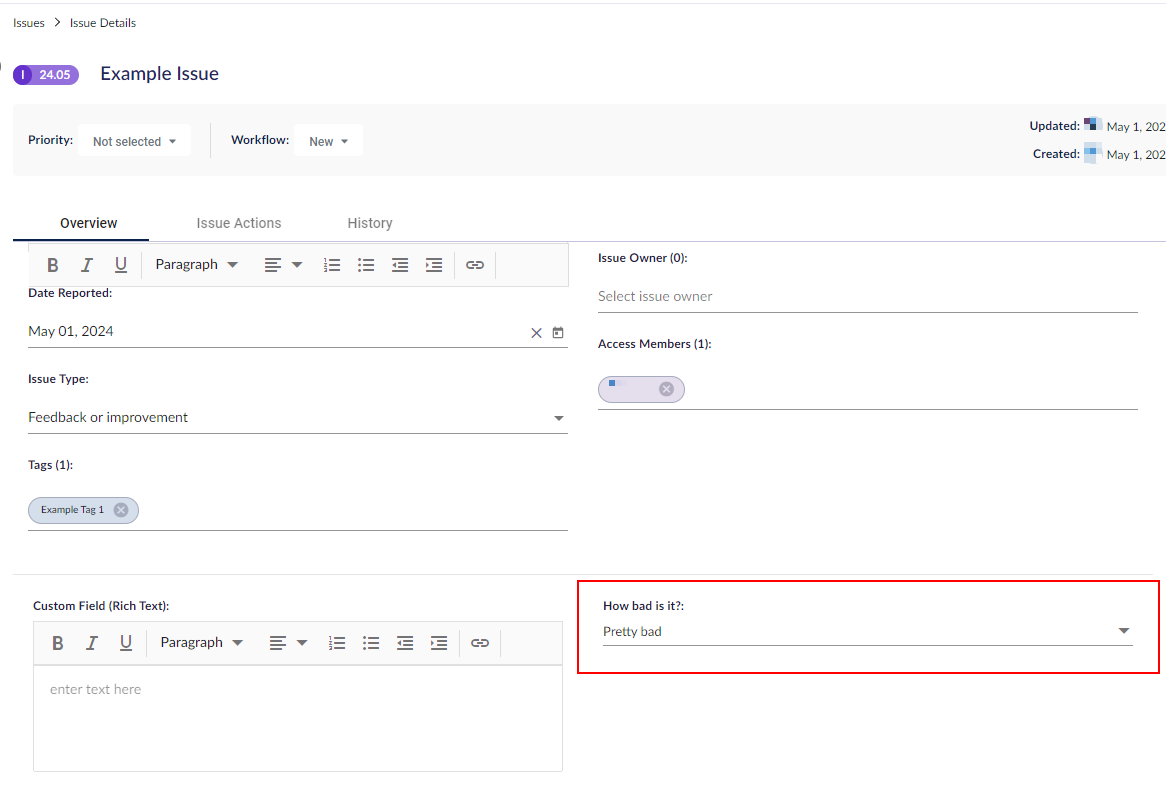
In the issue Overview tab, the field will be displayed if it is enabled.
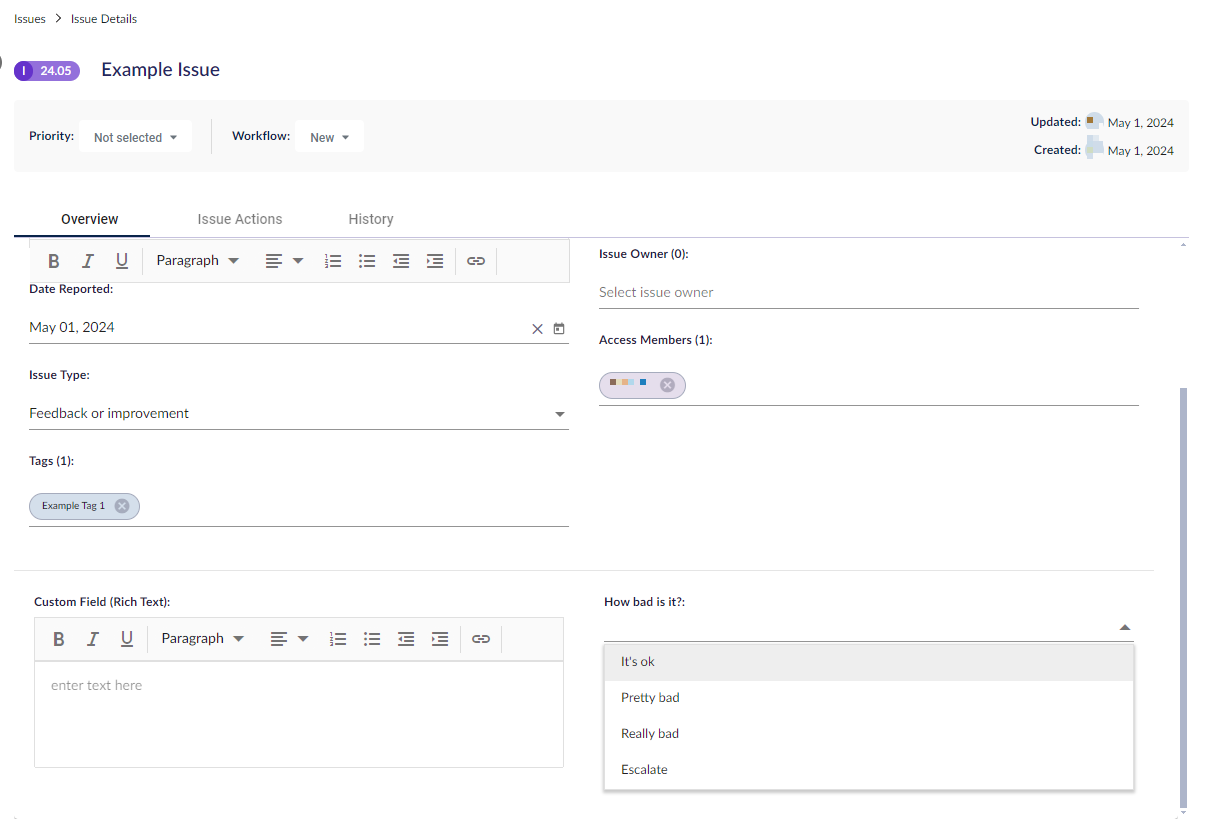
You can select an option, and it will be displayed.
Multiselect dropdown
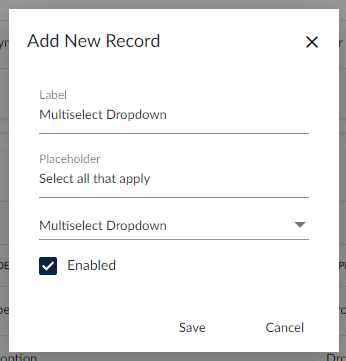
This type of custom field displays a series of values from which a user can select one or multiple. To set it up, enter its name, add an optional placeholder, select type Multiselect Dropdown and check Enabled. Click Save.
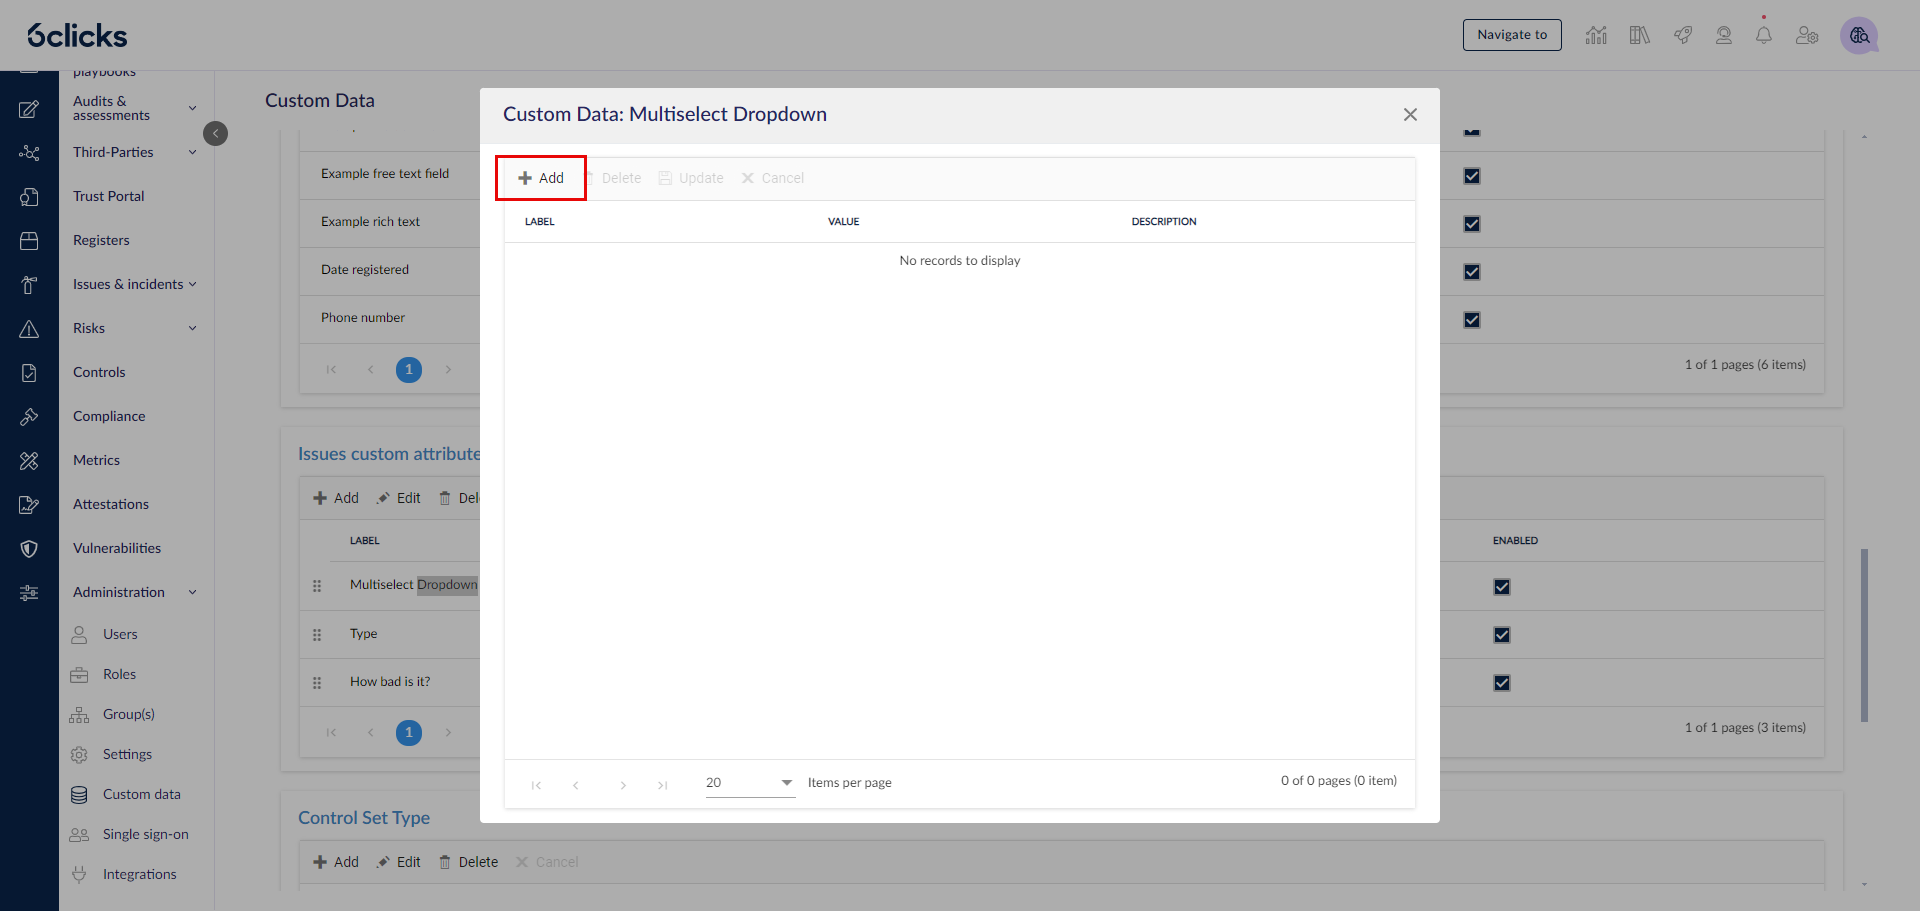
To add values, double-click on the name of the multi-select custom field you have just created. The Custom Data modal will appear. Here you can add values to this field.
To create a new value, click Add.
A row will appear in the table, where you can add the name of the option, a value (optional), and a description (optional). Click Update or hit enter on the keyboard to confirm.

Add as many options as required. You can also delete values by selecting them and hitting Delete. To edit a value, double-click it. To exit, hit the close button on the top right of the modal.
In the issue Overview tab, the field will be displayed if it is enabled. You can select multiple options.
Free text
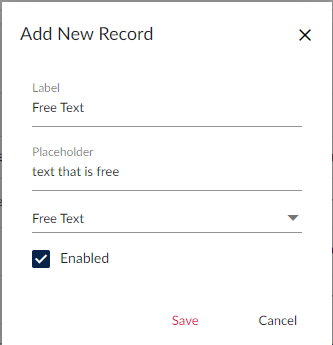
A free text field allows the user to enter plain text into a field. To set up a free text field, enter a name, add an optional placeholder, select type Free Text, and check Enabled. Click Save.
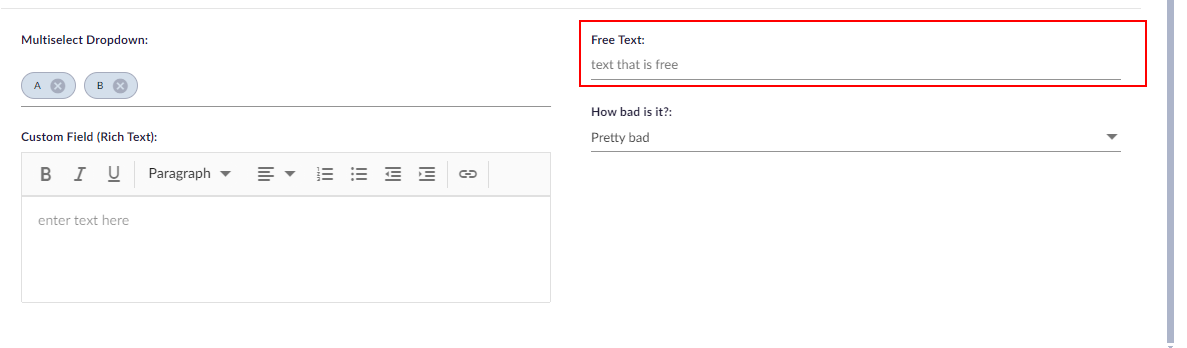
In the issue Overview tab, the field will be displayed if it is enabled.
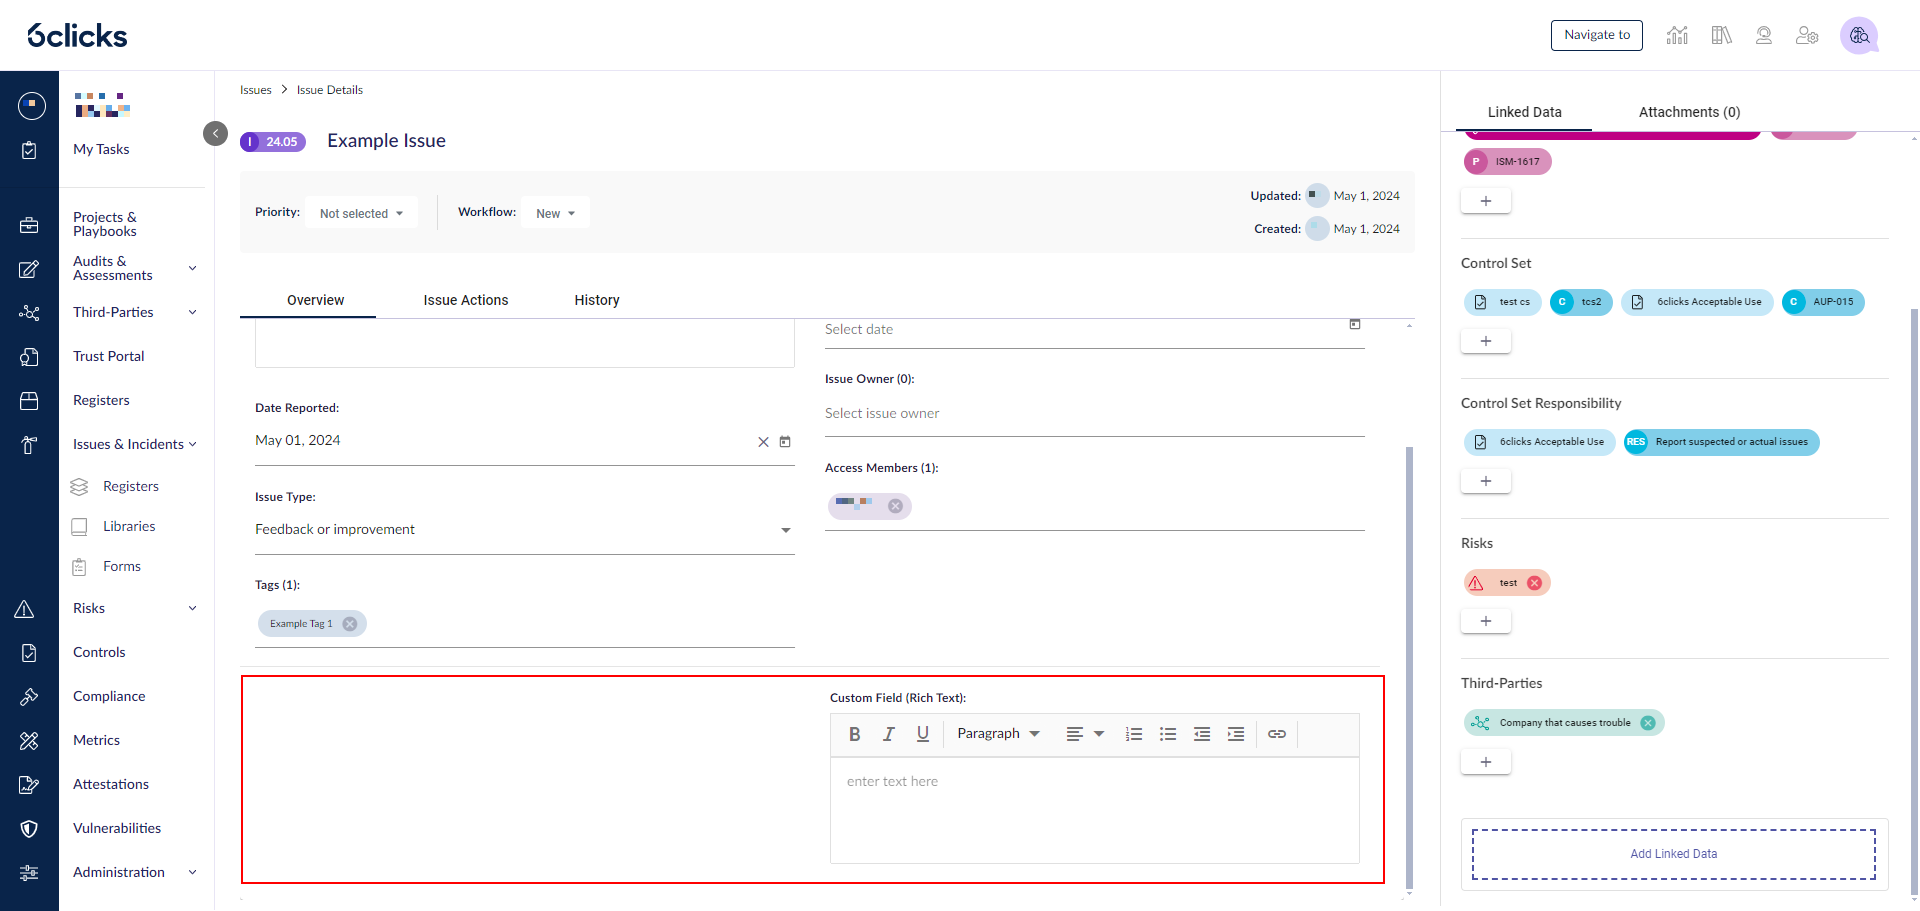
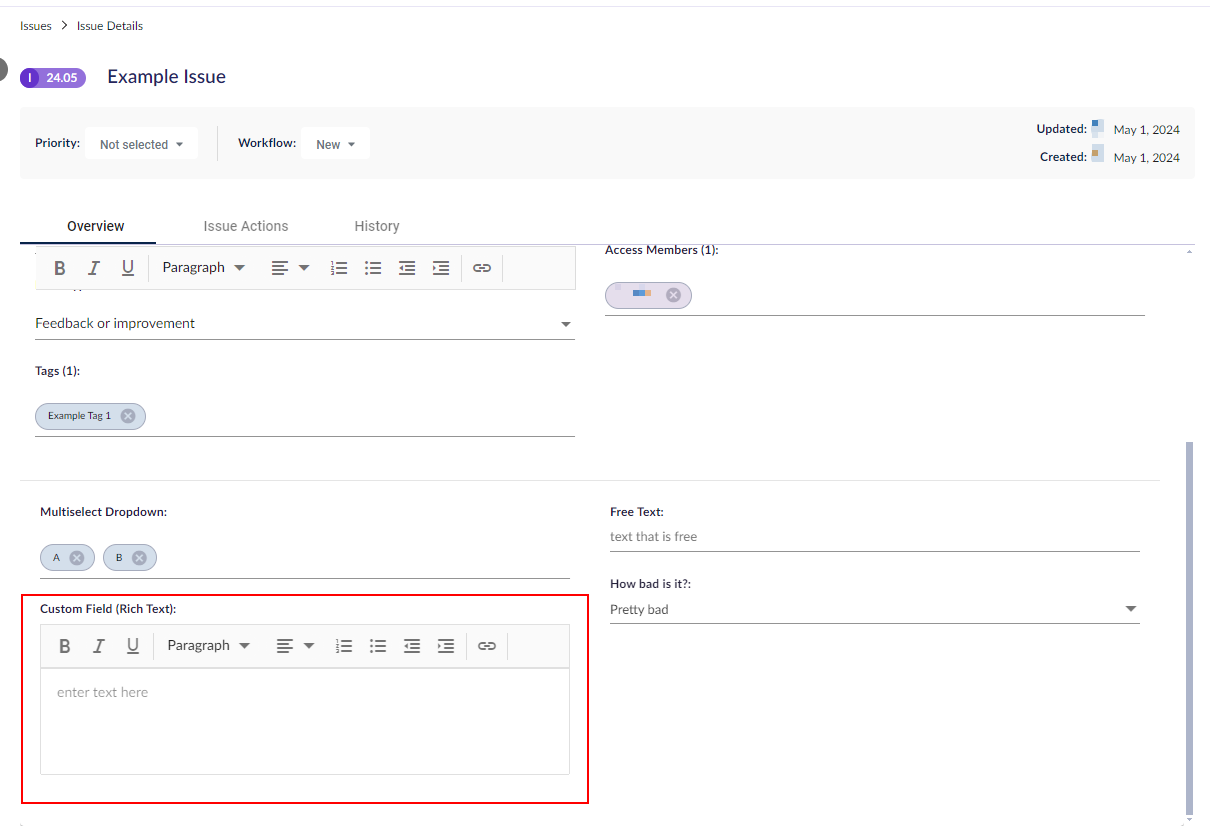
Rich text
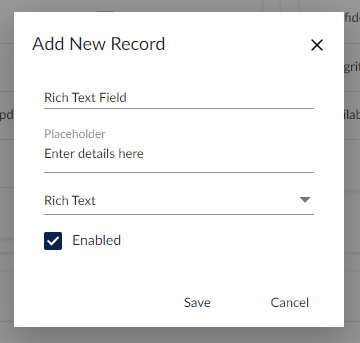
A rich text custom field allows the user to enter text with formatting into a text box. To set it up, enter its name, add an optional placeholder, select type Rich Text, and check Enabled. Click Save.
In the issue Overview tab, the field will be displayed if it is enabled.
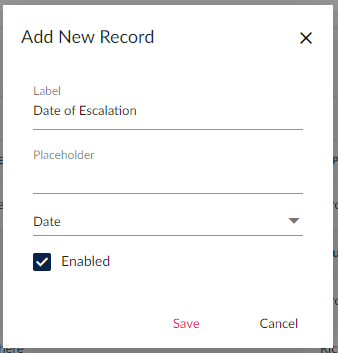
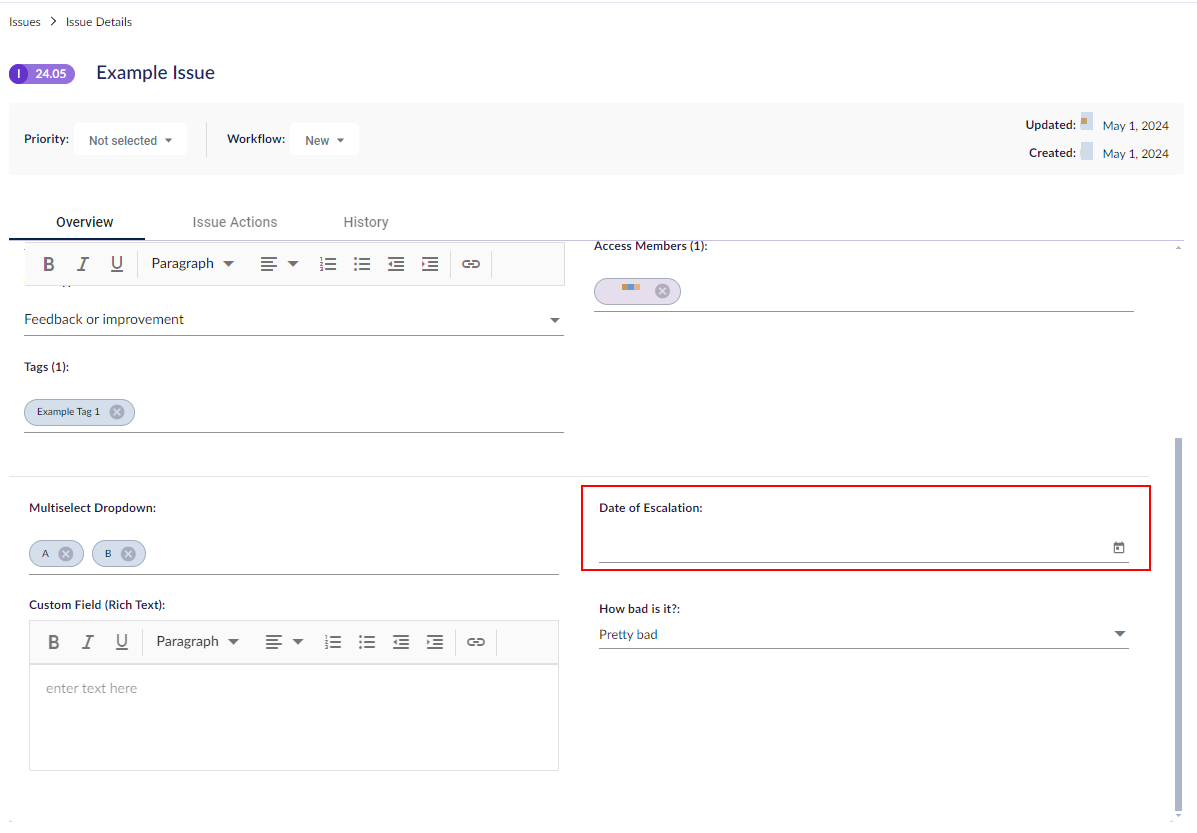
Date
A date custom field allows the user to add a date. To set up a date field, enter in its name, add an optional placeholder, select type Date, and check Enabled. Click Save.
In the issue Overview tab, the field will be displayed if it is enabled.
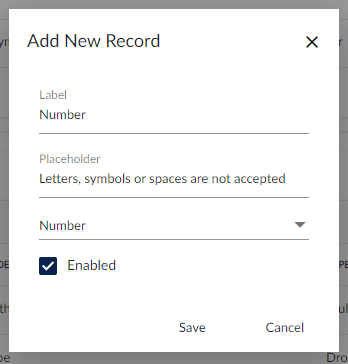
Number
A number custom field allows the user to add only numbers. To set this up, enter in its name, add an optional placeholder, select type Number, and check Enabled. Click Save.
In your issue Overview tab, the field will be displayed if it is enabled.