Table of contents:
Import Issues & Incidents
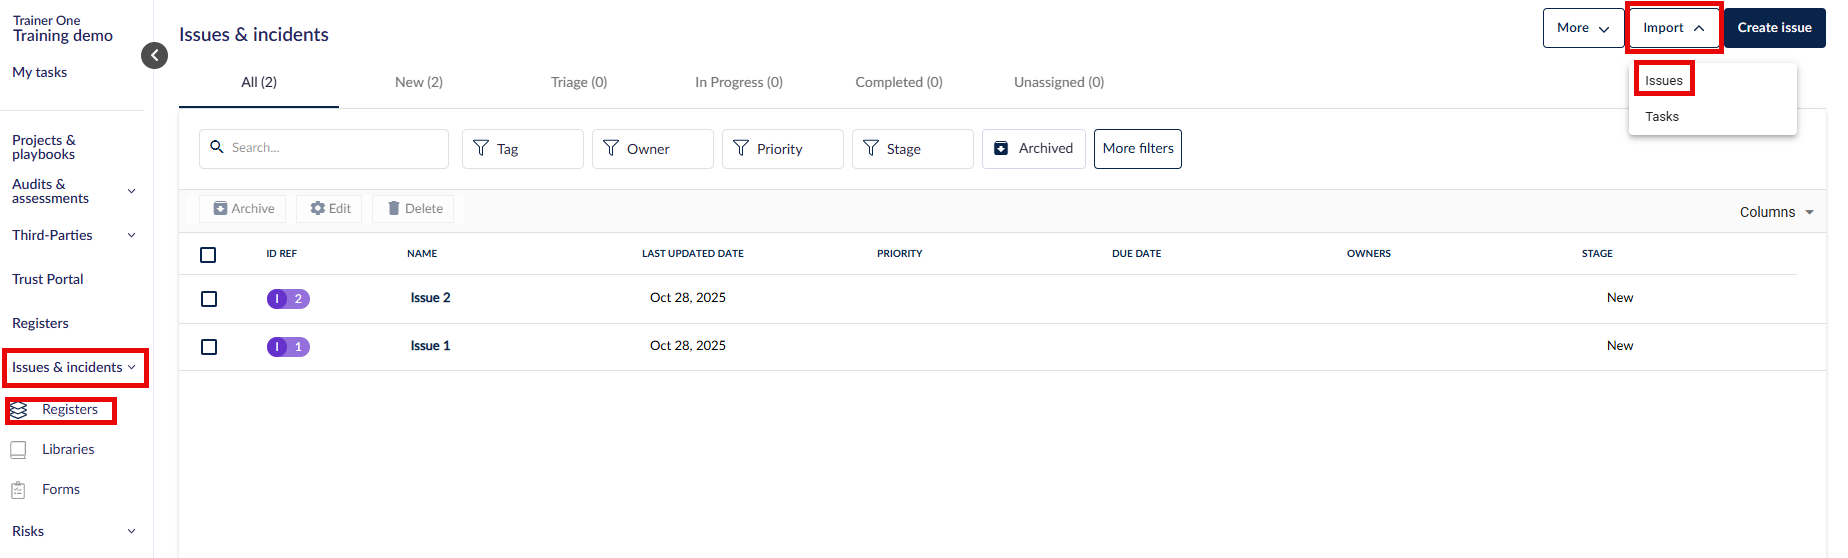
Navigate to Issues & incidents > Registers and click Import > Issues
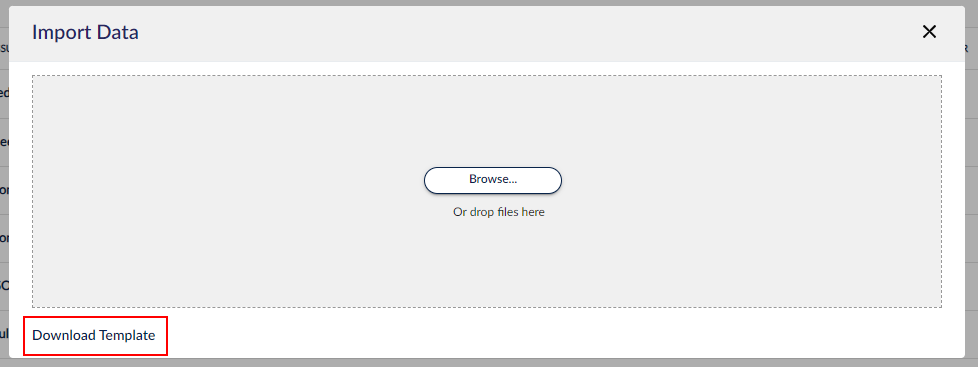
Click Download Template.
The Import Issues Template has column headings that correspond with your fields.
The issue import file has the following headings.
- Name: Name of the issue
- Stage: Use one of the values as defined by issue workflows
- Description
- Priority: Use one of the existing options:
- Immediate
- High
- Medium
- Low
- Due Date: Do not change the format of this field. You can enter the date in your standard format, either dd/mm/yy or mm/dd/yy (the underlying format will remain a custom format of mmm dd, yyyy).
- Owners: Add the email address of a user that already exists in your team. If the email of the user does not exist in your team, they will be invited to the platform. To enter multiple addresses, separate them by commas. To learn the difference between record owners and access members, head here.
- Date Reported: Add the date the issue was reported. Do not change the format of this field. You can enter the date in your standard format, either dd/mm/yy or mm/dd/yy (the underlying format will remain a custom format of mmm dd, yyyy).
- Access Members: Add the email address of a user that already exists in your team. If the email of the user does not exist in your team, they will be invited to the platform. To enter multiple addresses, separate them by commas. To learn the difference between record owners and access members, head here.
- Identified By: This is a free text field
- Tag(s): Use a comma as a separator between multiple tags.
- Type: Use one of the existing options:
- Assessment result
- Control check result
- Feedback or improvement
- Incident
- Management review item
- Near-miss
- Penetration test result
- Policy non-compliance
- Vulnerable or weakness
Import Issue Custom fields
You can also import data into your custom fields if you have already created them in your register. When you download the import template, any custom fields added to the Issues & Incidents register via Administration > Custom data will be added to the template.
Issue Record types:
- Dropdown: enter the name of a selectable option in the defined dropdown list. The text must match identically and is case-sensitive.
- Free text: add any text you like. This is a simple text field.
- Multiselect: enter the name(s) of a selectable option in the defined dropdown list separated by a comma (,). The text must match identically and is case-sensitive.
- Date: do not change the format of the field in the template. You can enter the date in your standard format, either dd/mm/yy or mm/dd/yy (the underlying format will remain a custom format of mmm dd, yyyy).
- Long text: add any text you like. This is a rich text field and can be modified as such after import.
- Number: use any number, including decimals. Text and special characters are not allowed.
Do not change the formatting of the template or change the order of the columns.
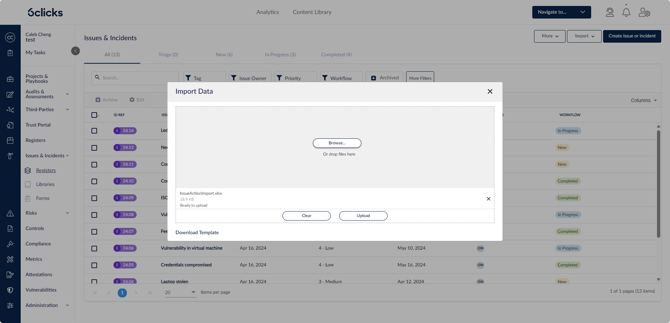
To import your issues, select Import > Issues. Once the file is ready to be uploaded, it will show the file name below the Browse button with the text 'Ready to upload'. Select Upload.

Once the file is uploaded, you will see a confirmation pop up at the bottom left of the Issues and Incidents screen confirming the 'Records Imported Successfully'. Refresh the page to see the imported records.
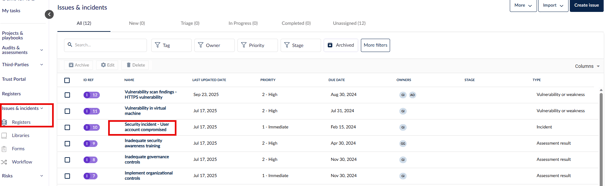
Select an Issue to view Issue Details.

Import Issue Tasks
Navigate to Issues & incidents > Registers and click Import > Tasks.

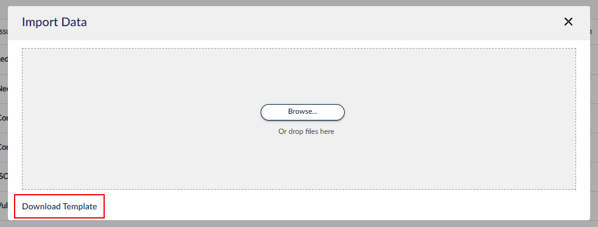
Download the tasks import template.
The template has 6 columns and may include a sample first row of text:
- Linked Issue: Add the name of the issue the action will be linked to. If you want to add multiple actions to an issue, add each action as its own row in the template.
- Status: Use one of the existing options without spaces i.e., New, InProgress, or Completed.
- Name: Add the name of the task.
- Description: Add a description of the task.
- Deadline: Do not change the format of the field in the template. You can enter the date in your standard format, either dd/mm/yy or mm/dd/yy (the underlying format will remain a custom format of mmm dd, yyyy).
- Assign Owner: This is the person assigned to the task or the assignee. Add the email address of a user that already exists in your team. If the email of the user does not exist yet in your team, they will be invited to the platform. To learn the difference between record owners and assignees, head here.
To import your Task(s), select Import > Tasks. Once the file is ready to be uploaded, it will show the file name below the Browse button with the text 'Ready to upload'. Select Upload.
Once the file is uploaded, you will see a confirmation pop up at the bottom left of the Issues and Incidents screen confirming the 'Records Imported Successfully'. Click on the Issue from the Issue register. Refresh the page to review the task(s) in the Issue Tasks tab.

Click here for more information on working with the Incidents & Issues module in 6clicks.