Table of contents
Why should I do this?
There may be risks that impact multiple spokes across your organization.
Different stakeholders in different spokes may want to share a risk instead of each managing their own versions of the same risk.
The risk sharing capability allows you to manage one risk across multiple spokes. This way, one spoke can maintain the ownership of the risk while giving other spokes view-only access to the risk.
The risk transferring capability allows you to transfer a risk from one spoke to another while letting the original spoke retain view-only access.
Prerequisites
For the risk transferring or sharing functionality to be visible and usable:
- Your 6clicks environment must be of the Enterprise Hub & Spoke type.
- This feature is not available for Spoke environments with no Hubs.
- This feature is not available for MSP Hubs that manage client Spokes.
If you are unsure whether this feature is applicable to your environment, please contact your 6clicks representative or 6clicks support.
- Feature enabled at the hub level: the feature setting must be enabled across at least 2 spokes.
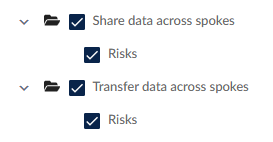
- Permissions granted at the spoke level: once the feature is enabled, the below relevant permissions must also be granted to users.

- By default, spoke advisors (hub-level users) are not granted these permissions. As an advisor, you can grant them to yourself in the relevant spoke/s or ask a spoke administrator to do so.
- By default, spoke-level users with the administrator role are granted these permissions.
Feature settings
In the hub, you can find the data transferring & sharing settings in Administration > Settings > Features.
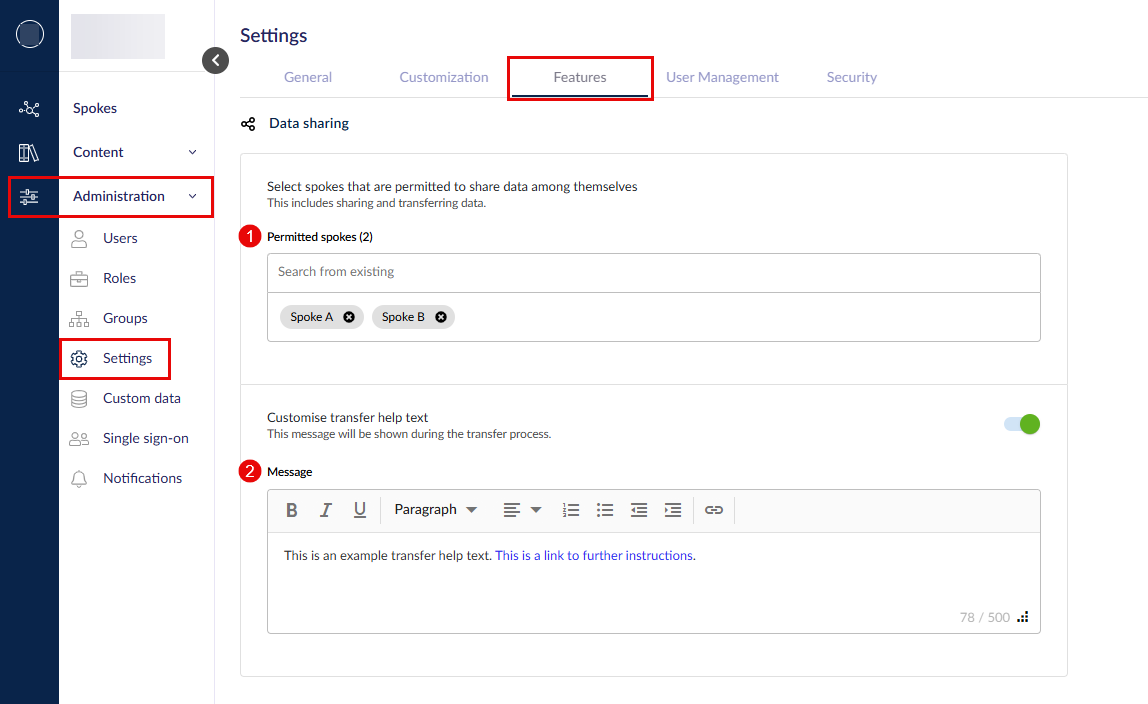
The spokes added to Permitted spokes (1) are the spokes that you can transfer or share data to/from.
Any customized help text (2) will be visible to a user when they are transferring data. It will be displayed alongside the default 6clicks help text.
Make sure to Save all your feature settings when done.
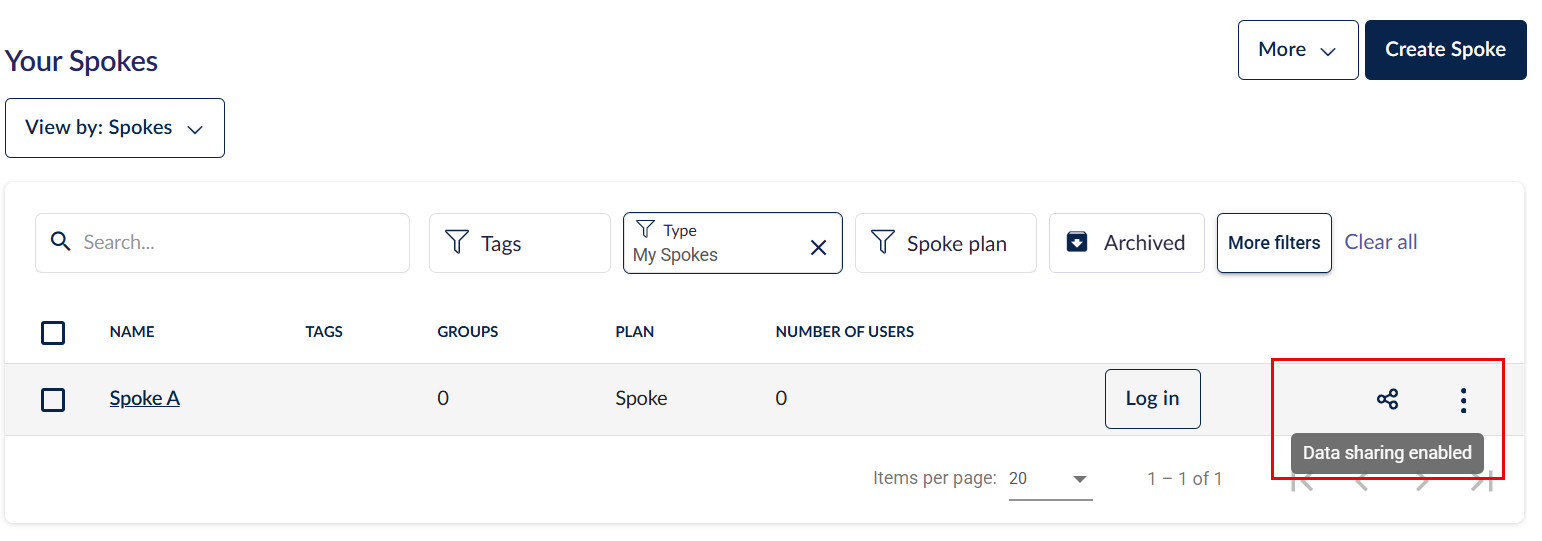
Any spokes that have data sharing enabled will have a corresponding icon in the spoke list.
Sharing a risk
In this example, we have a risk to be shared by User 1 in Spoke A (originator spoke), with User 2 in Spoke B (destination spoke).
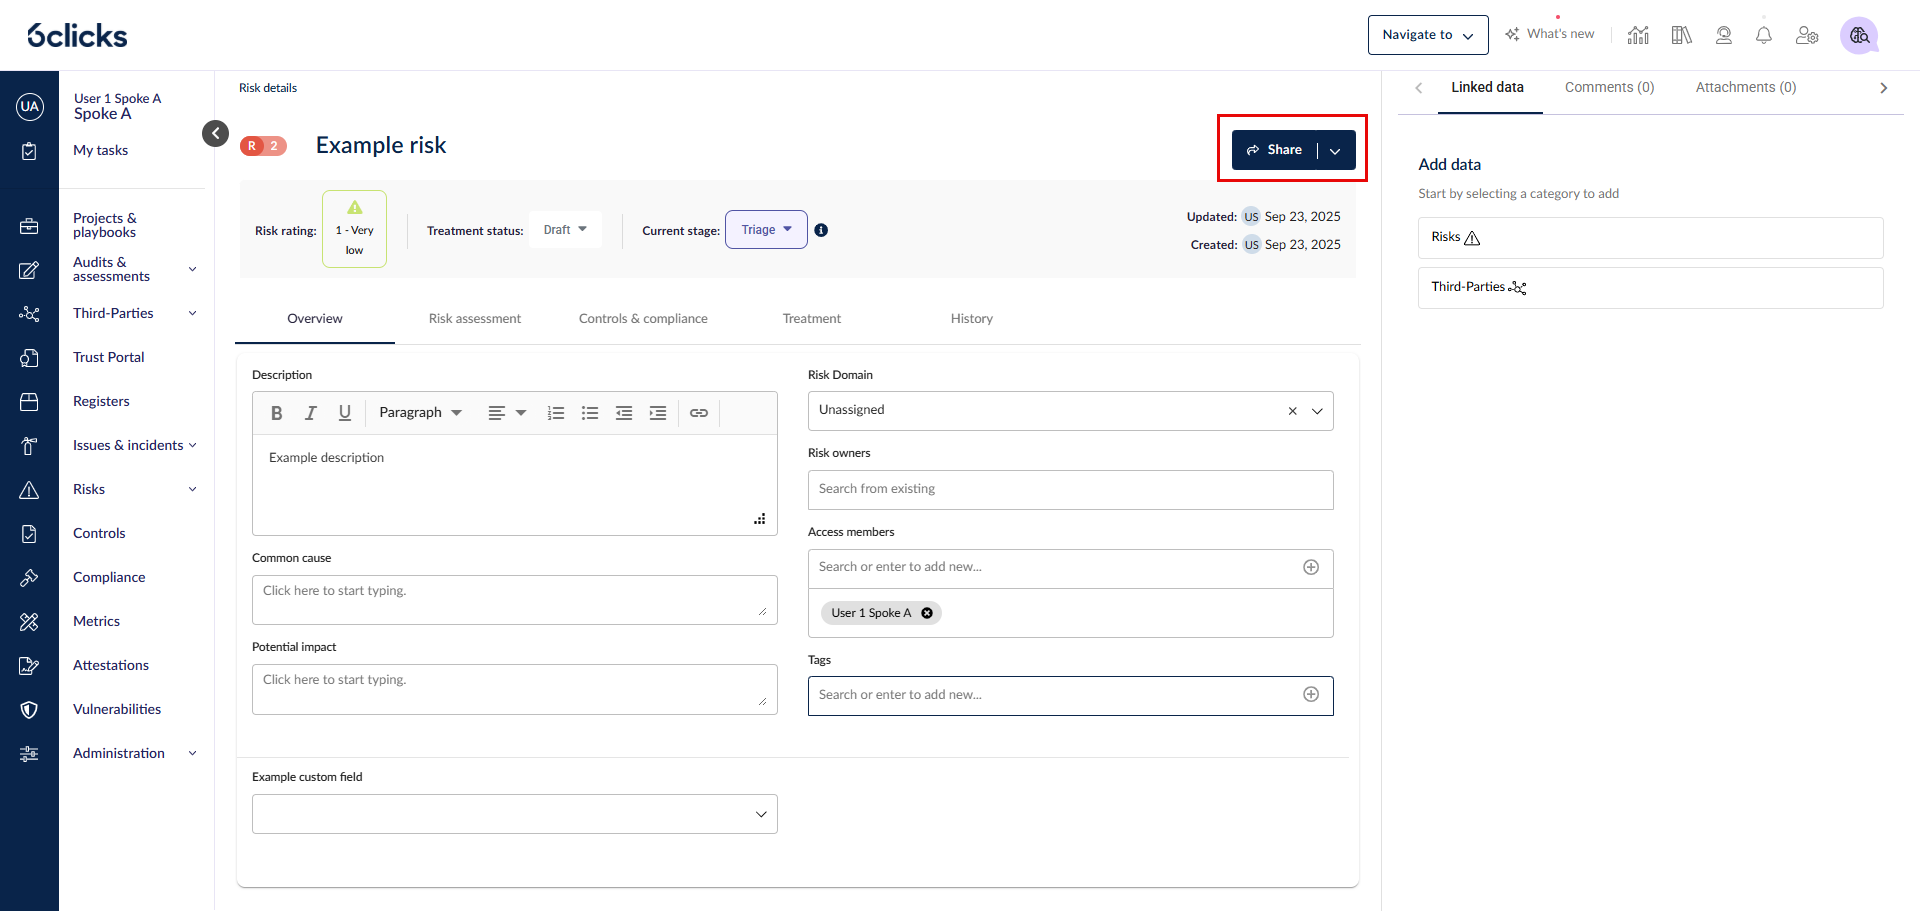
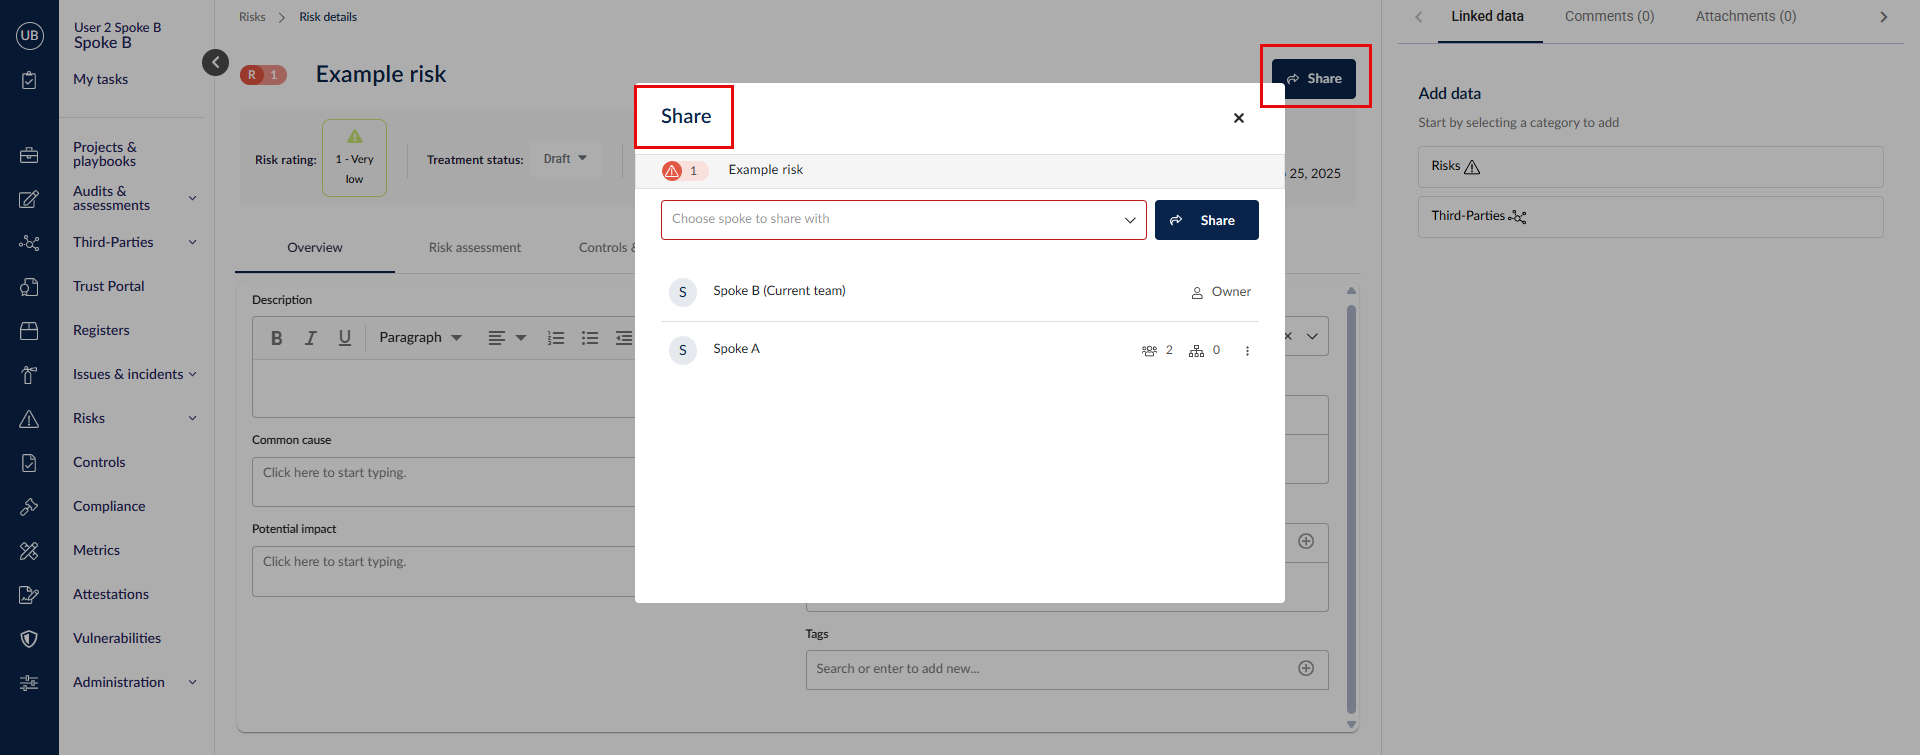
To start with, we click into the risk we want to share and select Share.
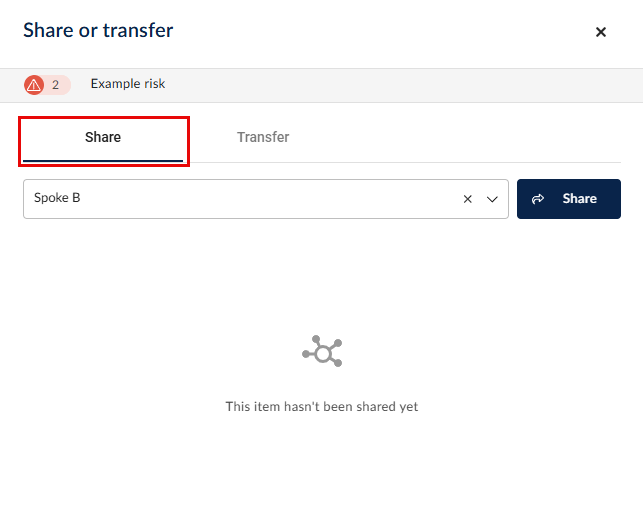
We are taken to the Share tab in the Share or transfer modal. If this risk was previously shared with other spokes, we can see the relevant detail on this screen. We select the destination spoke in the dropdown and continue by clicking on Share.
Next, we can select the user/s or group/s that will be added as access members to the risk in the destination spoke.
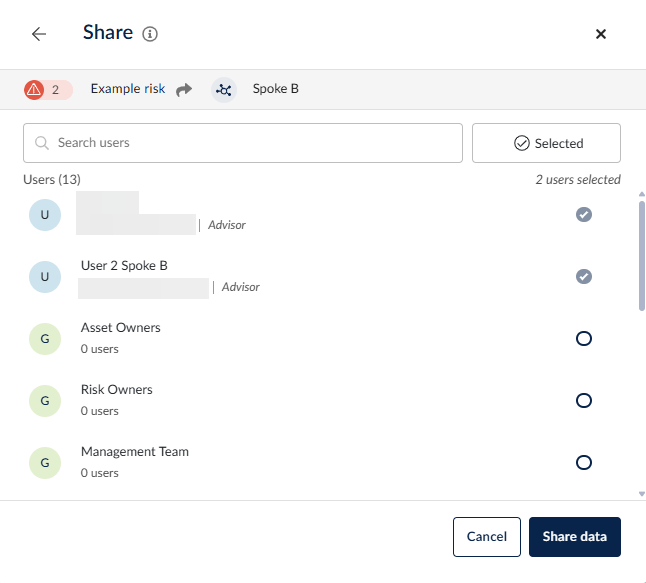
You can filter or search for relevant users to add to the access members list. Users that have the View all risk permission cannot be deselected; in our example, User 2 is already an advisor with this permission so they don't need to be added separately.
Next, click Share data to share the risk.
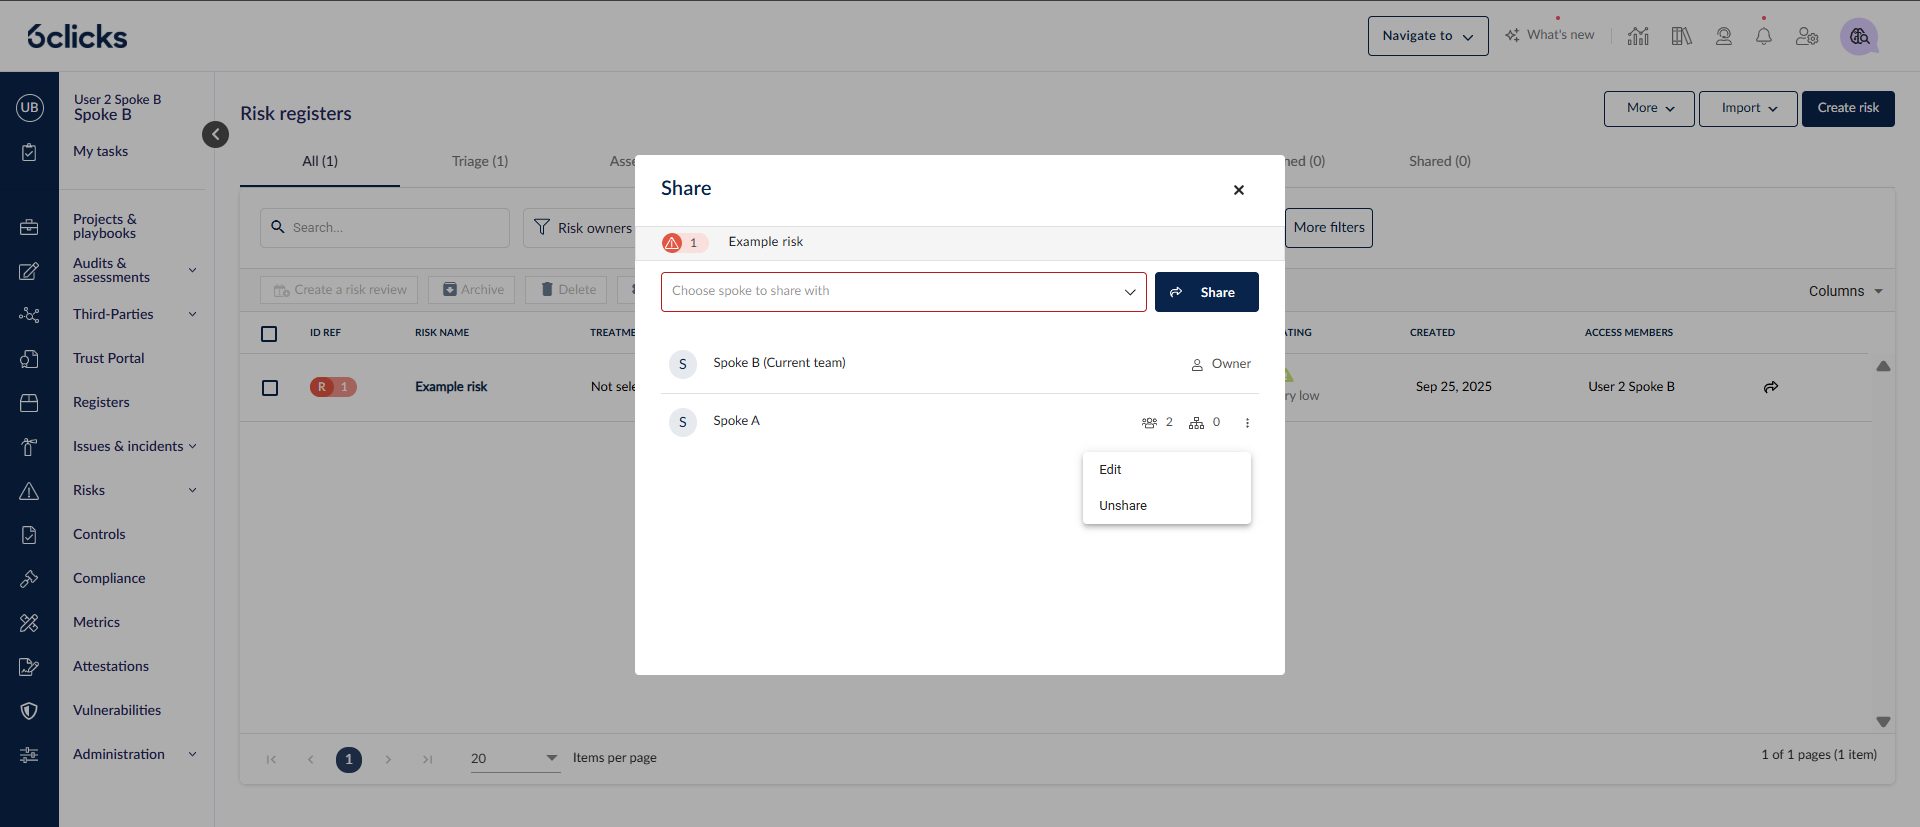
Once shared, in the originator spoke you will be able to see the destination spoke/s, user/s or group/s a risk is being shared with.
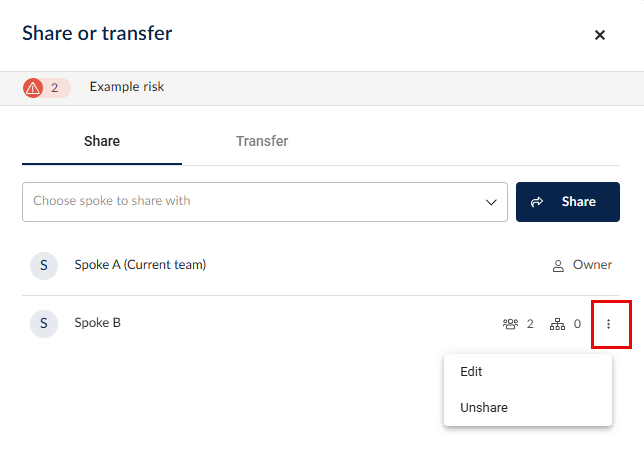
From here, you can Edit which destination spoke users should be able to see the risk or Unshare it from the destination spoke entirely.
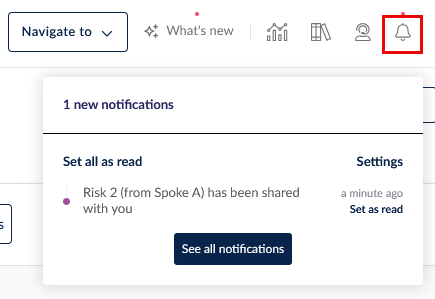
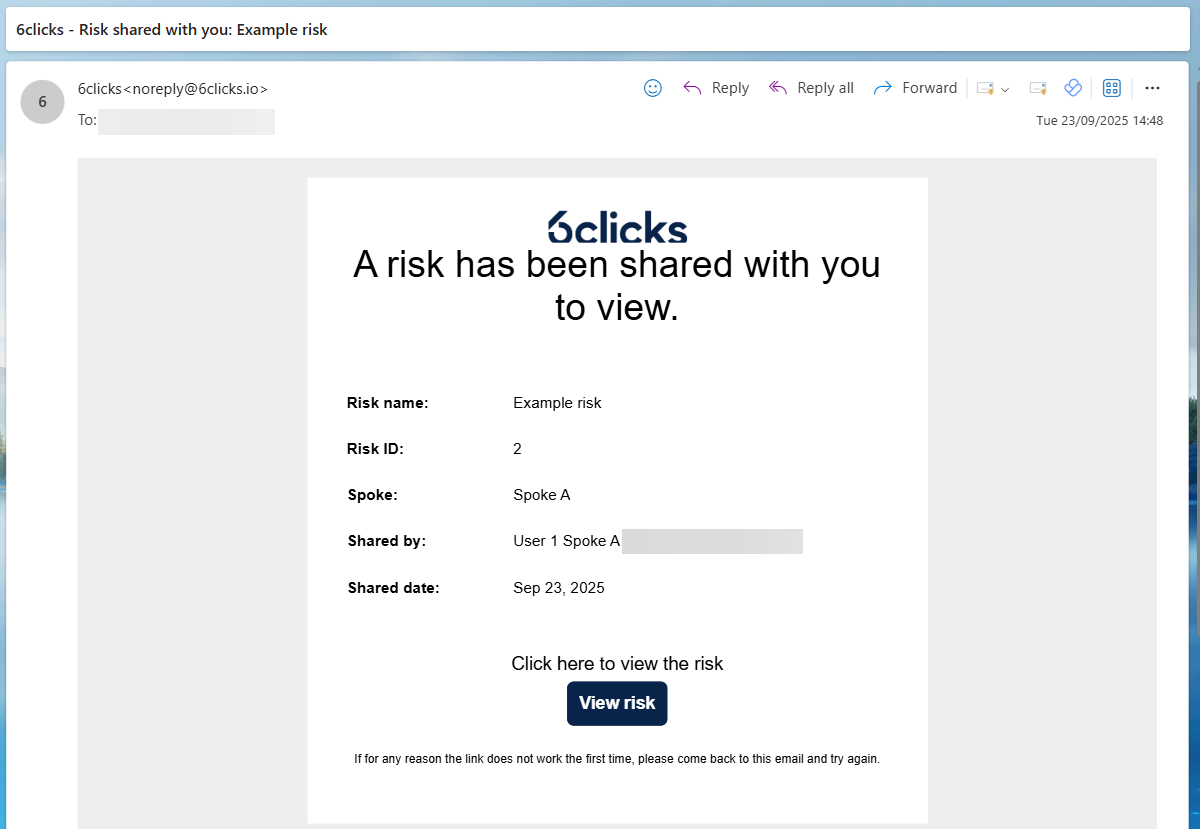
User 2 is notified via an email and an in-app notification because a risk was shared with them.
If User 1 unshares the risk, User 2 will not be notified separately; they will simply no longer have access to the risk.
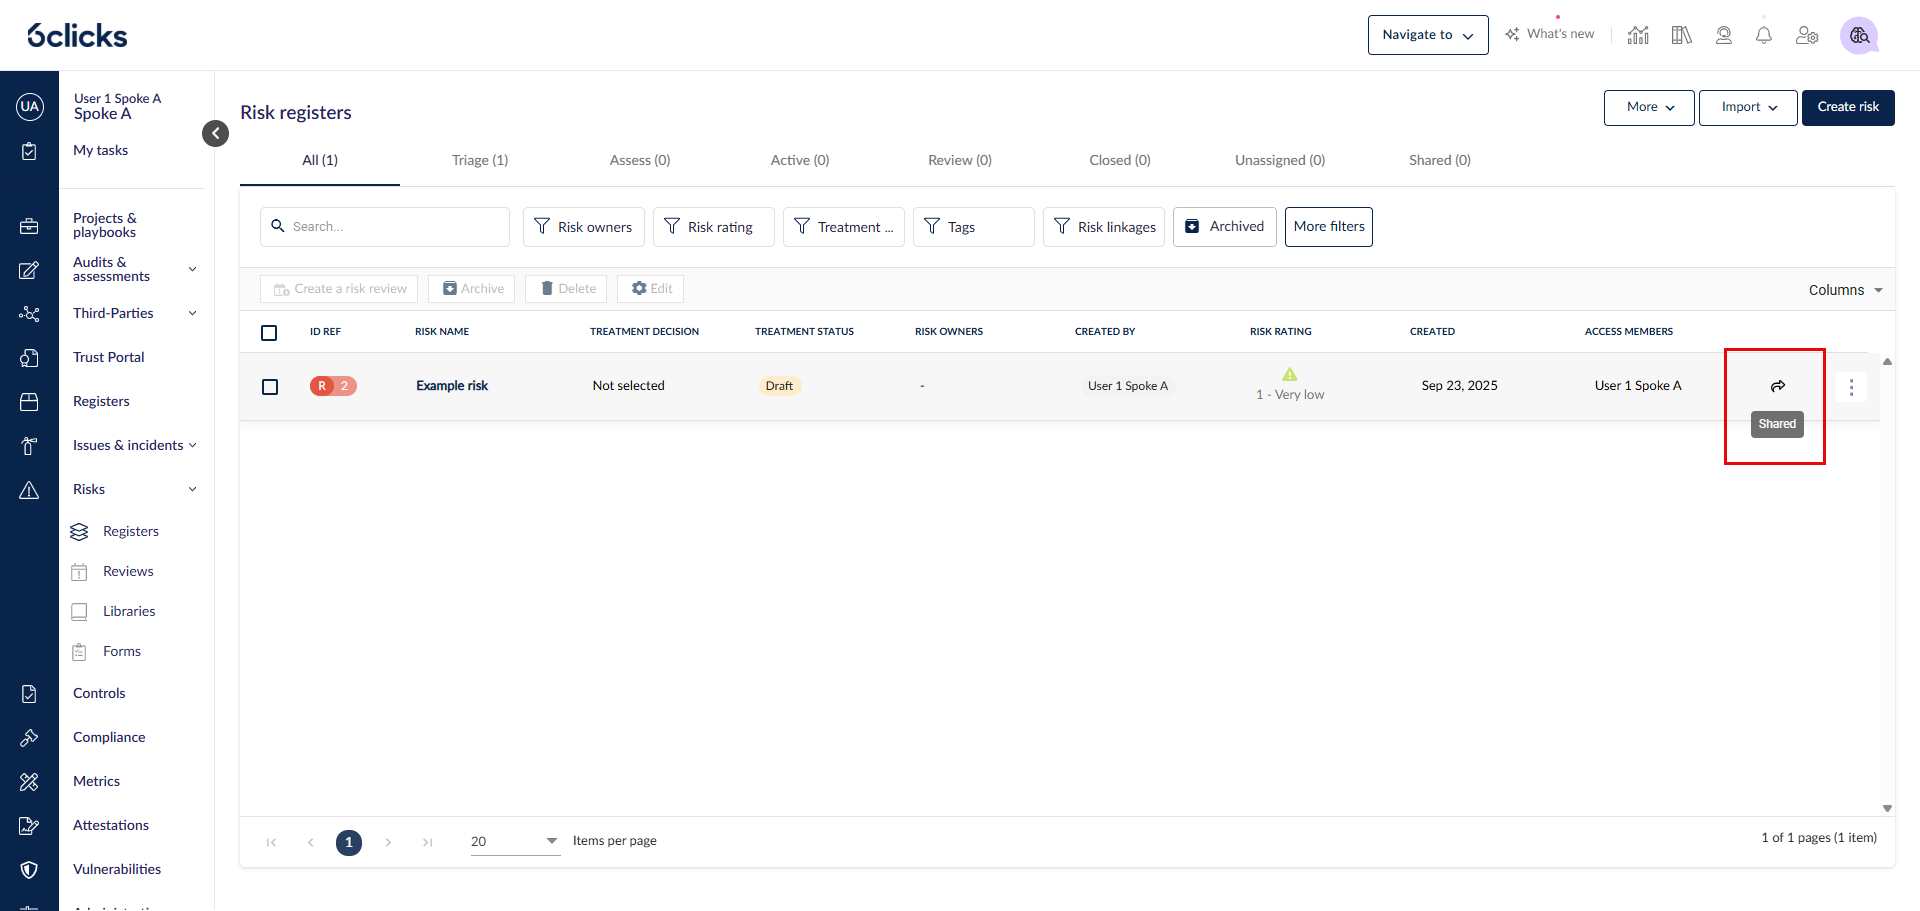
User 1 can now see a Shared icon in the register next to the shared risk. They can continue to use the risk as normal.
If User 1 archives the risk, it will be unshared from the destination spoke and User 1 will have to share it again if they restore it from the originator spoke archive.
User 2 can find this risk in Spoke B under the Shared tab.
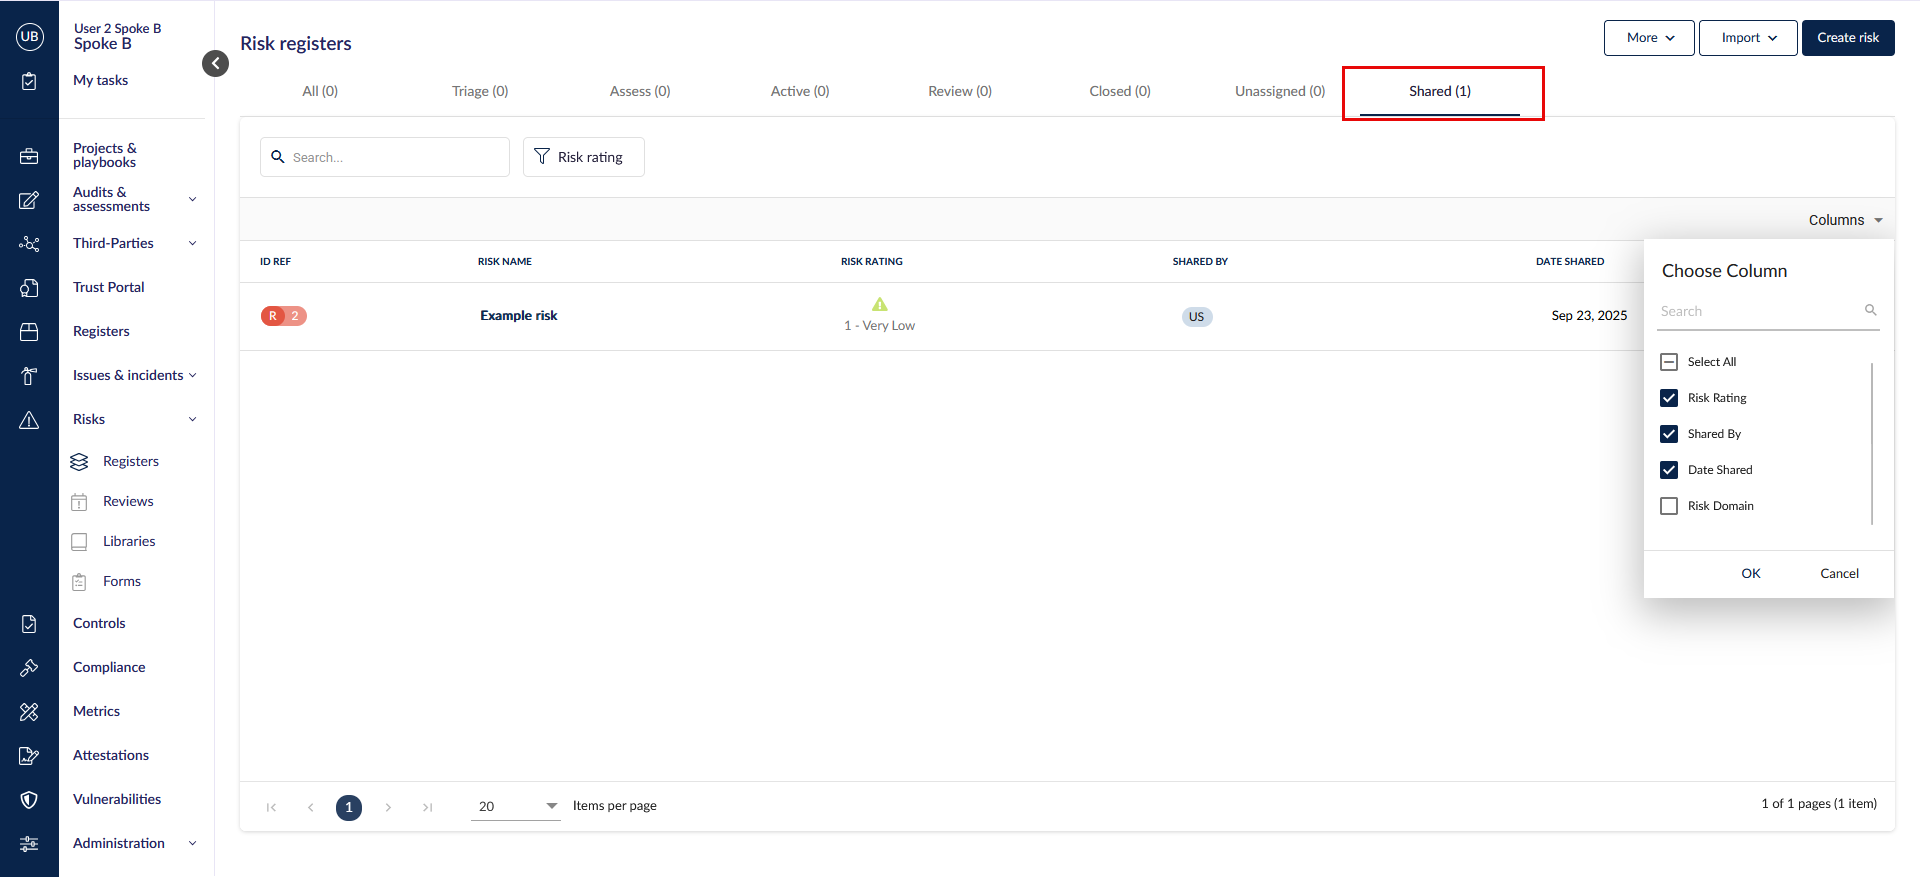
The Shared tab only includes columns common across the spokes, i.e. default risk fields & custom risk fields configured at the hub. Spoke-level custom risk field data are not visible in the main grid but will be displayed in Risk details.
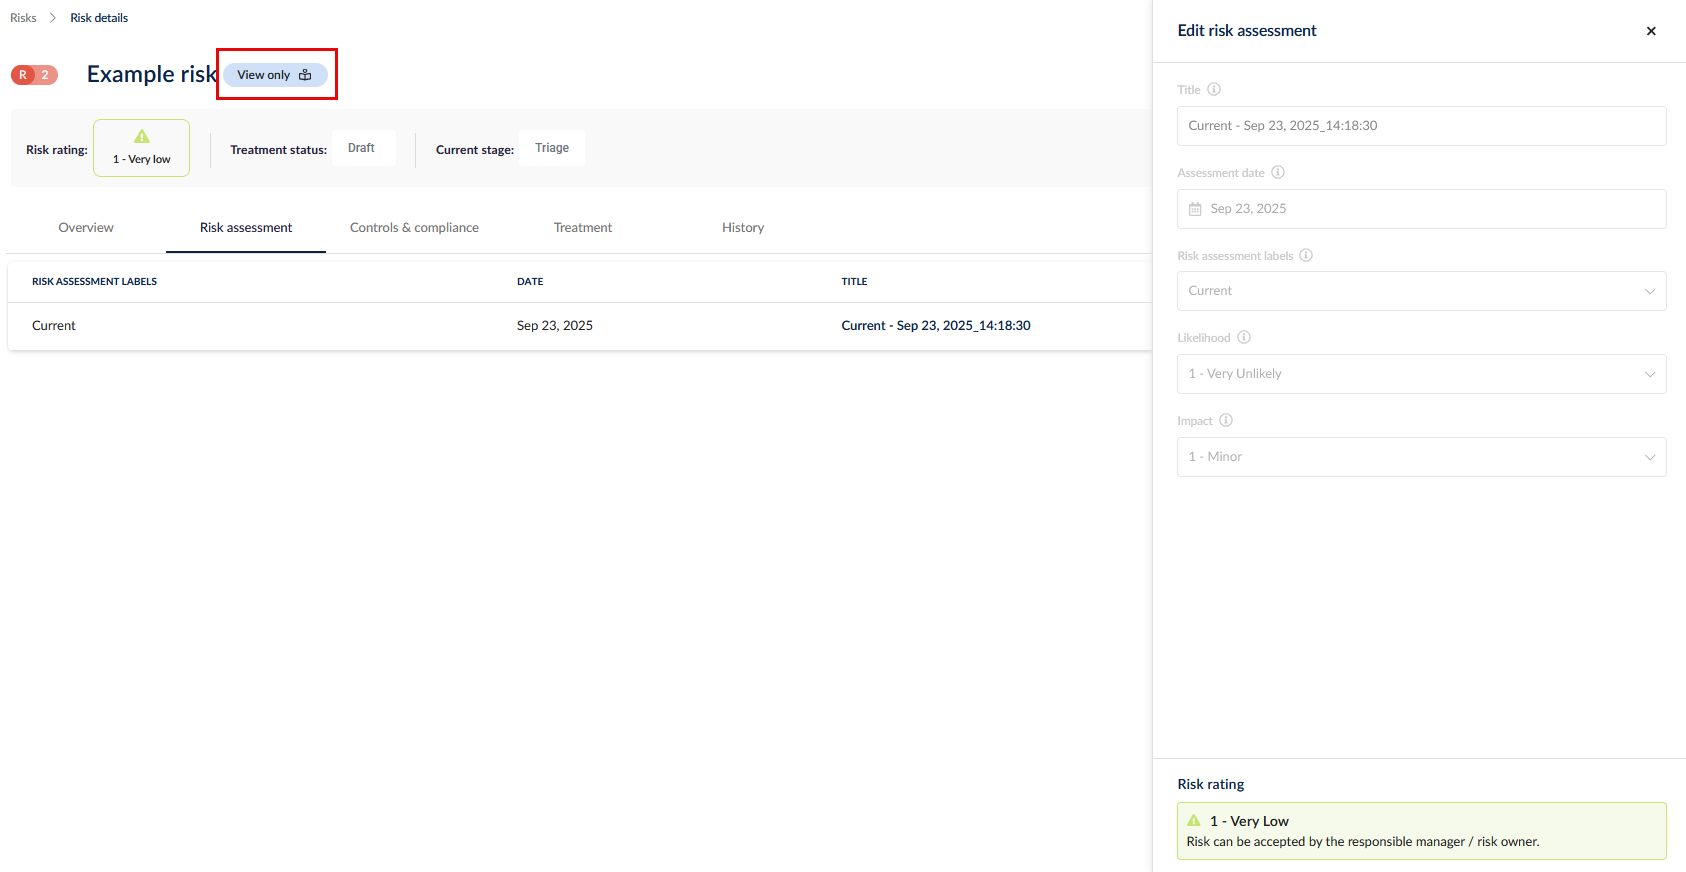
User 2 can see all the Risk details for every tab in view-only mode, including the history log.
Transferring a risk
In this example, we have a risk to be transferred from User 1 in Spoke A (originator spoke), to User 2 in Spoke B (destination spoke).
Data stored in spoke-level custom fields and any linked data will not be transferred.
To ensure accountability, a risk can only be transferred once. A risk that has already been transferred once can be shared, but cannot be transferred.
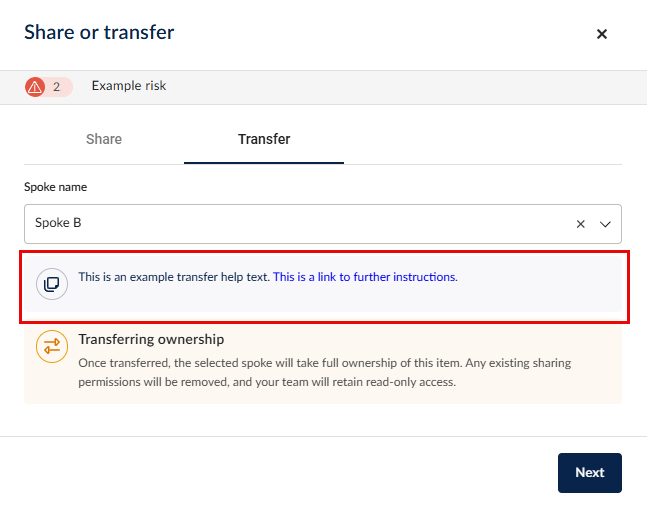
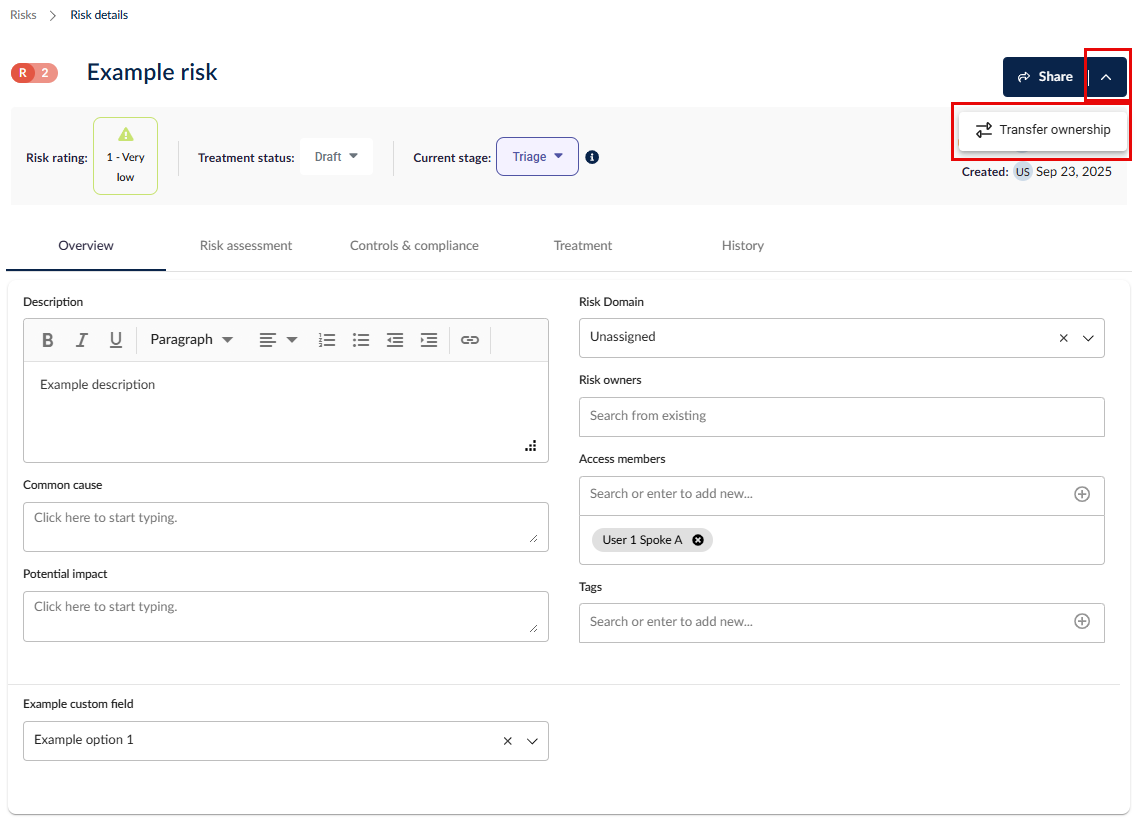
We select Transfer ownership or the Transfer tab in the Share or transfer modal.
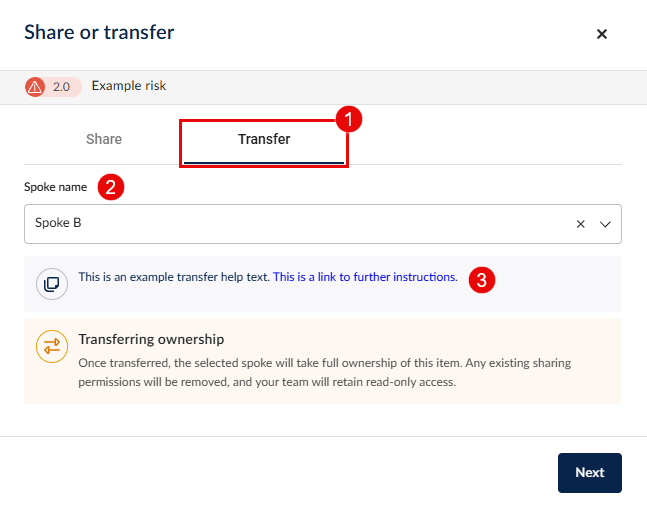
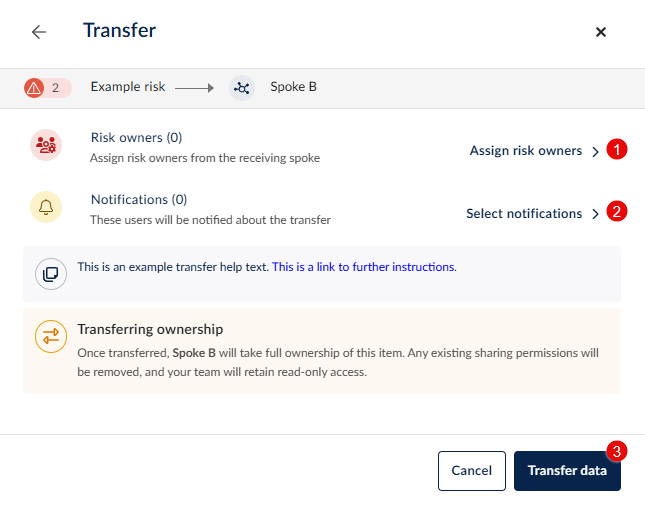
Within the Transfer (1) tab, we will be able to select the destination spoke (2) and see any customized transfer help text (3) set at the Hub.
Next, you can select the owner/s of the risk after it is transferred (1) and customize the list of notifications being sent (2). After that, you can continue by selecting Transfer data (3).
At least 1 owner needs to be selected for the transferred risk. In the Risk owners modal you can search or filter for users or groups in the destination spoke.
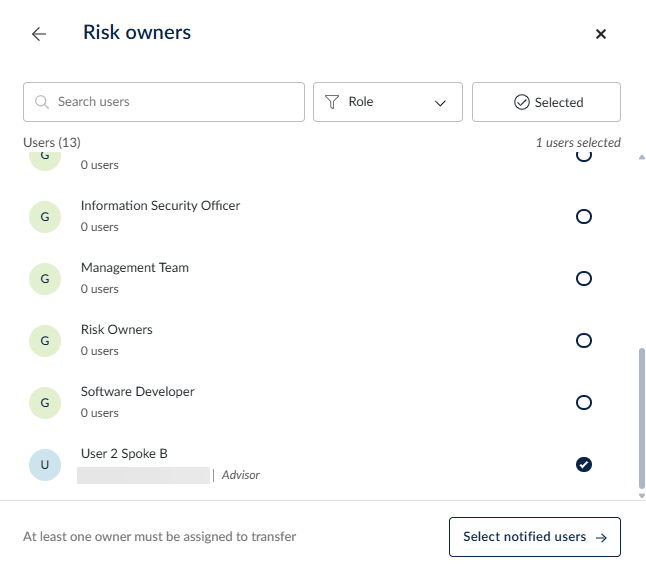
In our example, we are selecting User 2. You can head back to the Transfer modal using the arrow to the top left or Select notified users using the button to the bottom right.
When selecting notified users, you can choose from a list of all users/groups from the originator spoke and from the destination spoke.
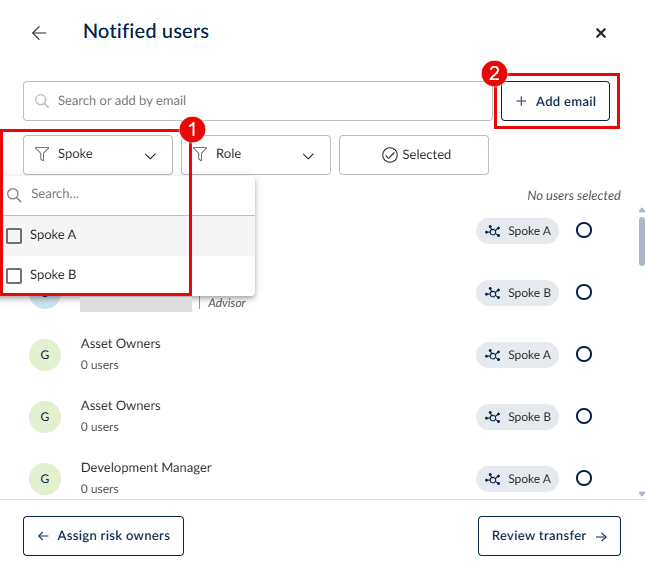
You can distinguish the users from each spoke with the Spoke filter (1) or their tag. You can also add email addresses of external stakeholders (2) to keep them informed.
The external stakeholder will not be otherwise added as a 6clicks user or respondent, they will receive a notification email for this action only.
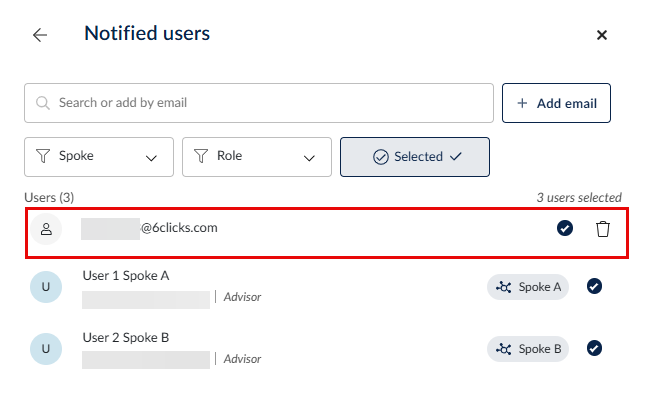
In our example we will notify an external stakeholder, as well as User 1 and User 2.
It can take up to a few minutes for the risk to be fully transferred.
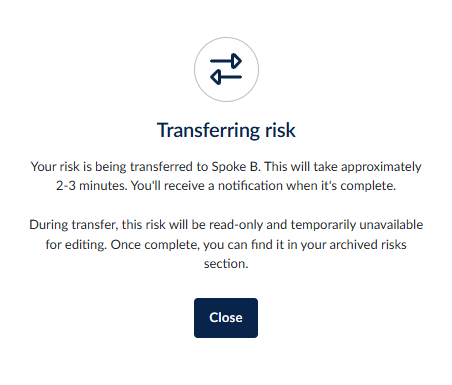
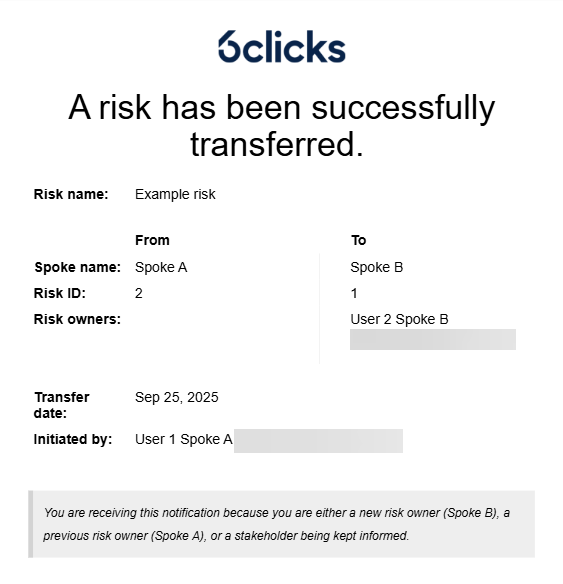
Once done, the selected users will be notified. All the notification emails will be identical.
In the Originator Spoke, the risk will be archived and stored in the Shared tab with view-only access.

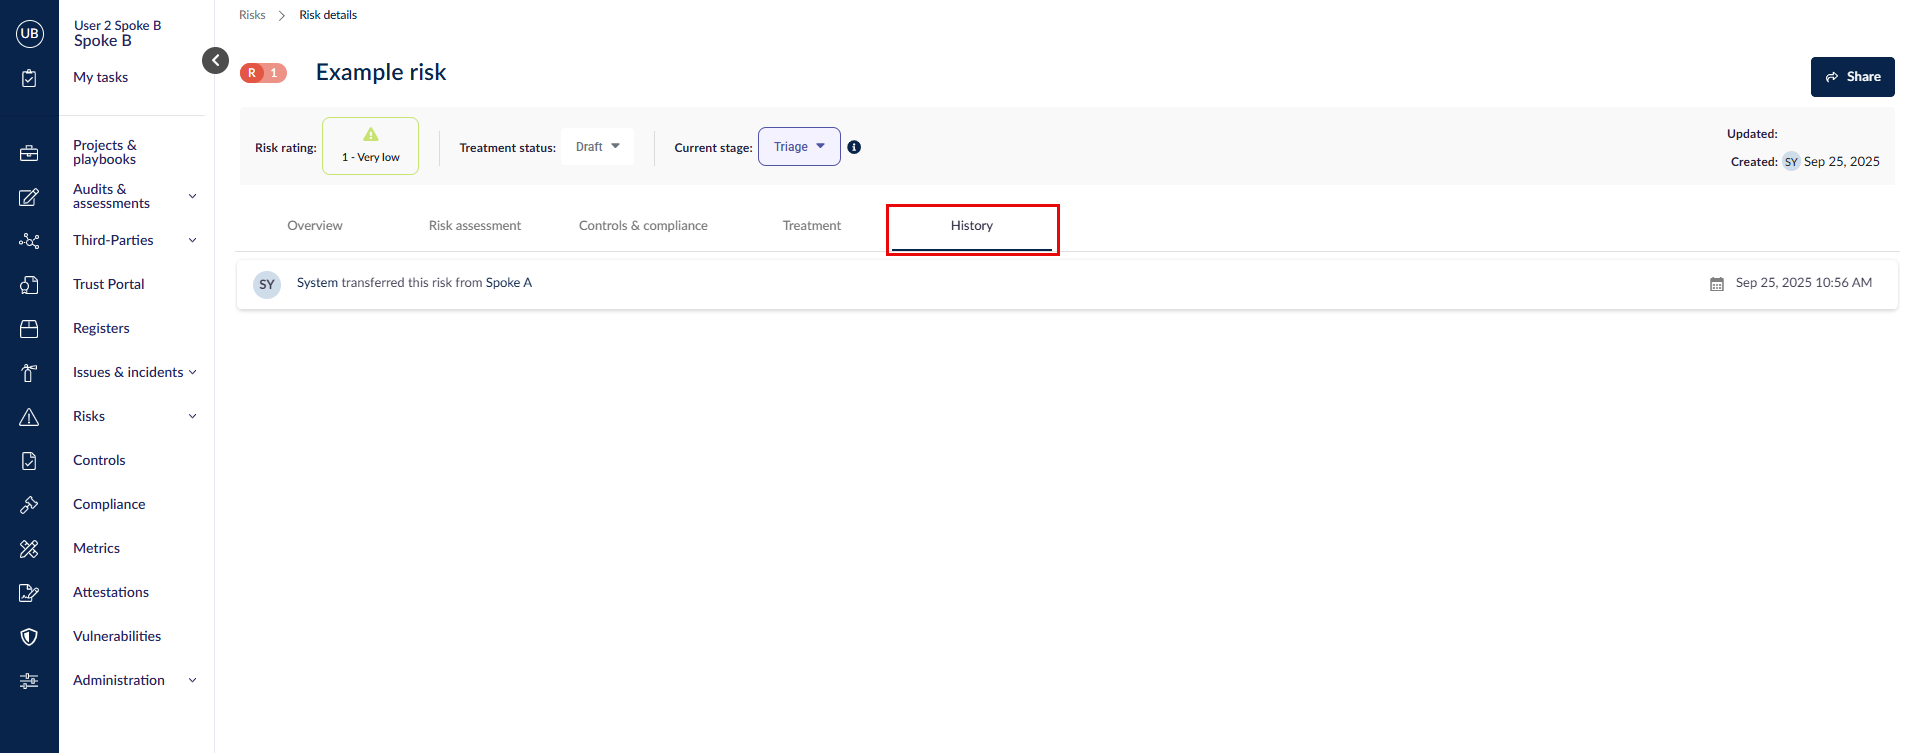
In the History section within the Originator Spoke, it will be indicated that the system transferred the risk from this spoke.

In the destination spoke, this risk can now be used like a normal risk like any other risks natively created within the spoke.
Users in the destination spoke can choose to unshare it from the originator spoke.
The main difference between a transferred risk and a native risk is that any history logs which occurred prior to the transfer in the originator spoke are not carried over to the destination spoke.
Sequential Risk Transfers
Risks that have already been transferred can be transferred again, enabling sequential risk transfers across spokes.
When a sequential transfer is completed:
-
The destination spoke (the new spoke) receives the risk and becomes the active owner.
-
The previous spoke where the risk resided retains view-only access to the risk.
-
The risk in the source spoke from which the transfer was initiated is archived.
This functionality allows risks to move across multiple spokes.
Note: When a sequential risk transfer occurs, the Originator Spoke—where the risk is archived will only display the history of the first transfer. Details of the second transfer will not appear in the history of the risk in that spoke.
Additionally, the new destination spoke will not contain a reference to the original Originator Spoke. It will only display a reference to the spoke from which the risk was most recently transferred.
To learn more about risks in 6clicks, head here.