Issue tasks are generated from an Issue and managed by assignees within their My Tasks module, which provides visibility across all types of tasks within the application.
Issue tasks have a Status, Name, Description, Due Date, and Owner and will always be linked to their parent Issue.
Viewing issue tasks assigned to you
Select Issues & Incidents > Registers, then More > View my tasks at the top right.
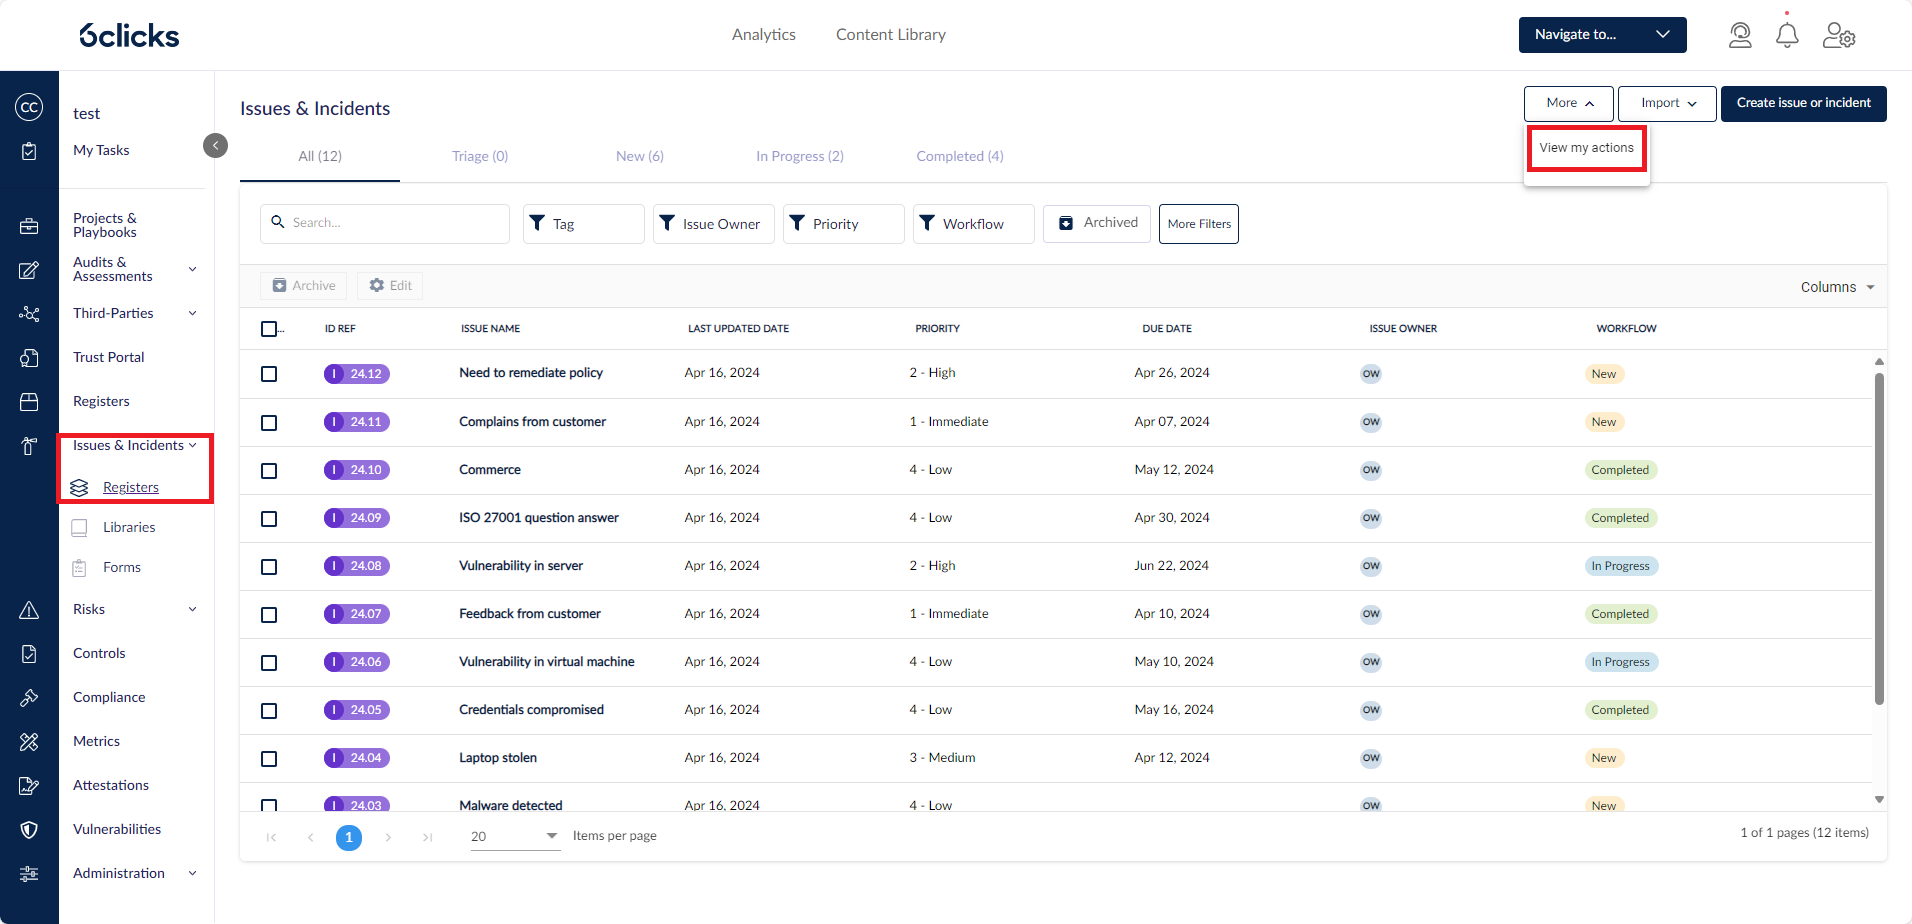
This opens My Tasks and automatically applies the filter Issue Action.
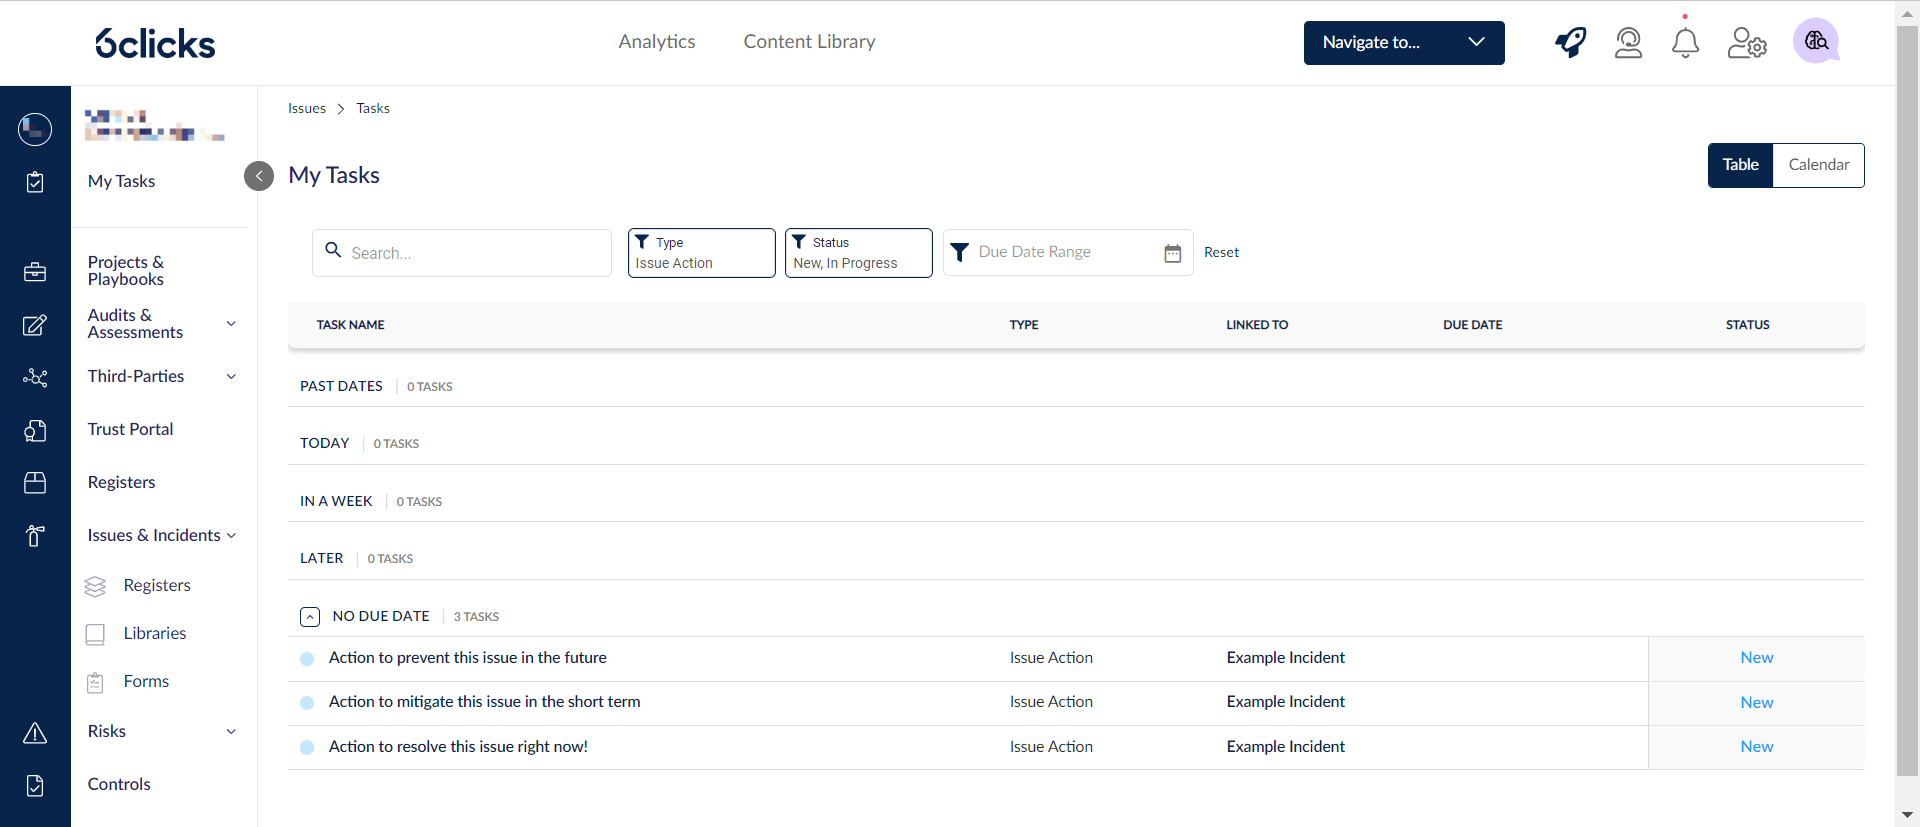
To learn how to complete the task, head here.
Creating a new Issue Task
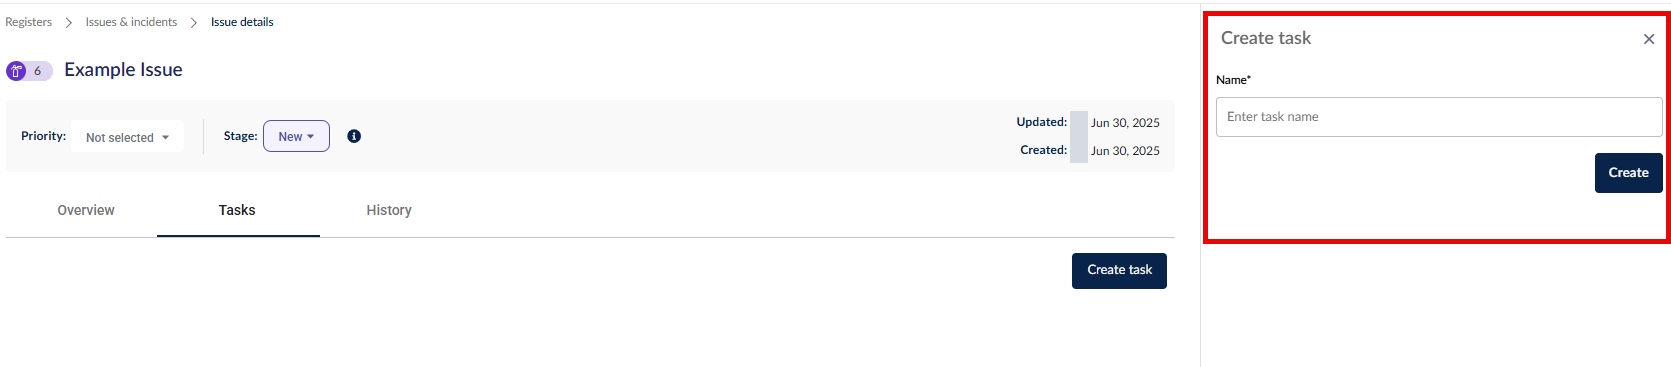
Go to Issues & incidents > Registers and click on the issue for which you wish to create a task.

Go to the Tasks tab (1) where you can Create task (2).

Enter the issue task name at the side panel that appears.
You can then edit the below list of details of the task. You can also edit the task name here by double-clicking it.
- Task Status: New, In Progress, or Completed.
- Due Date: The due date of the task.
- Third-Party: The third-party related to the issue, if any.
- Assignee: The user(s) responsible for completing this task.
If a third-party is linked to this task, then the assignee field will allow you to add user(s) belonging to the third-party; these are also known as response only users. To learn more about them, head here.
If no third-party is linked to this task, the assignee field will allow you to add user(s) from within your own organisation. In this scenario, the Third-Party field is not visible.

To learn how to address this task, head here.
To learn how to assign third-party/vendor users (response only users) to issue tasks, head here.