
Learn how to manage your risk and compliance content for trust portal profiles
Table of contents:
- Control sets
- Assessments
- Documents
- Removing data from profiles
- Publishing the profile
- Reordering profiles
Control sets
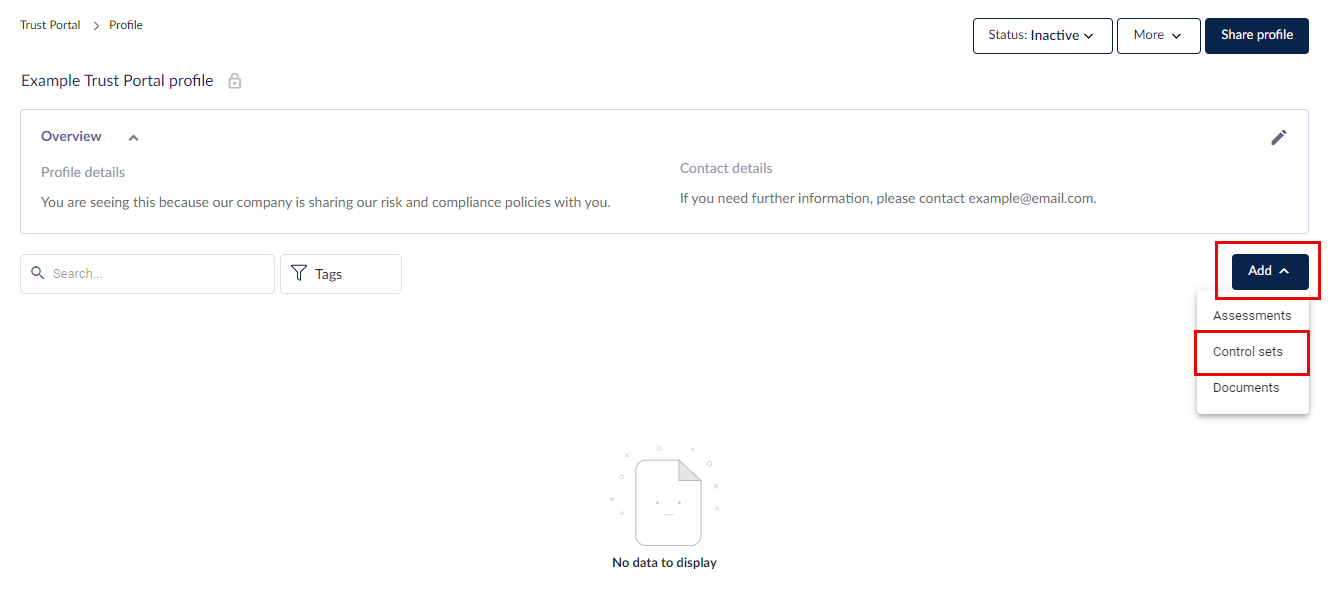
Under the Overview of the profile that you want to add control sets (or what you renamed them to) to, click Add > Control sets.
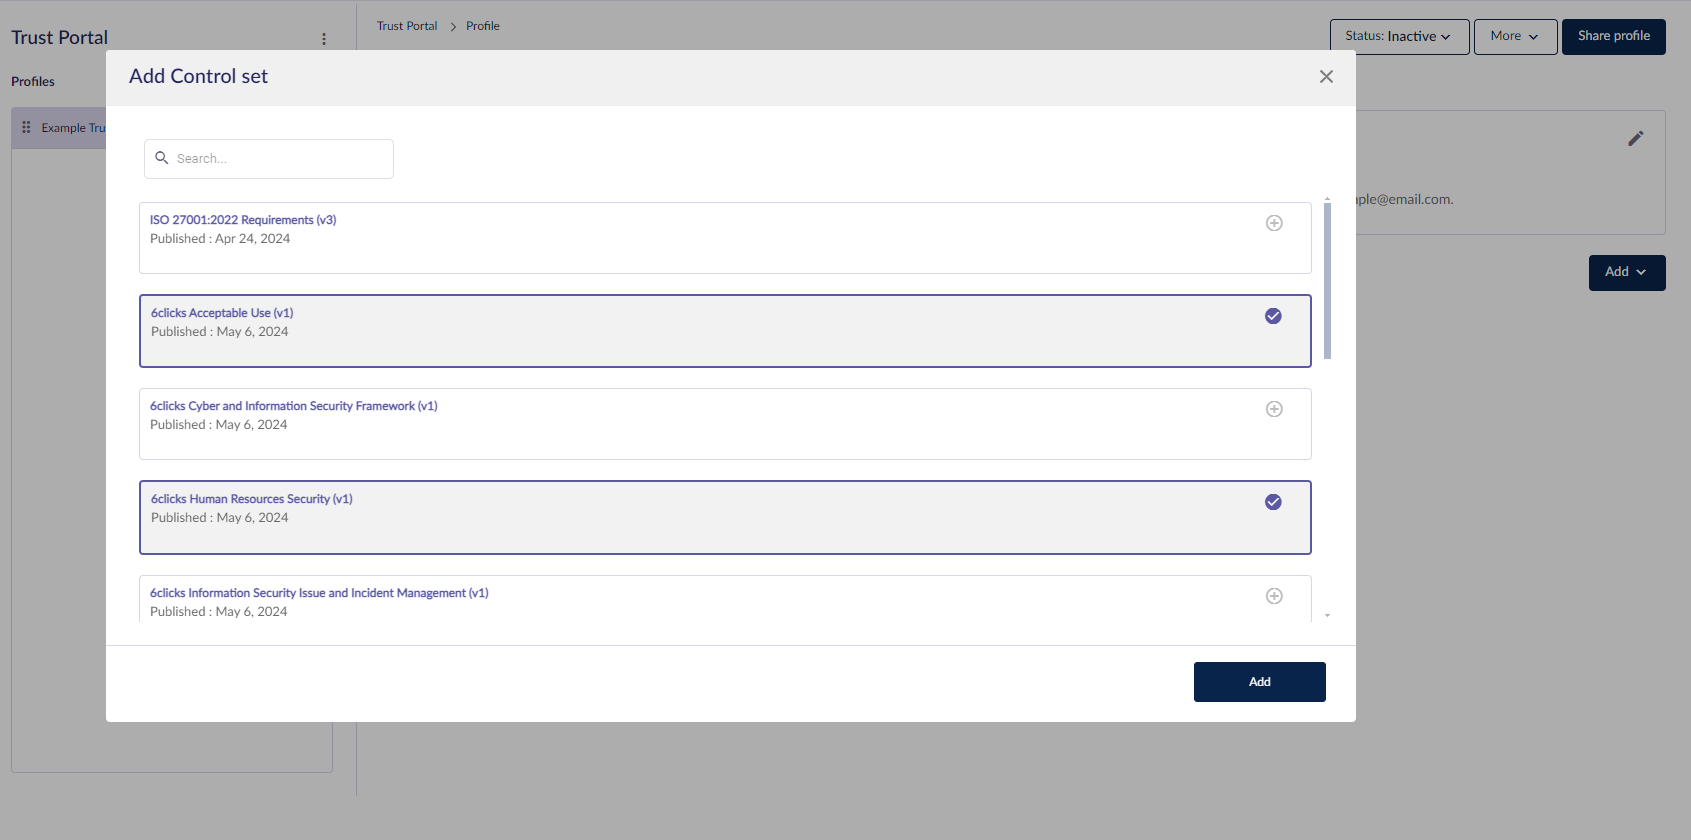
Search for and select the control set(s) you want to add, then click Add.
The control sets visible to people using this profile will be under the Control sets tab in the same order as they appear to you. You can reorder them by clicking and holding the 6 dots to their left and dragging.
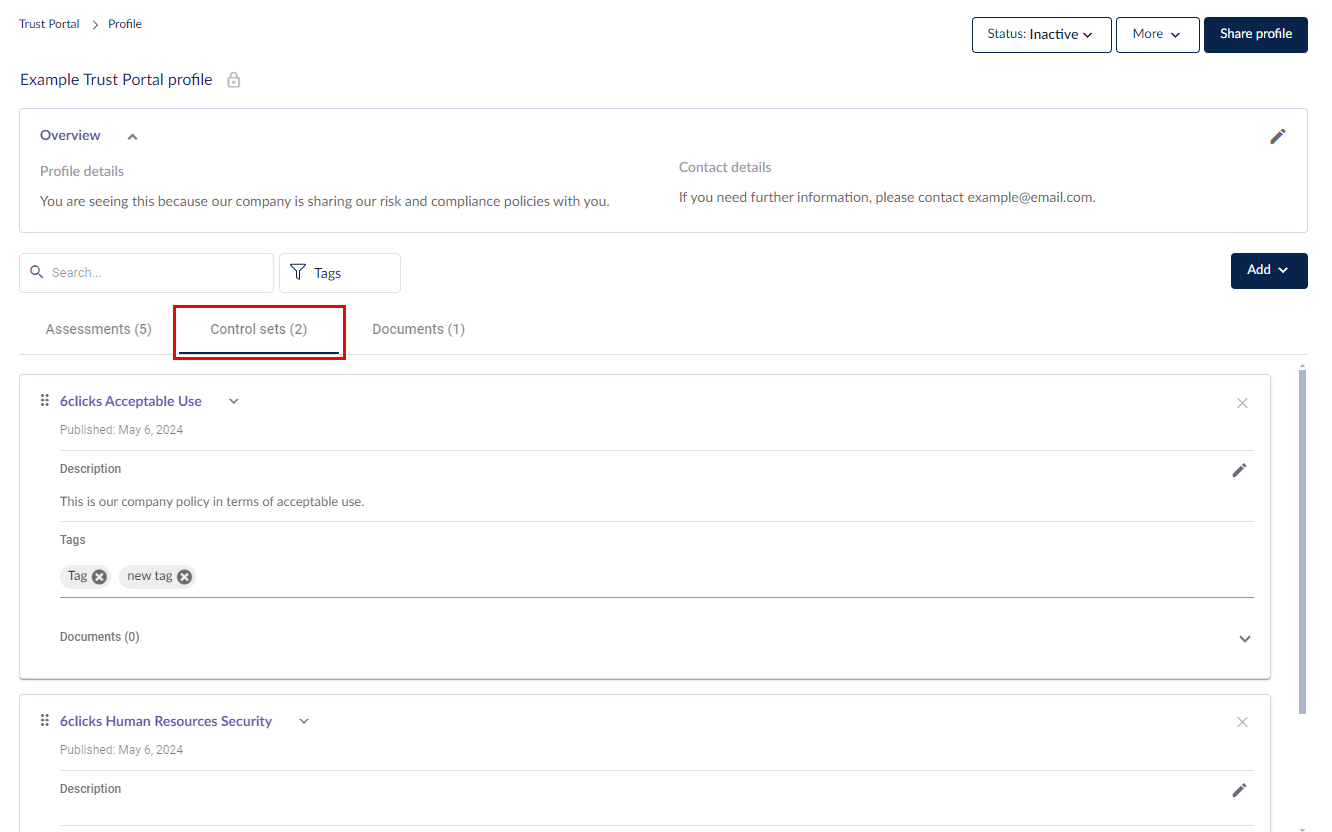
You can add additional information to help people understand your control set.
This information is for people who can access this Trust Portal profile.
They are only saved against this control set in this Trust Portal profile, and do not affect the control set in the Controls module, nor the same control set under a different profile.
Click on the name of a control set to open the Viewer. This is how people will see your control set when they are given access to the Trust Portal profile.
In the viewer, you can click on linked provisions and responsibilities to see more details.
Download a PDF file of the control set by clicking on Download as PDF.
Choose to either include or exclude linked provisions in the PDF. The export job will be queued and once completed, the file will be downloaded to your computer.
External users invited to view profile do not have the Download as PDF button; his is only available to internal users.
Assessments
Under the Overview of the profile that you want to add assessments to, click Add > Assessments.
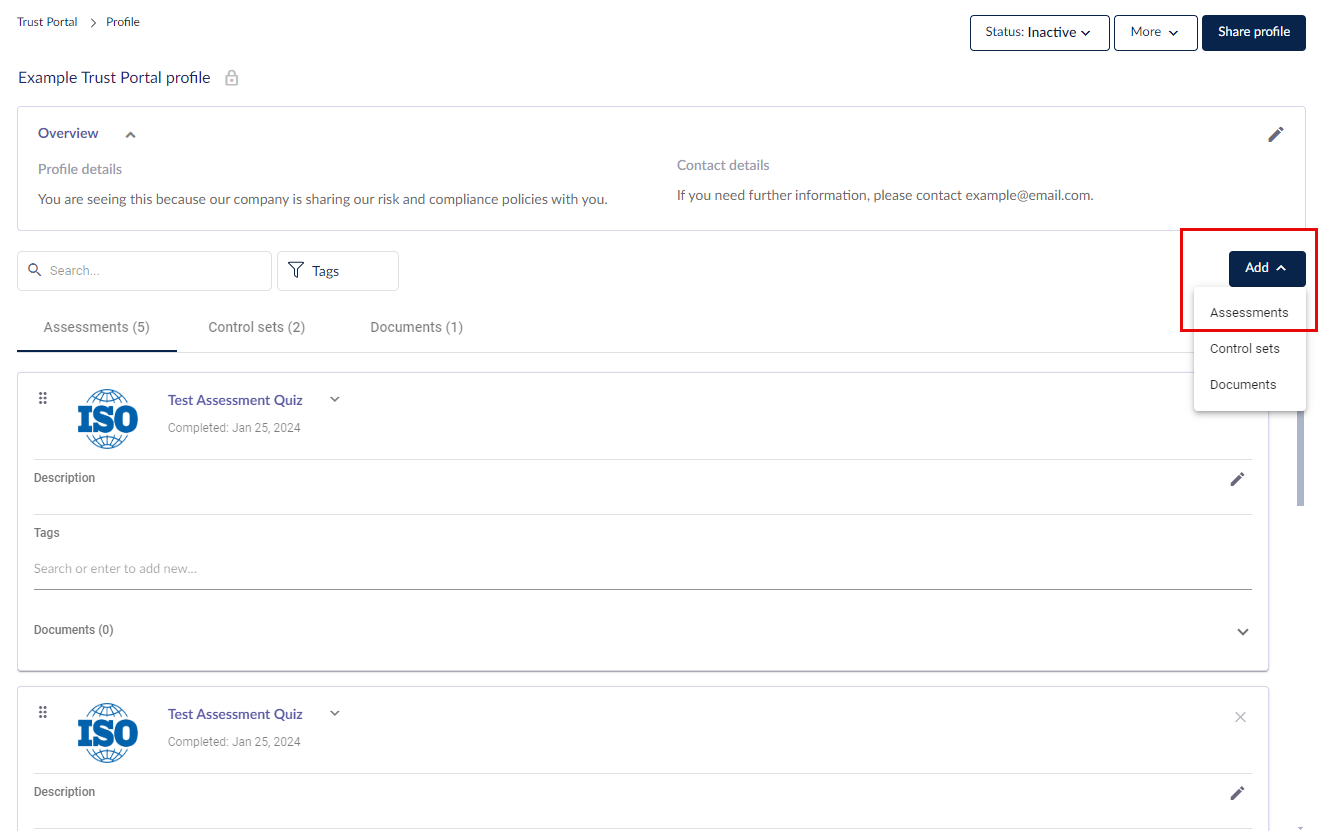
Only completed assessments can be added to Trust Portal profiles.
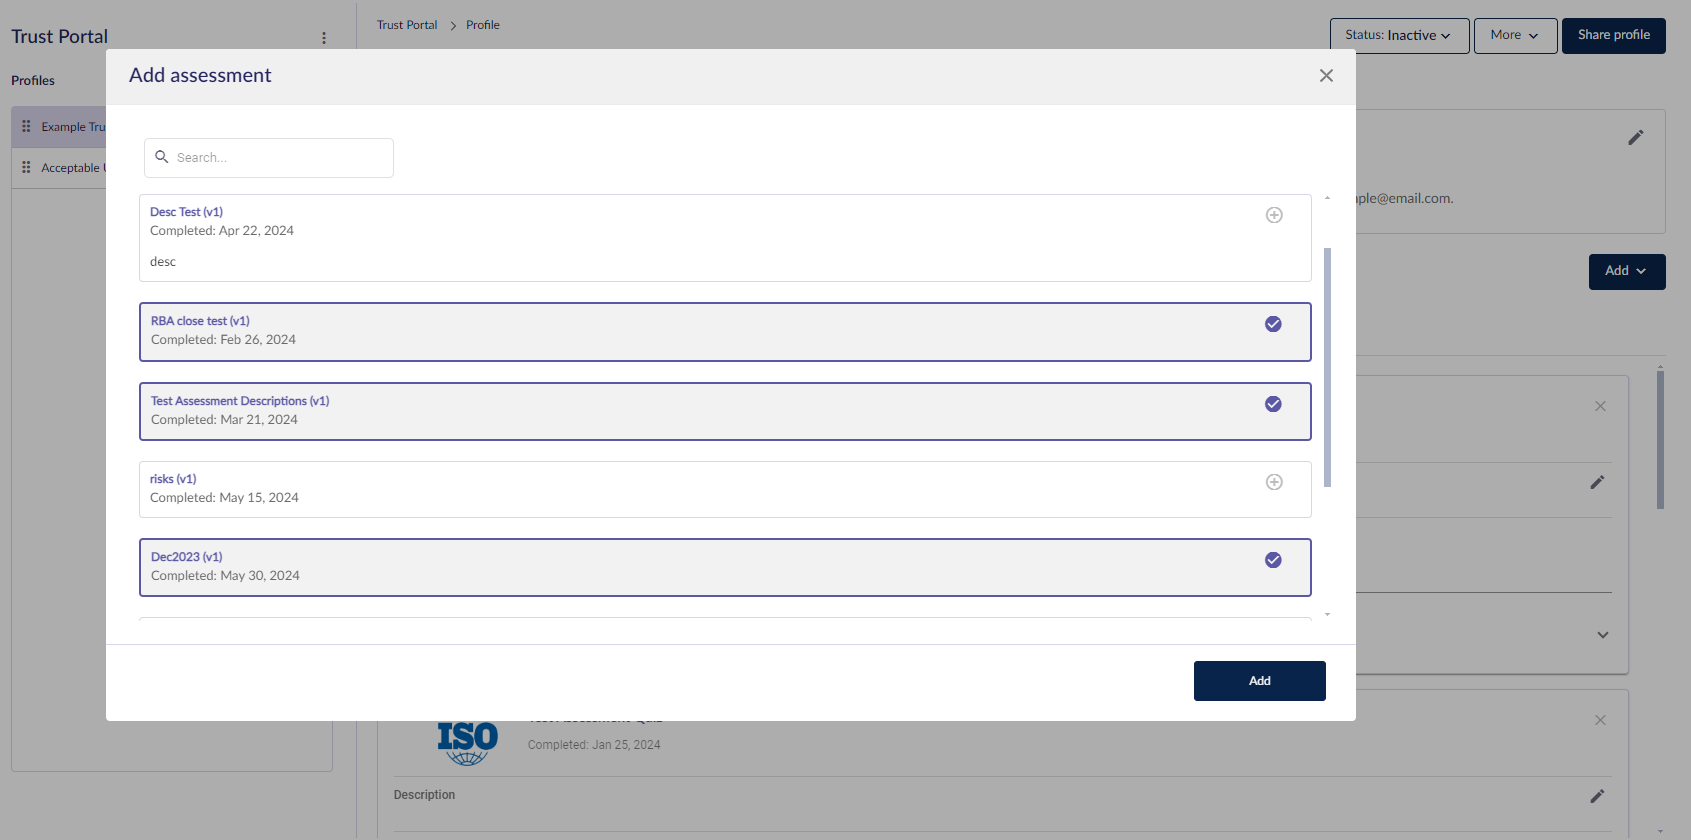
Search for and select the assessment(s) you want to add, then click Add.
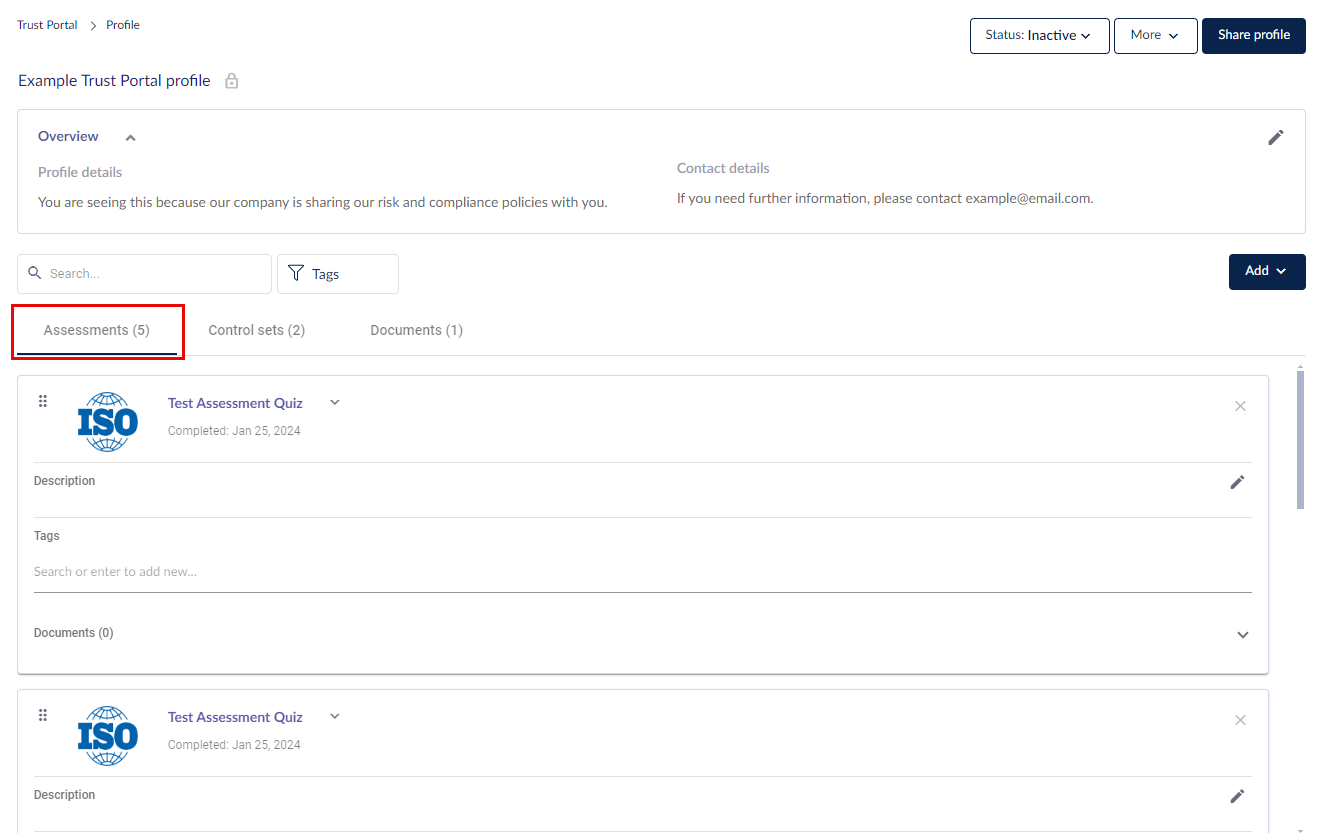
The assessments visible to people using this profile will be under the Assessments tab in the same order as they appear to you. You can reorder them by clicking and holding the 6 dots to their left and dragging.
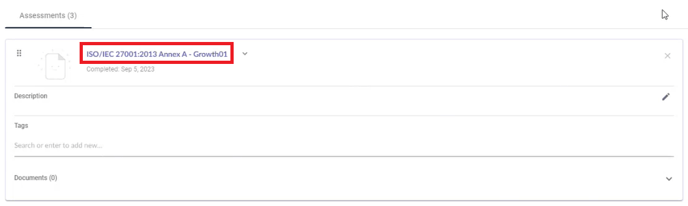
The people using this profile can click on an assessment's name to review the answers, and use the search and filter functions to find the answers relevant to them.
You can add additional information to help people understand your assessment.
This information is for people who can access this Trust Portal profile.
They are only saved against this assessment in this Trust Portal profile, and do not affect the assessment in the Audits & Assessments module, nor the same assessment under a different profile.
Access to attachments
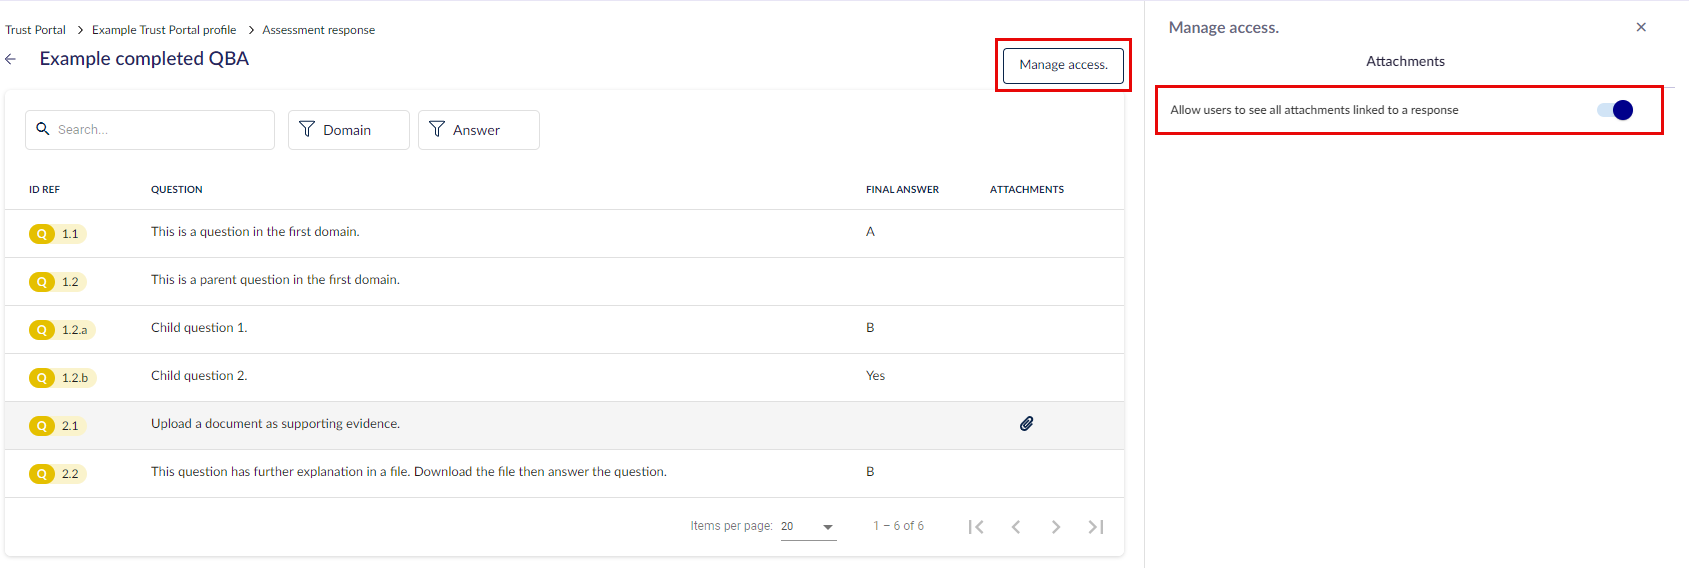
When you share assessments within your profile, you can choose whether to share attachments linked to responses. To do this, click on the assessment name.
For Question-Based Assessments (QBAs), click Manage access and enable/disable the "Allow user to see all attachments linked to a response" toggle.
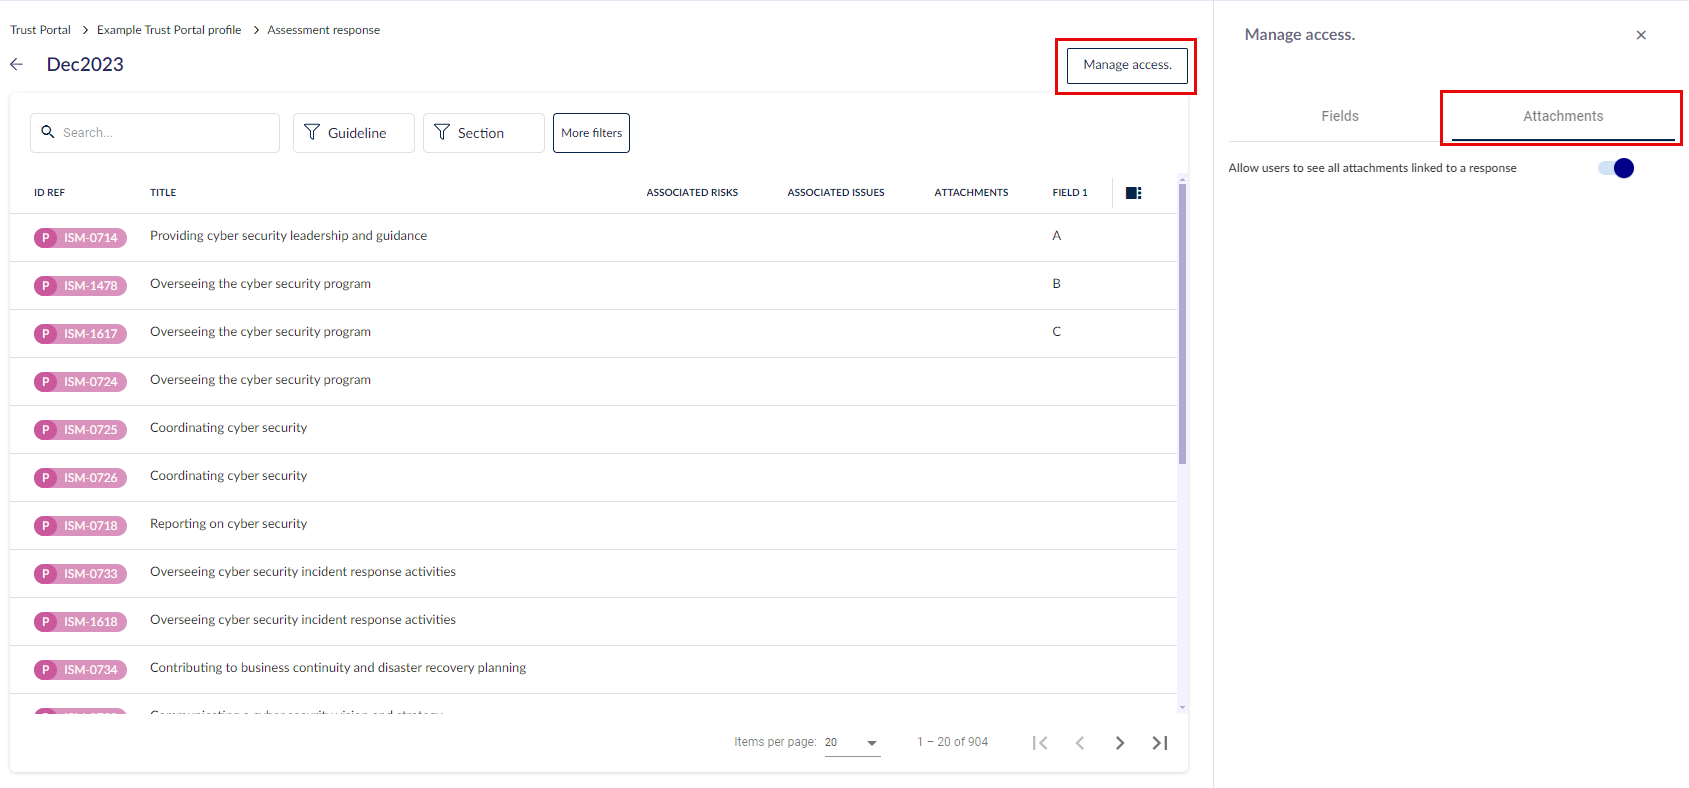
For Requirement-Based Assessments (RBAs), click Manage access, then go to the Attachments tab. Enable/disable the "Allow user to see all attachments linked to a response" toggle here.
Access to RBA fields
When you share Requirement-Based Assessments (RBAs) within your profiles, you can limit the visibility of fields to ensure that people are only seeing information relevant to them.
Click on the name of the RBA that you want to manage from the Trust Portal profile's Assessments tab and click Manage access. In the Fields tab, by default, all fields are visible to people who use this Trust Portal profile (green eye). Limit visibility to a field by clicking on the eye next to it to make it grey.
Documents
Under the Overview of the profile that you want to add documents to, click Add > Documents.
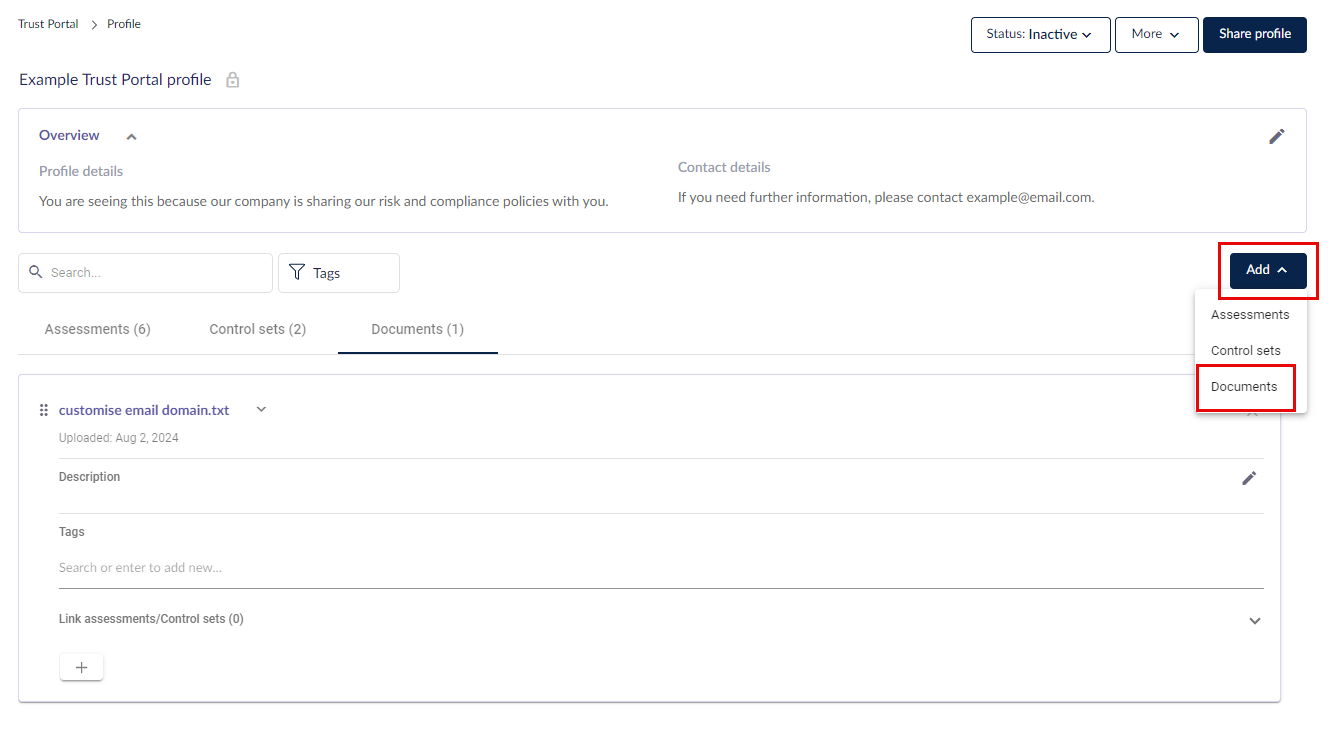
Select and Upload documents from your computer.
One uploaded, these documents visible to people using this profile will be under the Documents tab in the same order as they appear to you. You can reorder them by clicking and holding the 6 dots to their left and dragging.
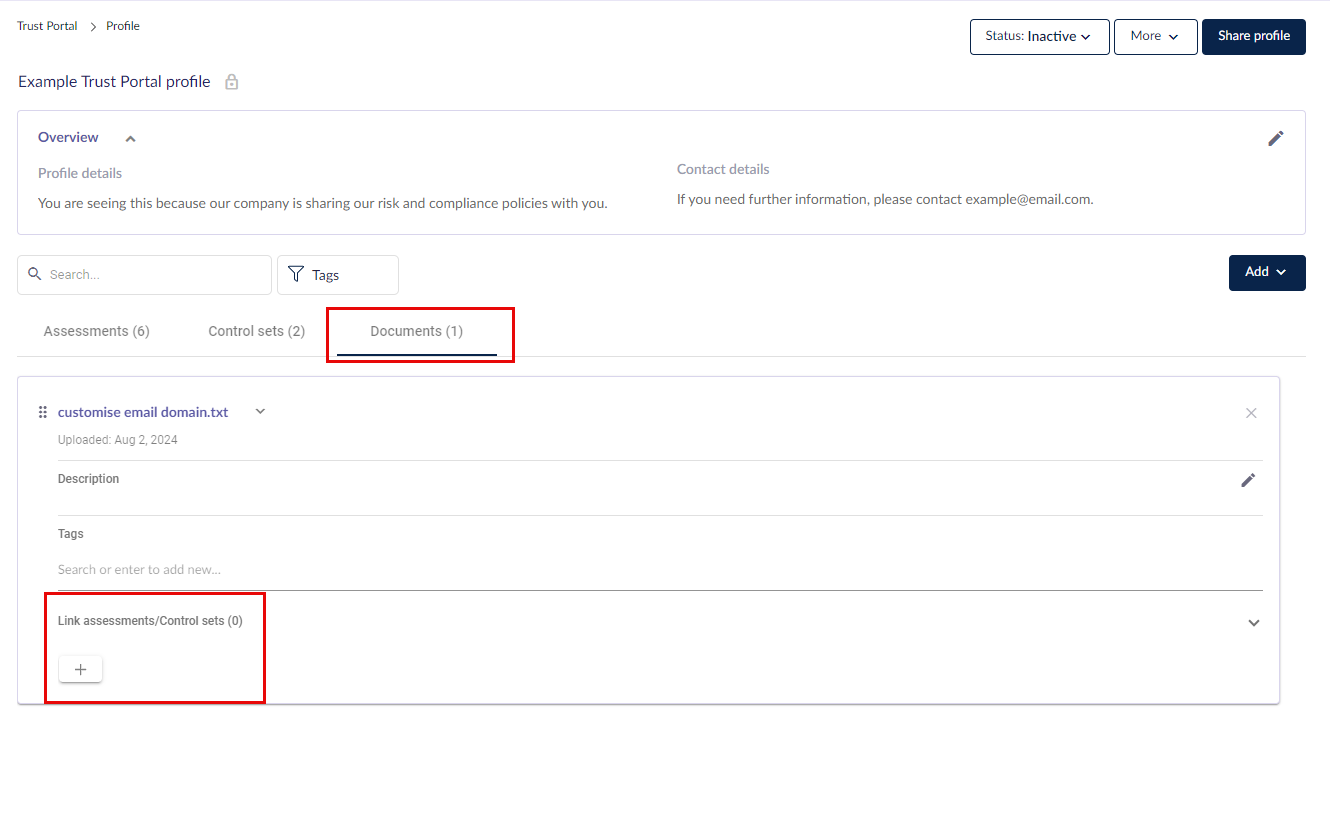
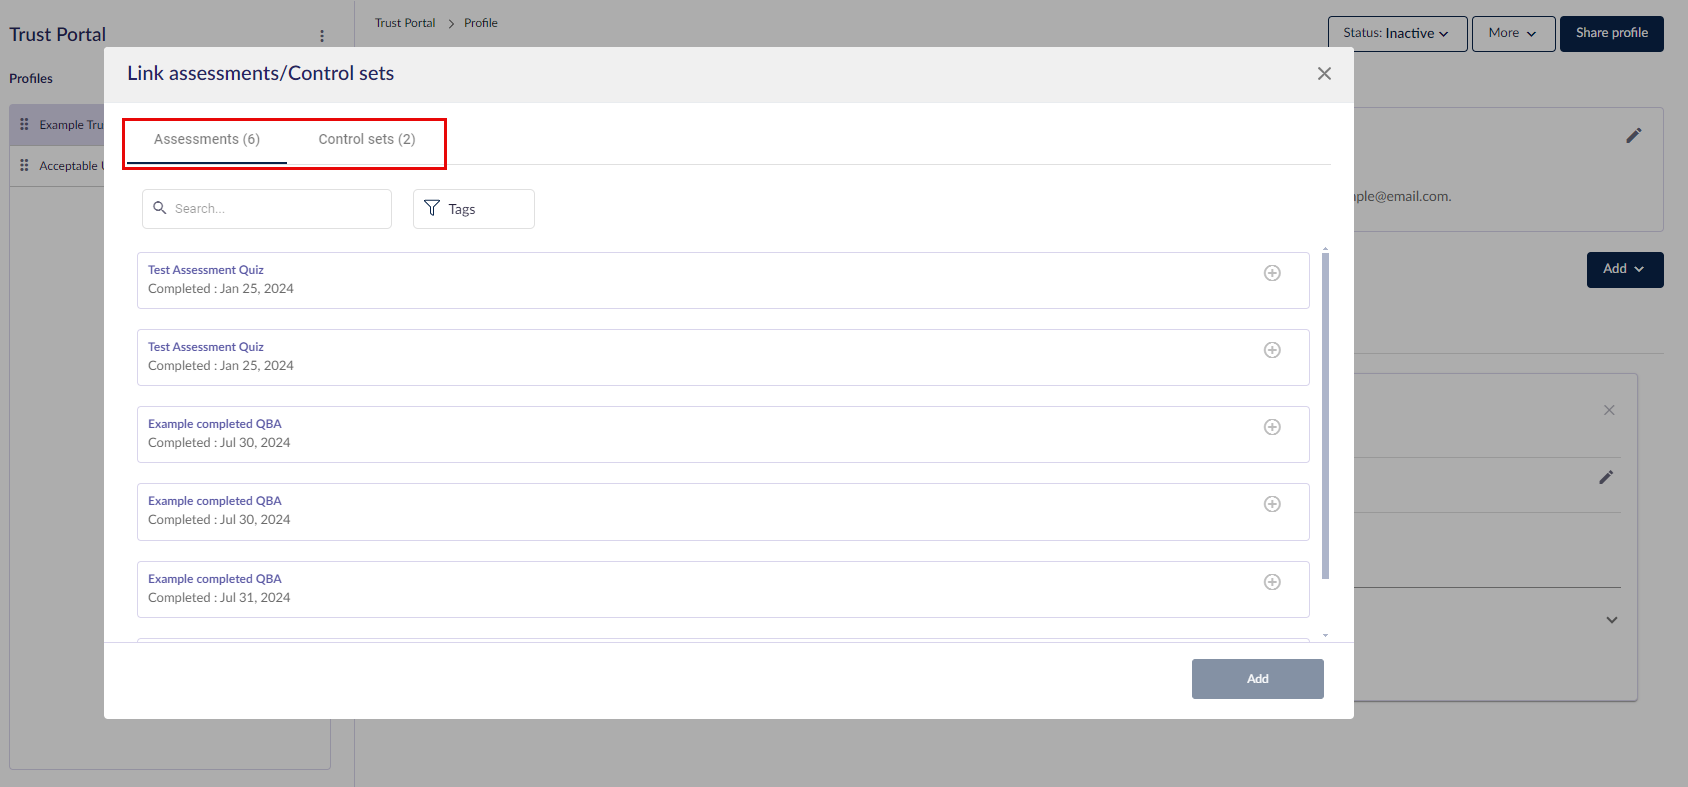
You can add a Description and Tags to help people understand your document, or link a document to an assessment or control set that is already added to this profile by clicking the + under Link assessments/Control sets.
Switch between the Assessments and Control sets tabs, and/or use the search and filter functions to find all the information that should link to the document. Click Add when done.
Once added, the assessments and control sets will be visible under the document, and vice versa.
Clicking on a document's name from within the Documents tab, or from under assessments/control sets wherever linked to download it to your device.
Removing data from profiles
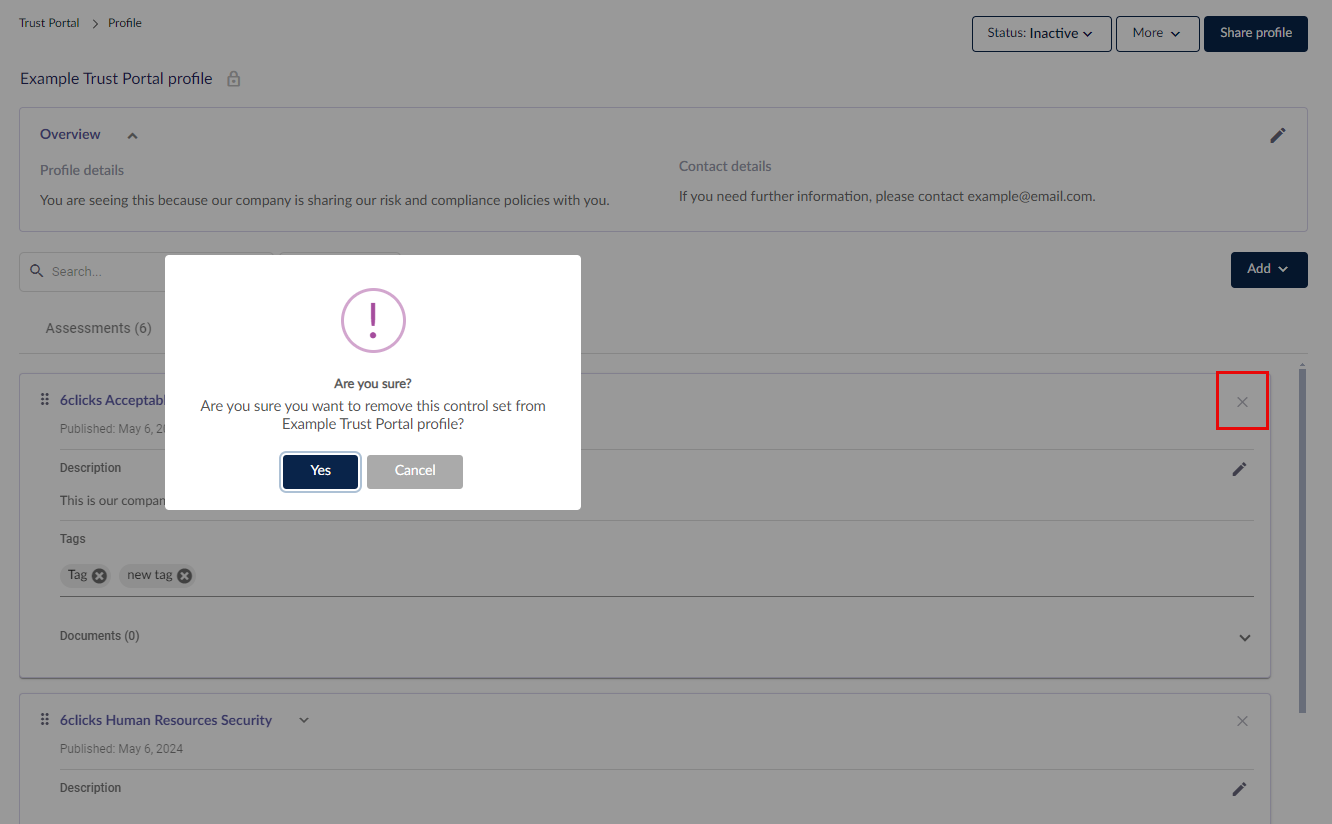
To remove an assessment, control set, or document, simply select the X icon option to their right.
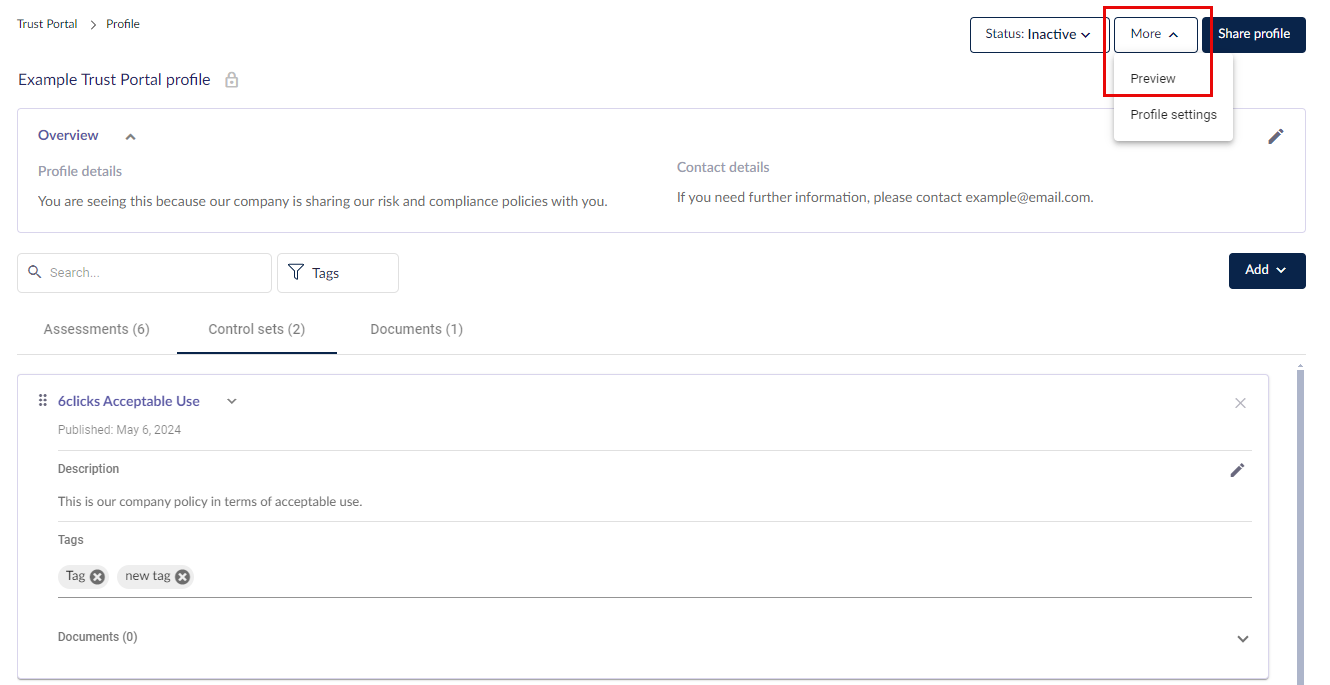
Select More > Preview to view the information and layout that the people who will be using this Trust Portal profile will have.
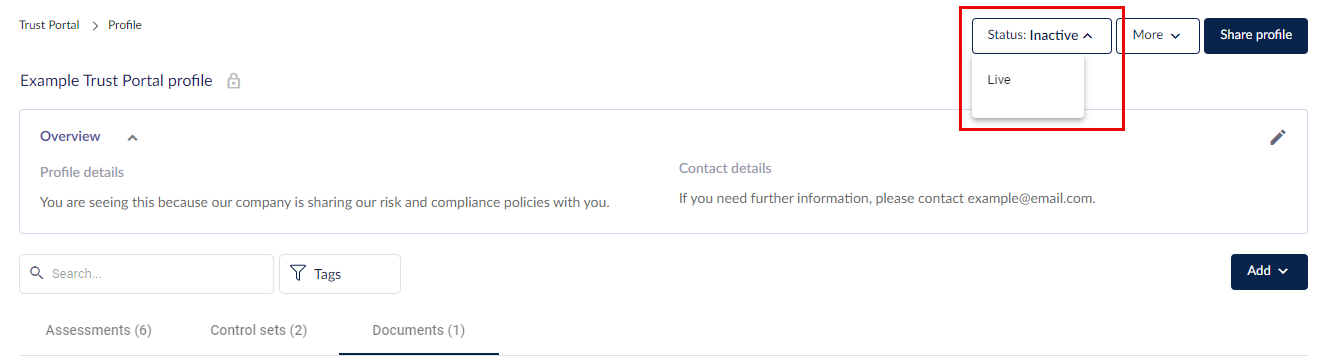
Publishing the profile
After adding the relevant information to your Trust Portal profile, you can change its Status from Inactive to Live.
Head here to learn about sharing the profile with specific users.
Head here to learn more about making profiles public; this means that that all users who are given access to your Trust Portal can see this public profile.
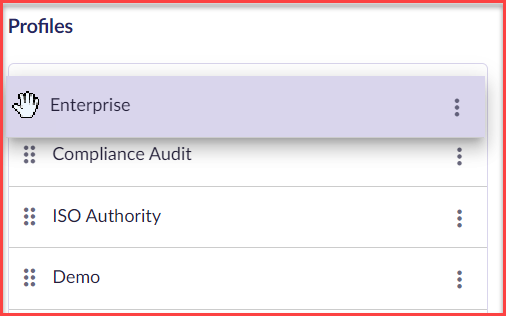
Reordering profiles
You can reorder profiles by clicking & dragging the 6 dots to the left of profiles.
To learn how to access Trust Portal profiles via an email invitation, click here.