Table of contents
Prerequisites
To map controls from a control set and provisions from an authority document, and assess any gaps between them, you first need to have a control set and an authority.
Learn to create a control set and to create an authority, or learn how to add them from the 6clicks Content Library.
Mapping controls to provisions
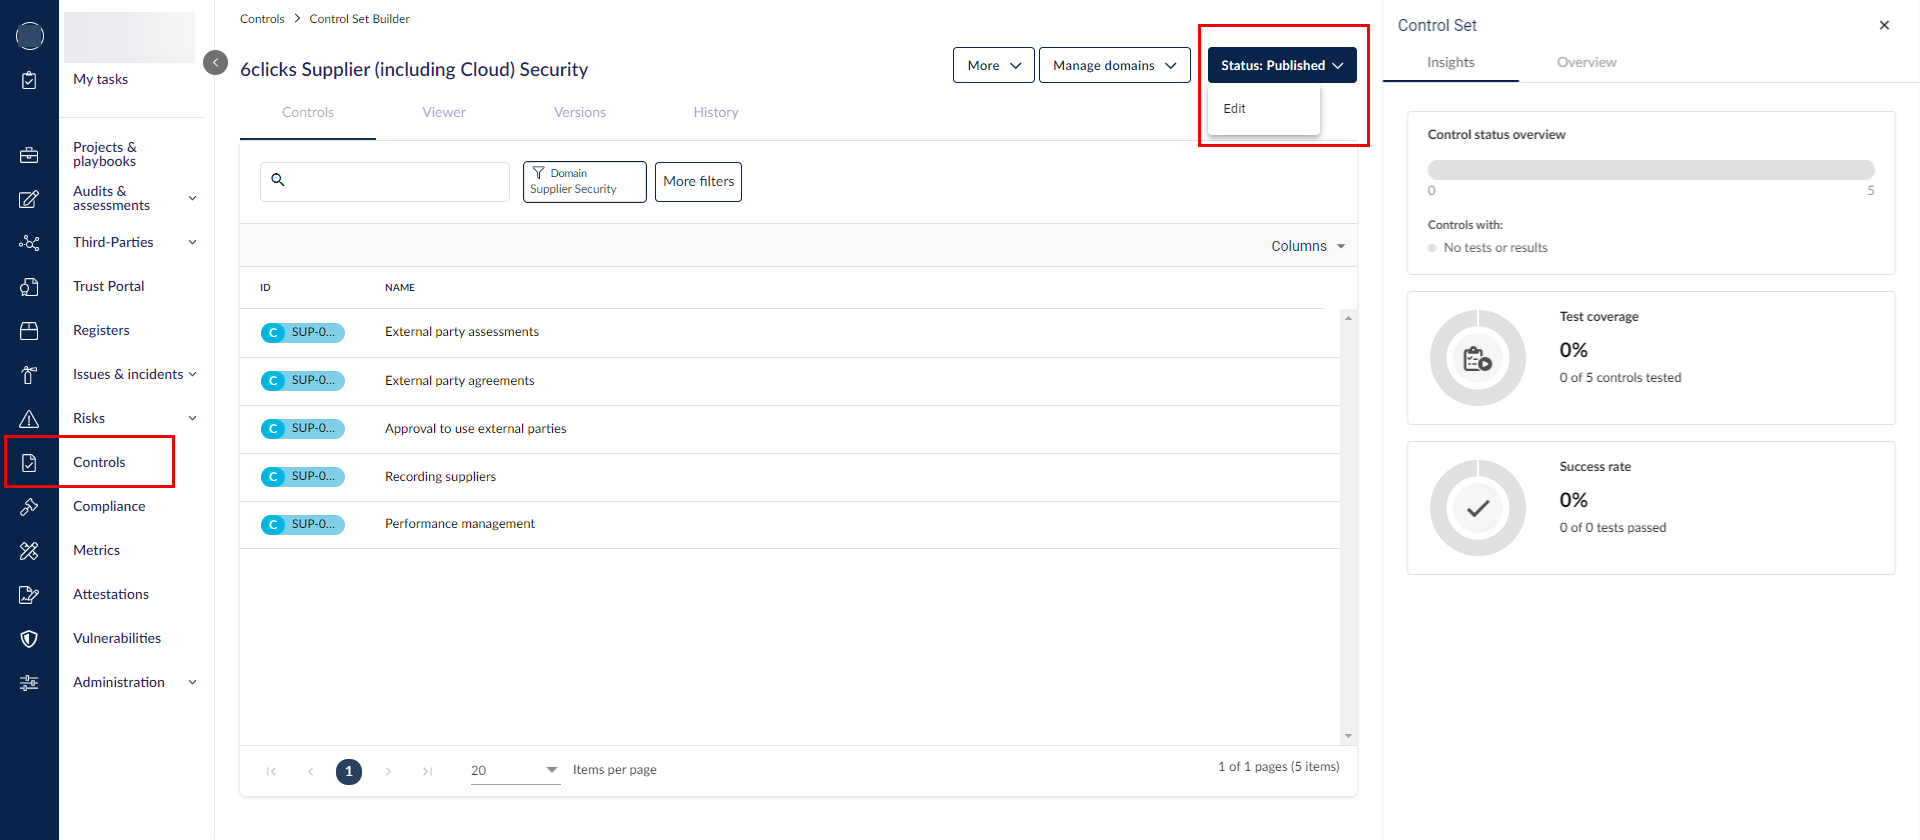
Head to your Controls module (or what you renamed it to) and click into the control set that you want to map to an authority document. Set the status to Edit.
Creating the mapping
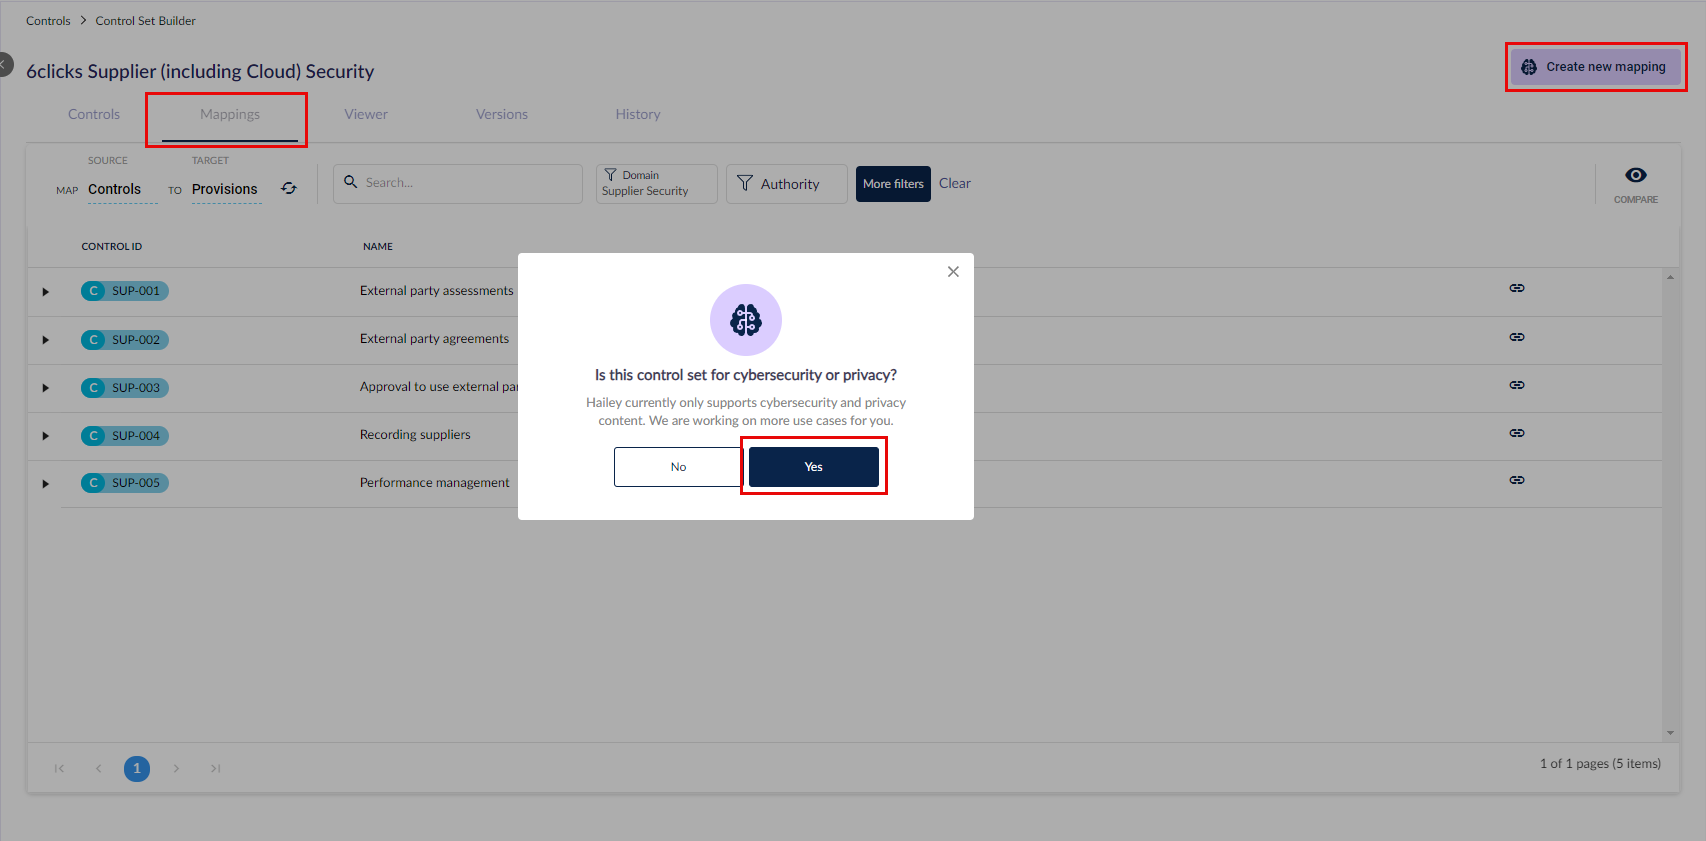
Head to the Mappings tab and click Create new mapping. Confirm that you are mapping cybersecurity controls/provisions.
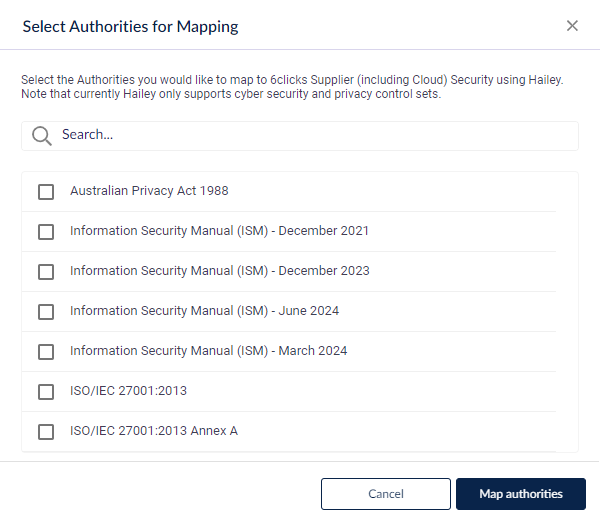
Select the authority document that you want to map this control set to in the list.
This message will appear. You can close it and come back for the mapping later when you receive the notification.
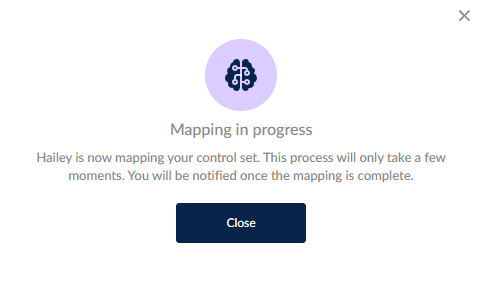
When mapping is complete, a notification will be sent to your email inbox and also appear in the in-app notification bell.
Viewing the mapping
The functions near the top of the Mappings tab allow you to adjust your view.
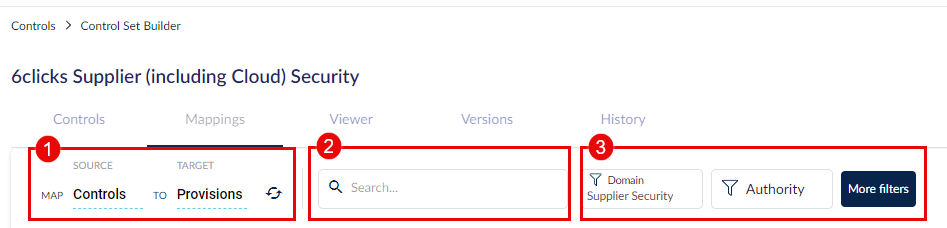
- Reverse your view in the table; map controls to provisions, or map provisions to controls
- Search
- Filters
- Domain - the domain that the controls in your view belong to
- Authority - a control set can be mapped to multiple authority documents; use this to filter your view by authority
- Controls (More filters) - filter by controls that have or do not have linked provisions
- Provisions (More filters) - filter by all linked provisions, different similarity levels, or manually linked provisions only
Comparing and unlinking
Click on a control/provision to expand its list of linkages. In the Similarity column, a percentage or a hand icon is displayed. Link/unlink by clicking the icon in the Links column.
- For items with similarities equal or higher than 80% according to Hailey, matching items will be linked.
- For items with similarities between 70% and 80% according to Hailey, they will be displayed but not automatically linked. You can make a decision on whether they are applicable to each other.
- The hand icon indicates that the items were manually linked.
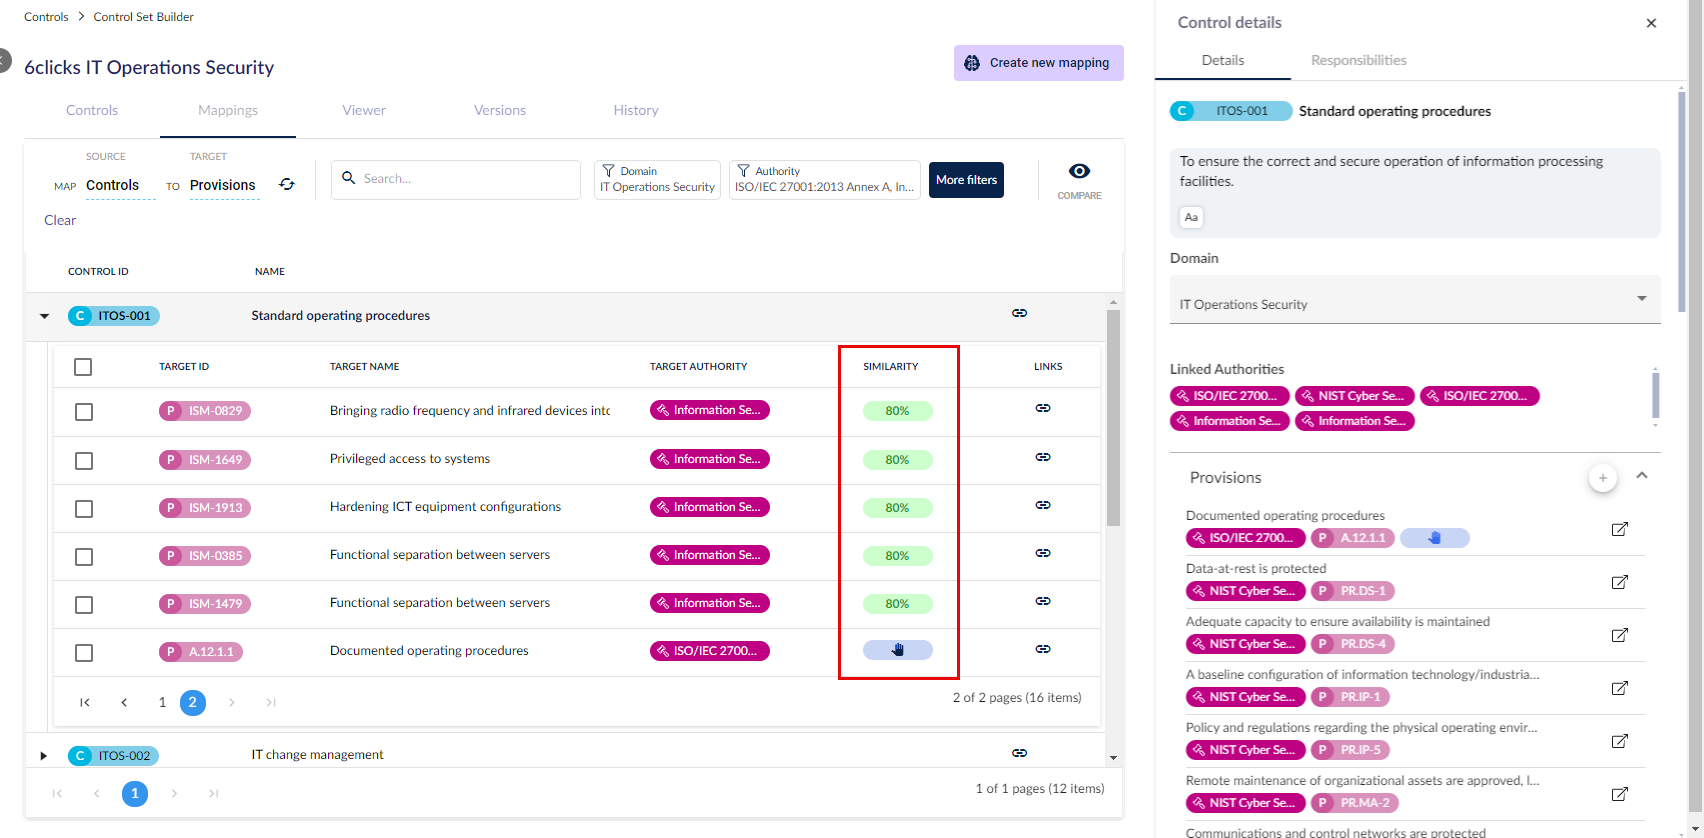
To the right, you can see more in the Control details panel, in the Details tab. Here, additional Provisions can be added by clicking the + next to Provisions. These Provisions will then be manually added which is represented by the hand icon in the main table.
When manually linking provisions to a control in the Provisions side panel, you can do the following.
- Search
- Filter by the authority document that the provisions come from
- Switch between All the provisions from the authorities that have provisions linked to this control, or just the provisions Linked to this particular control
- Press the + near the top to add another authority & its provisions to the All view, so you can link its provision/s. If you don't have an authority in your environment yet, it will not show up in this list; learn how to add authority documents from the 6clicks Content Library
- Link/Unlink a provision manually from this control by pressing the link icon to its left
- View the provision details by clicking the arrow to its right
Click Compare to open a comparison window below the main table.
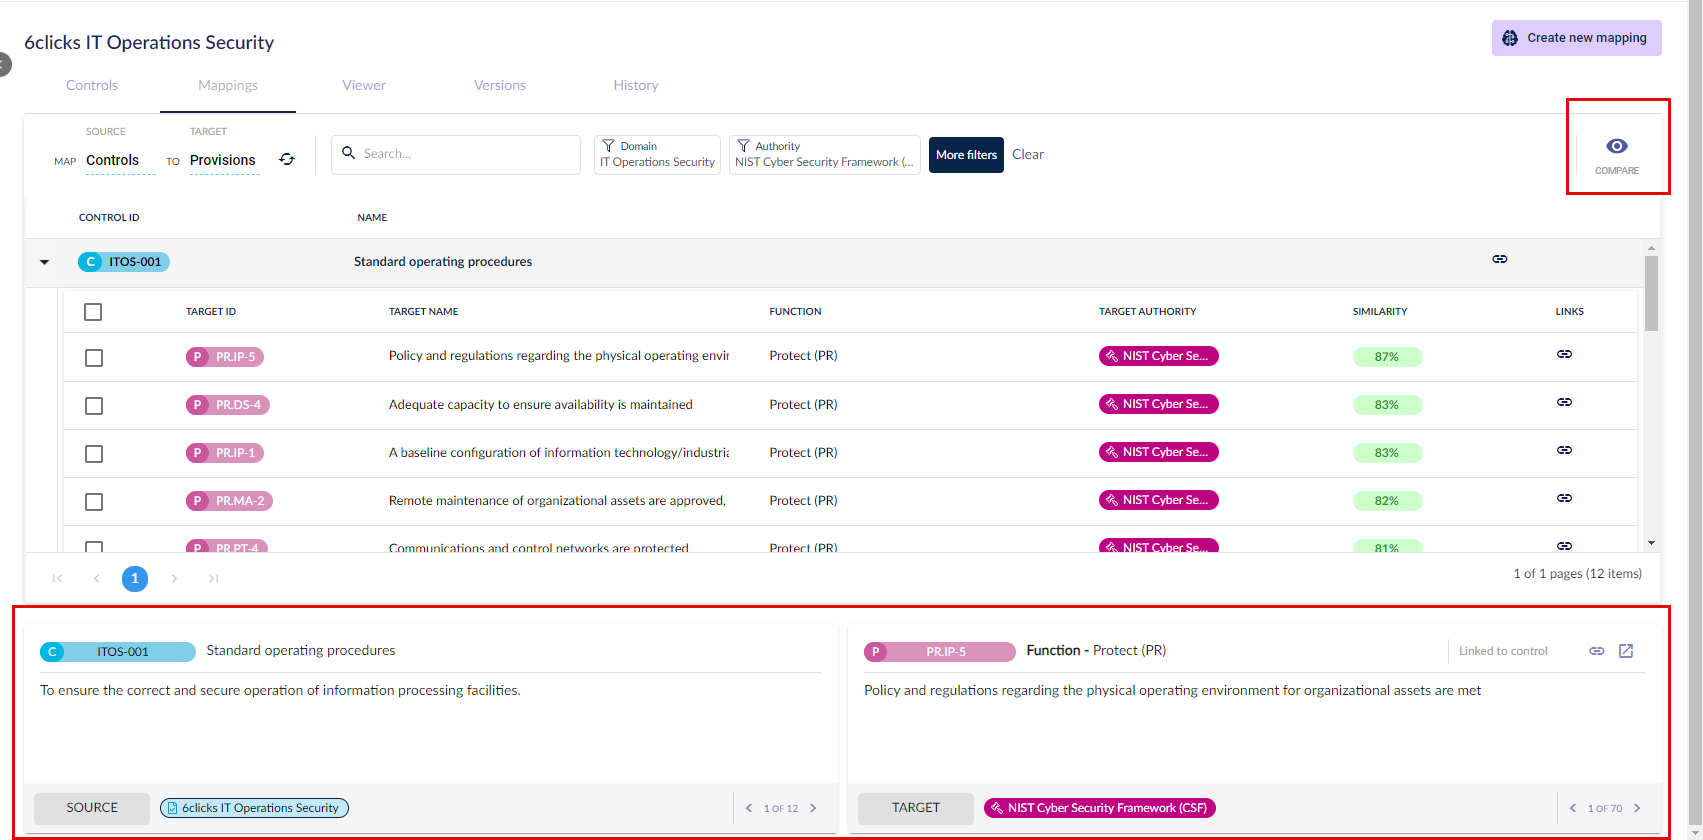
Click the pop-out option to make this view bigger. You can link/unlink in the pop-out view.
Mapping provisions to controls
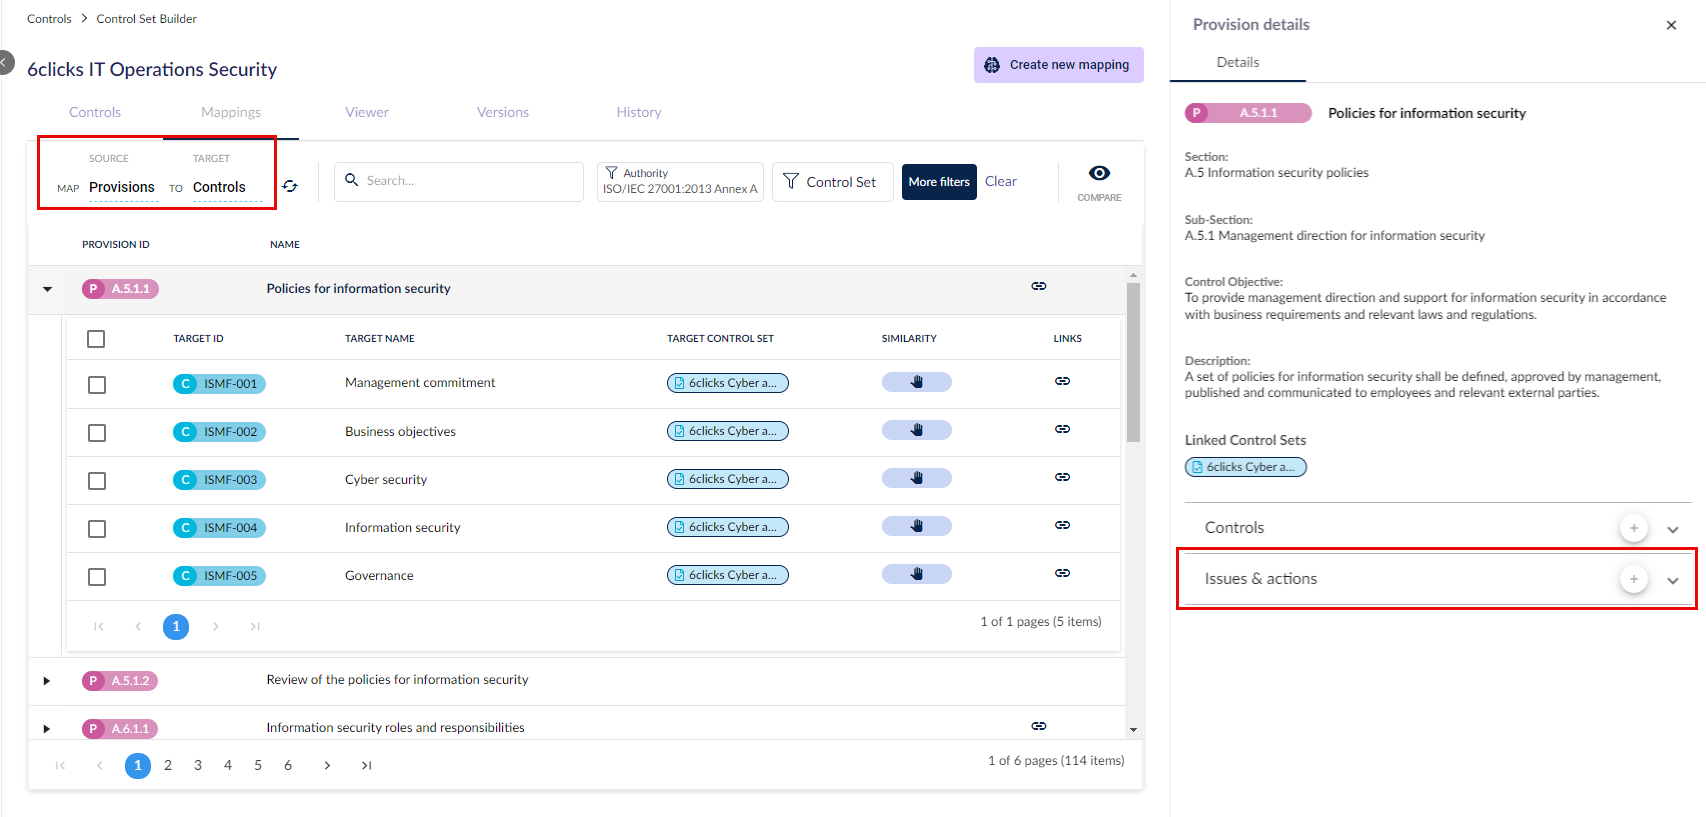
Use the reverse icon or the Map/Target fields to switch between provision-to-control and control-to-provision views.
Similar to the control-to-provision view, you can perform the following actions.

- In the main table:
-
- Search
- Filter by authority document, control set, (More filters) provisions by whether they do or do not have linked controls, & (More filters) controls by similarity percentage/manual linkage
- In the side panel of a particular provision:
- View the provision details
- See the linked controls
- Link/unlink controls
- Link/unlink issues & issue actions
Issues and actions
In the provision-to-control view, you can link/unlink issues & issue actions to provisions.
For step-by-step instructions, please head here.
Your next step may be to:
- Create a Requirement-Based Assessment (RBA), or a Question-Based Assessment (QBA) using this control set/authority,
- Adding responsibilities to the control set, or
- Adding tests to the control set.