You can create your own custom Control Sets and add them to your exclusive Content Library for your clients or Spokes to use.
For step-by-step instructions on creating Control Sets, head here.
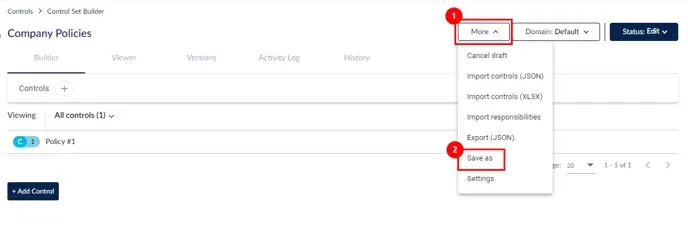
Once you have created your Control Set, select More (1) then Save as (2).
Enter the name of the Control Set as it will be displayed in the Content Library. Toggle on Publish policy / control set to content library. Click Save As.

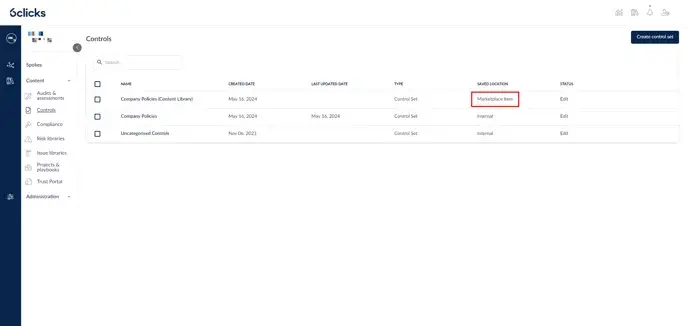
This will create a new version of the Control Set which can be Published directly to the Content Library. If you navigate back to the Control Set module, you will see that a new version of the Control Set has been created with type Marketplace Item.
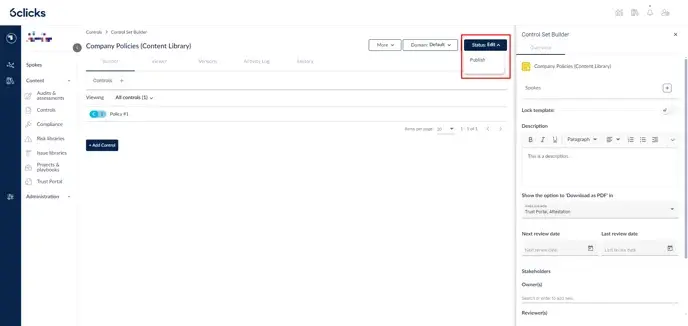
To upload it to your Content Library, in the new control set, publish the control set using the Status dropdown.
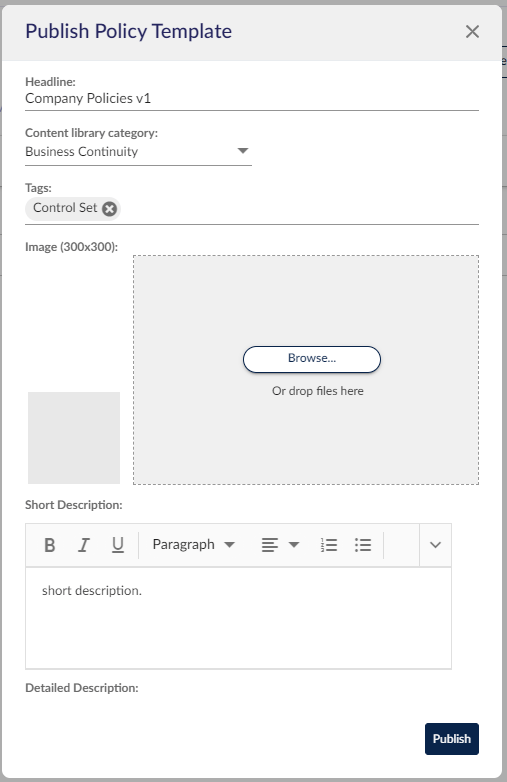
Here, fill out the details of this control set to be displayed in the Content Library.
- Headline
- Content Library Category - e.g. Business Continuity, Cybersecurity, custom categories
- Tags - content type, e.g. Control Set
- An image/logo
- Short description - shown as part of the item's preview in the Content Library
- Detailed description - shown when you click on the item and see its overview
Content Library preview:

Content Library item overview:

Click here to learn more about control sets.
To learn more about the Content Library, review more of our content library articles here.
Creating, sharing, and simply using control sets via the 6clicks Content Library allows your organization to further manage its compliance frameworks, streamline risk assessment processes, and enhance overall governance by ensuring consistent and efficient application of standards.