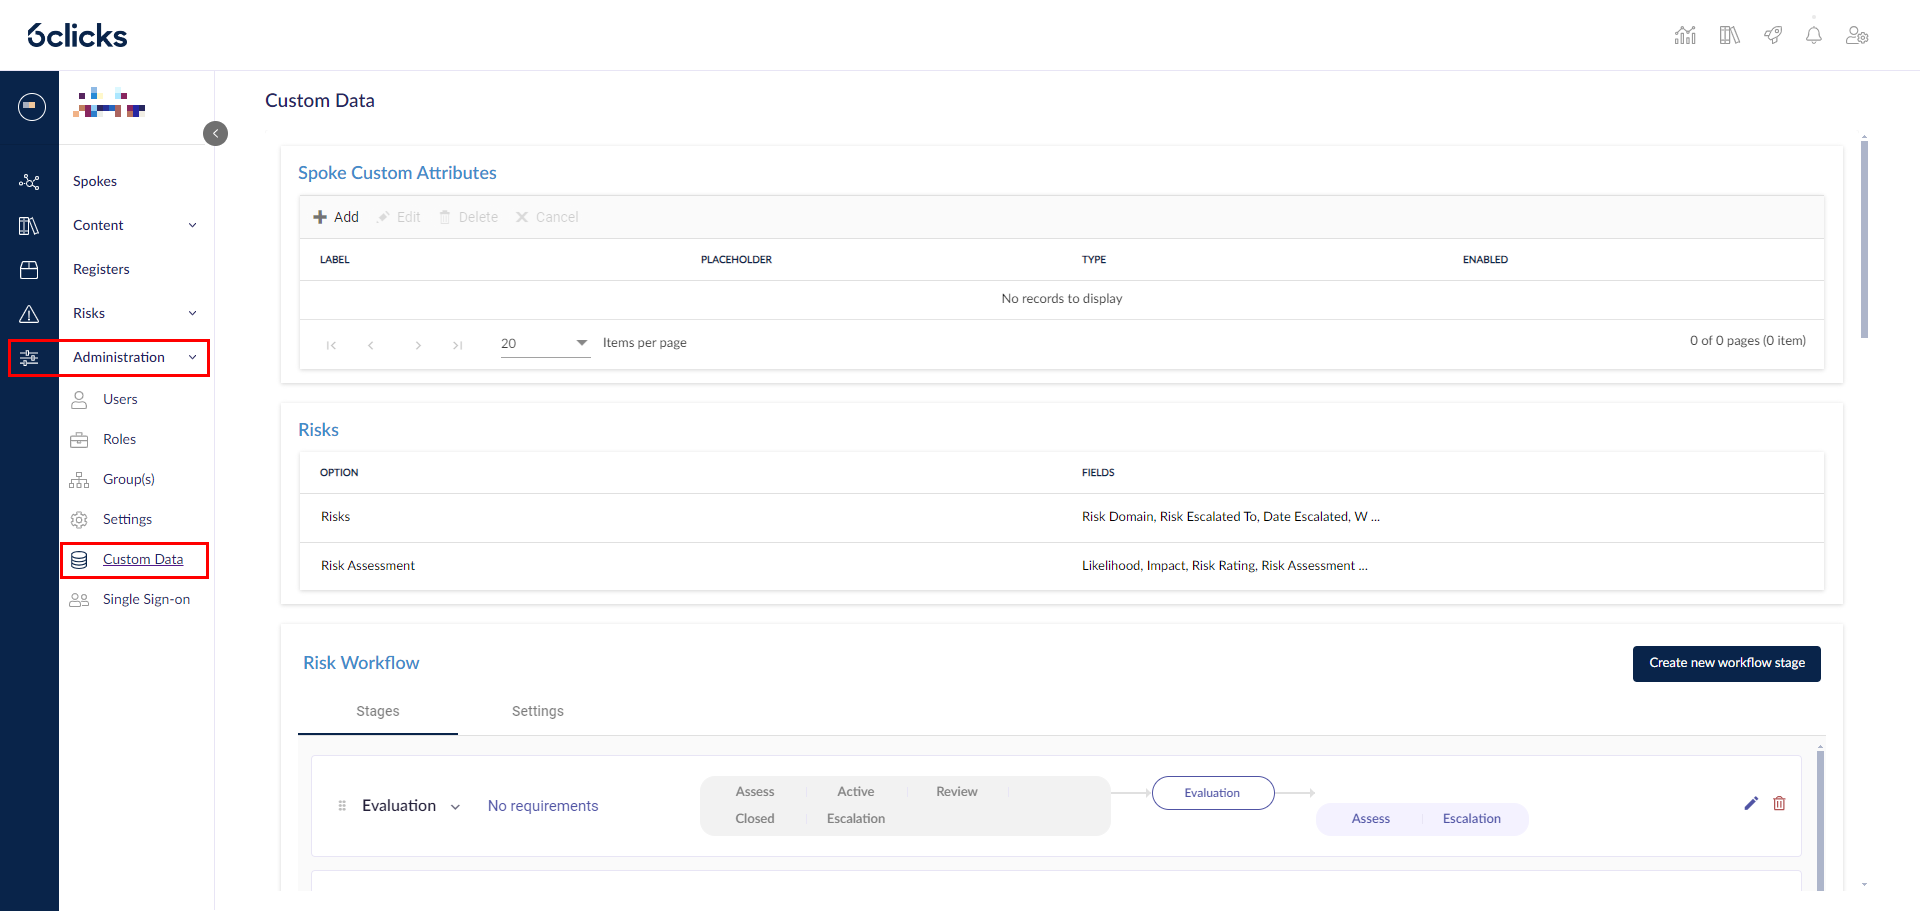
As a Service Provider, you can add, edit and remove the Content Library categories that will be displayed to your clients. You might wish to create and enable a category, for example, for content that you create and share. To do this, click on Administration > Custom data.
 Scroll down to the Content Library Category table.
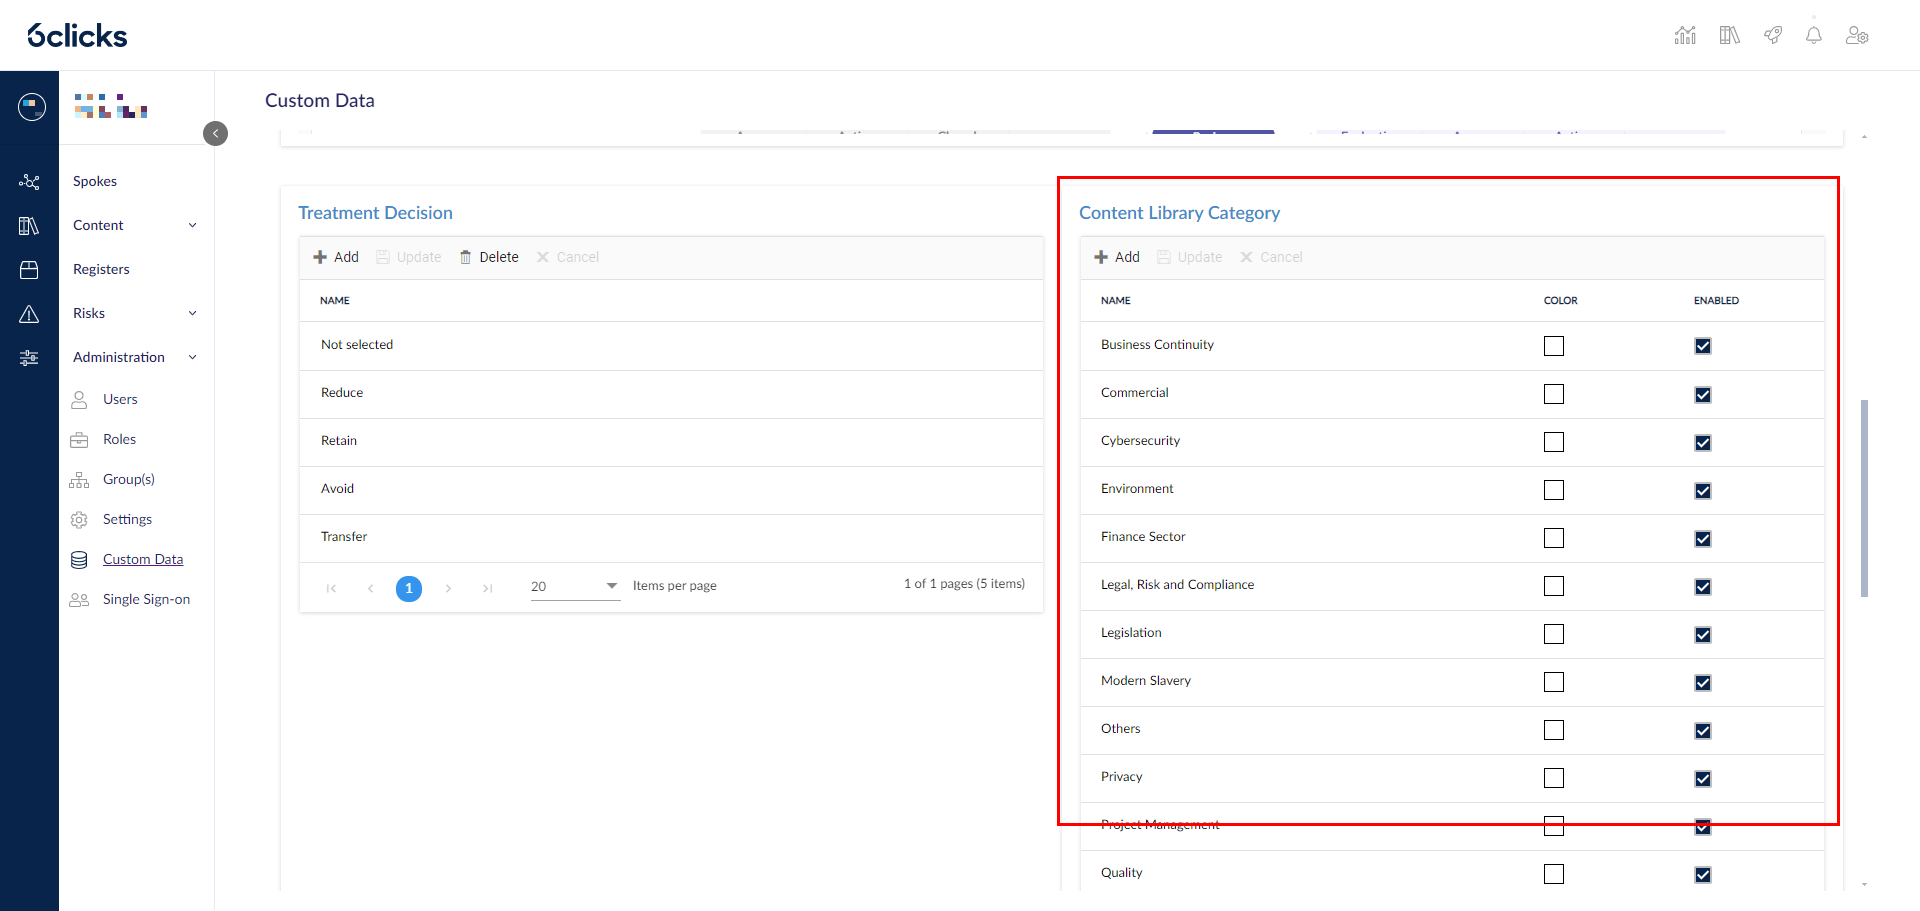 From here you can add and remove categories. The default categories displayed cannot be deleted, but they can be hidden.
To hide a default category, double-click the name of the category, deselect the Enabled checkbox (1), then select Update (2).
 This Category will no longer appear in either your Content Library or in the Assessment Type dropdown
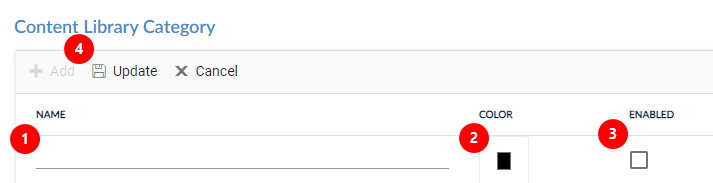
To add a new category, click the Add button at the top of the Content Library Category table
![]() Add the category name (1), pick the color which it will be displayed in the Content Library (2) and then make sure the Enabled checkbox is ticked (3) so it will appear. Click Update (4) when done. Edit the category color by double-clicking the category.
Add the category name (1), pick the color which it will be displayed in the Content Library (2) and then make sure the Enabled checkbox is ticked (3) so it will appear. Click Update (4) when done. Edit the category color by double-clicking the category.
 You can see that the category has been added to the Content Library.

The category colors appear as dots on each Content Library item.

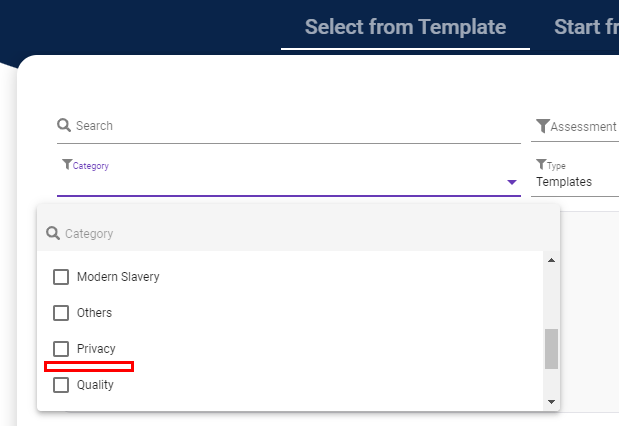
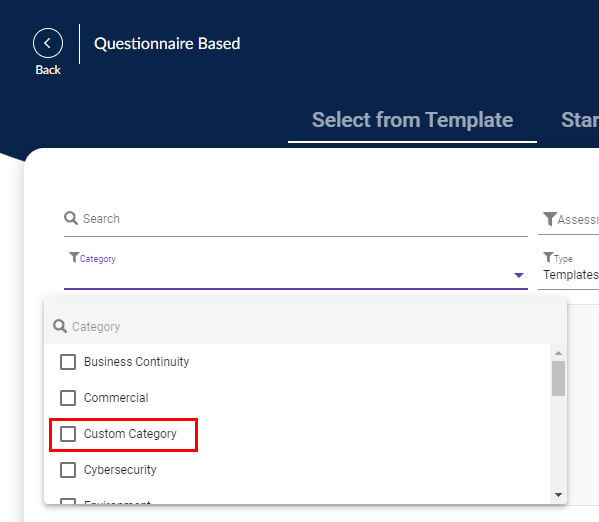
The category will also be available for selection when creating an Assessment or Assessment Template:
Learn more about creating custom authorities and about how to add them to your Content Library.