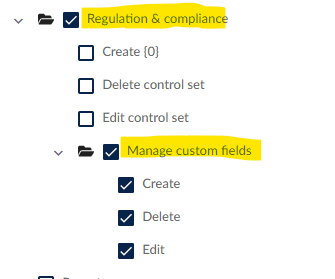
To edit your custom fields within Controls, you must either have admin rights or have the necessary permissions enabled via the Permissions feature, which can be found under Administration > Users > (select user) hit Permissions > Regulation & compliance > Manage custom fields.
To find more about user and role permissions please see this article here.
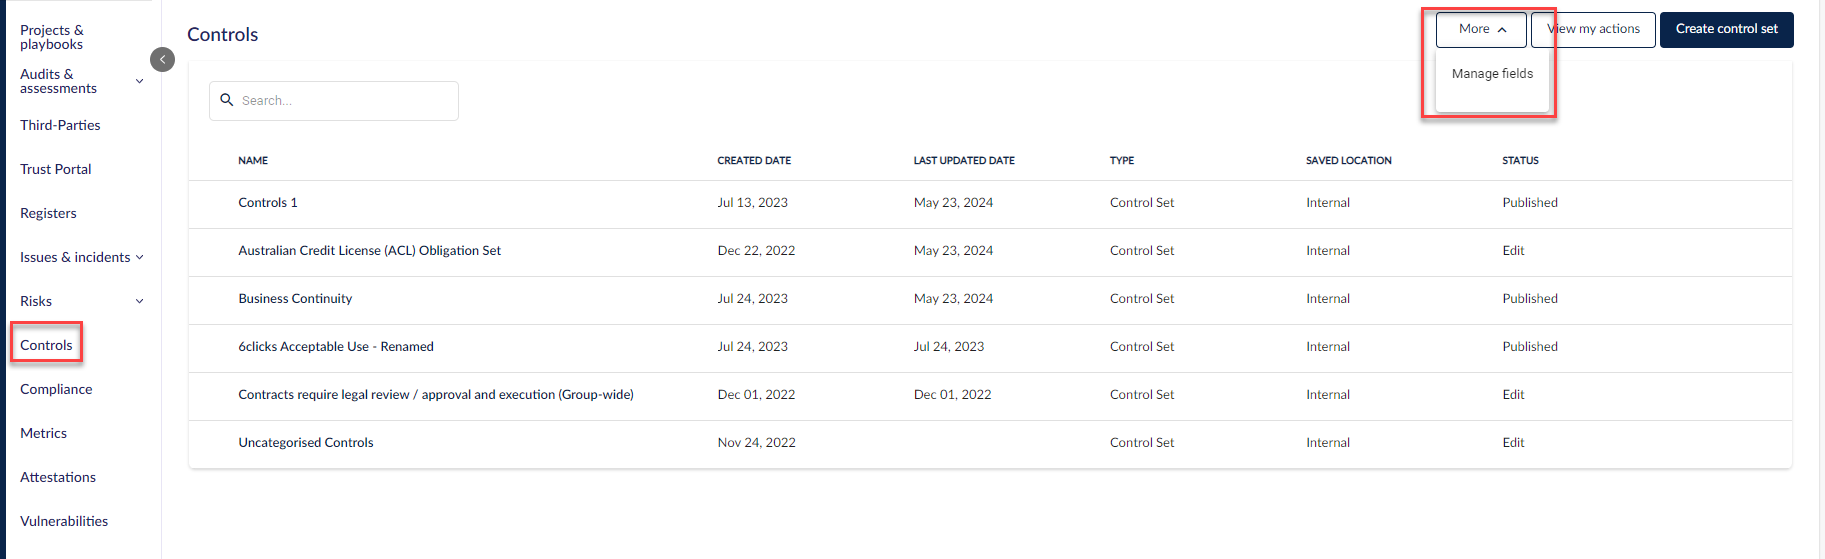
With the correct permissions granted head to Controls > More > Manage fields.
Click on "+ Add field".

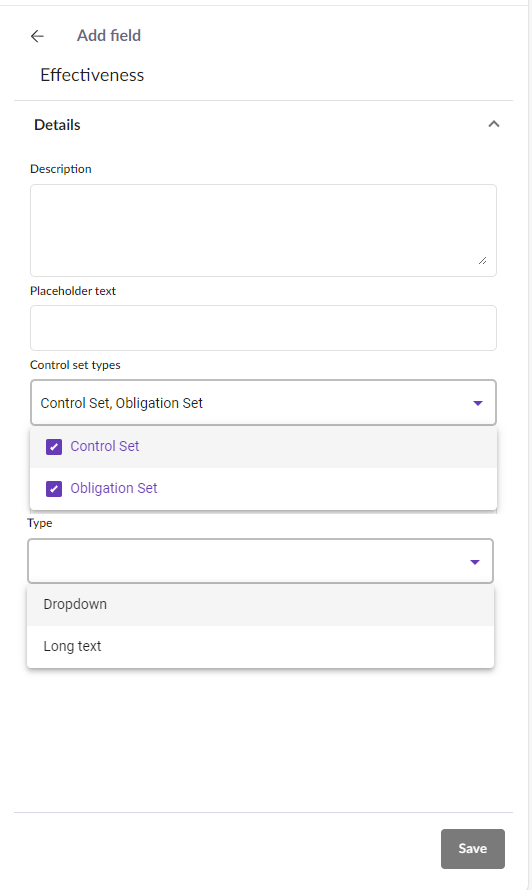
Enter the title of the field you are creating.

In the details window, you have the option to choose the Control set type and the field type you want to create, either a dropdown or long text.
By default, all control set types are selected. However, you can choose which one applies to your custom field as you enter the details.
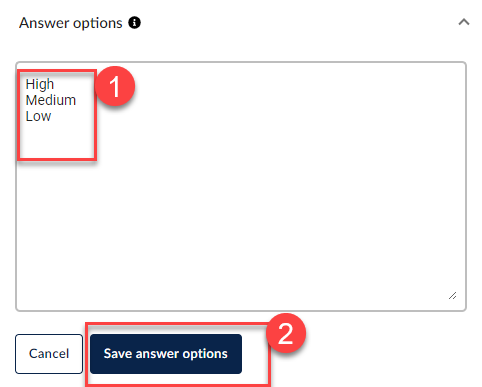
If you select a dropdown field and have multiple options to input which is best to perform a bulk entry. (1) List all your answer options and (2) hit Save answer option.
If you decide to add or remove any options later on, you can easily revisit the custom field and make the required adjustments.
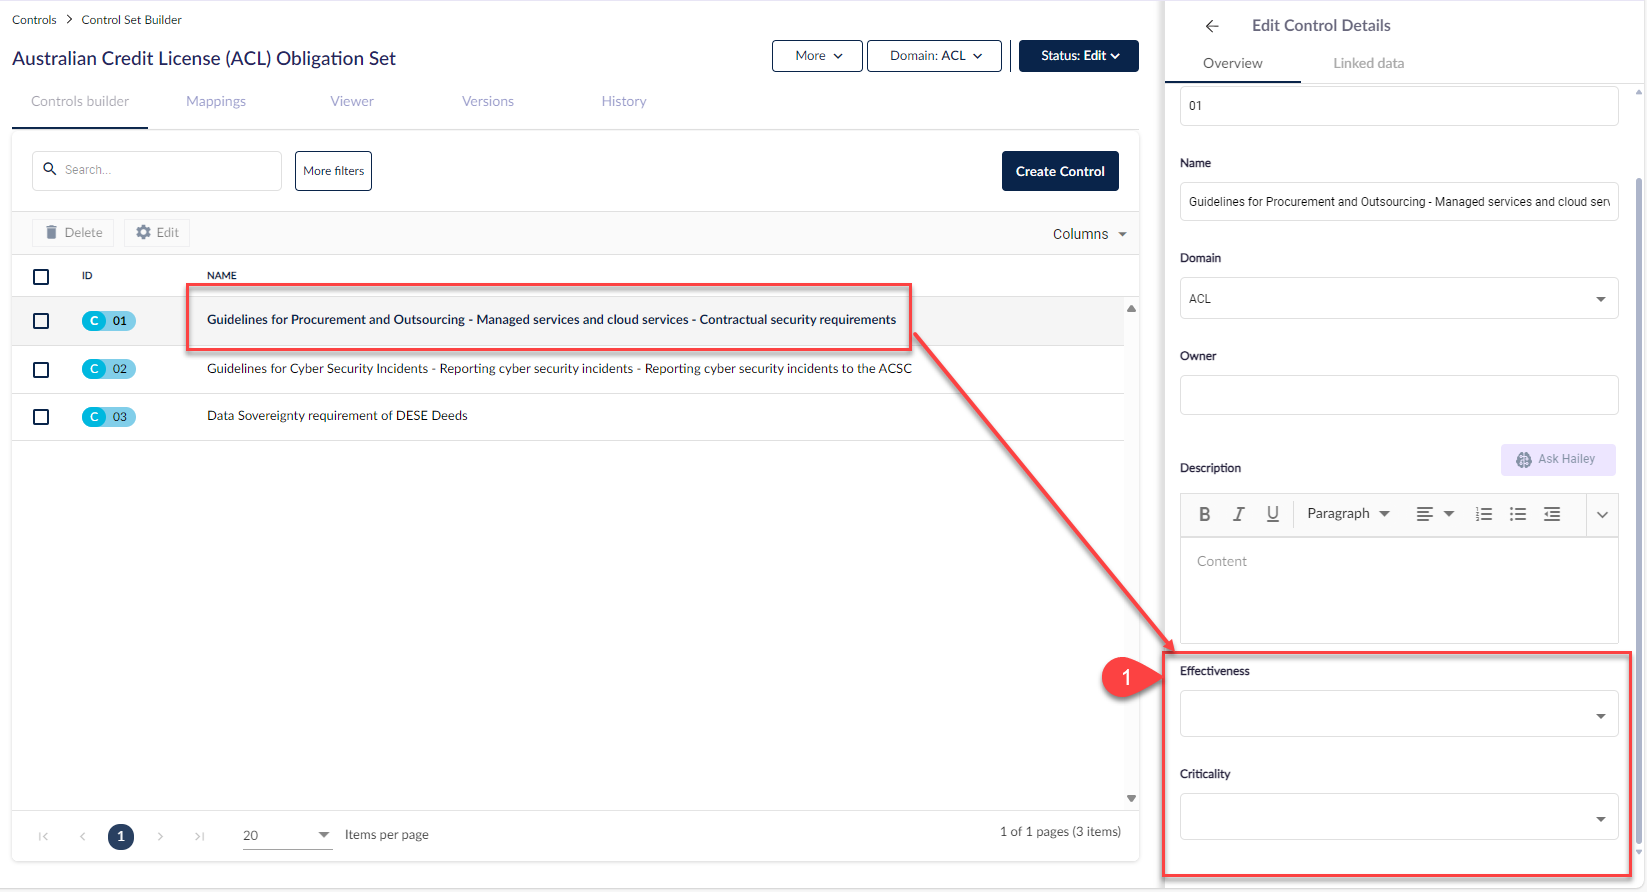
After completing your custom fields, navigate to your Controls and select one of your control sets. An Overview window will open on the right-hand side, where you can view your control custom fields and make any changes to them. (1) Custom fields appear in the same sequence as they are organized in the Manage fields side panel. Also, you can rearrange the field order within the Manage fields section.
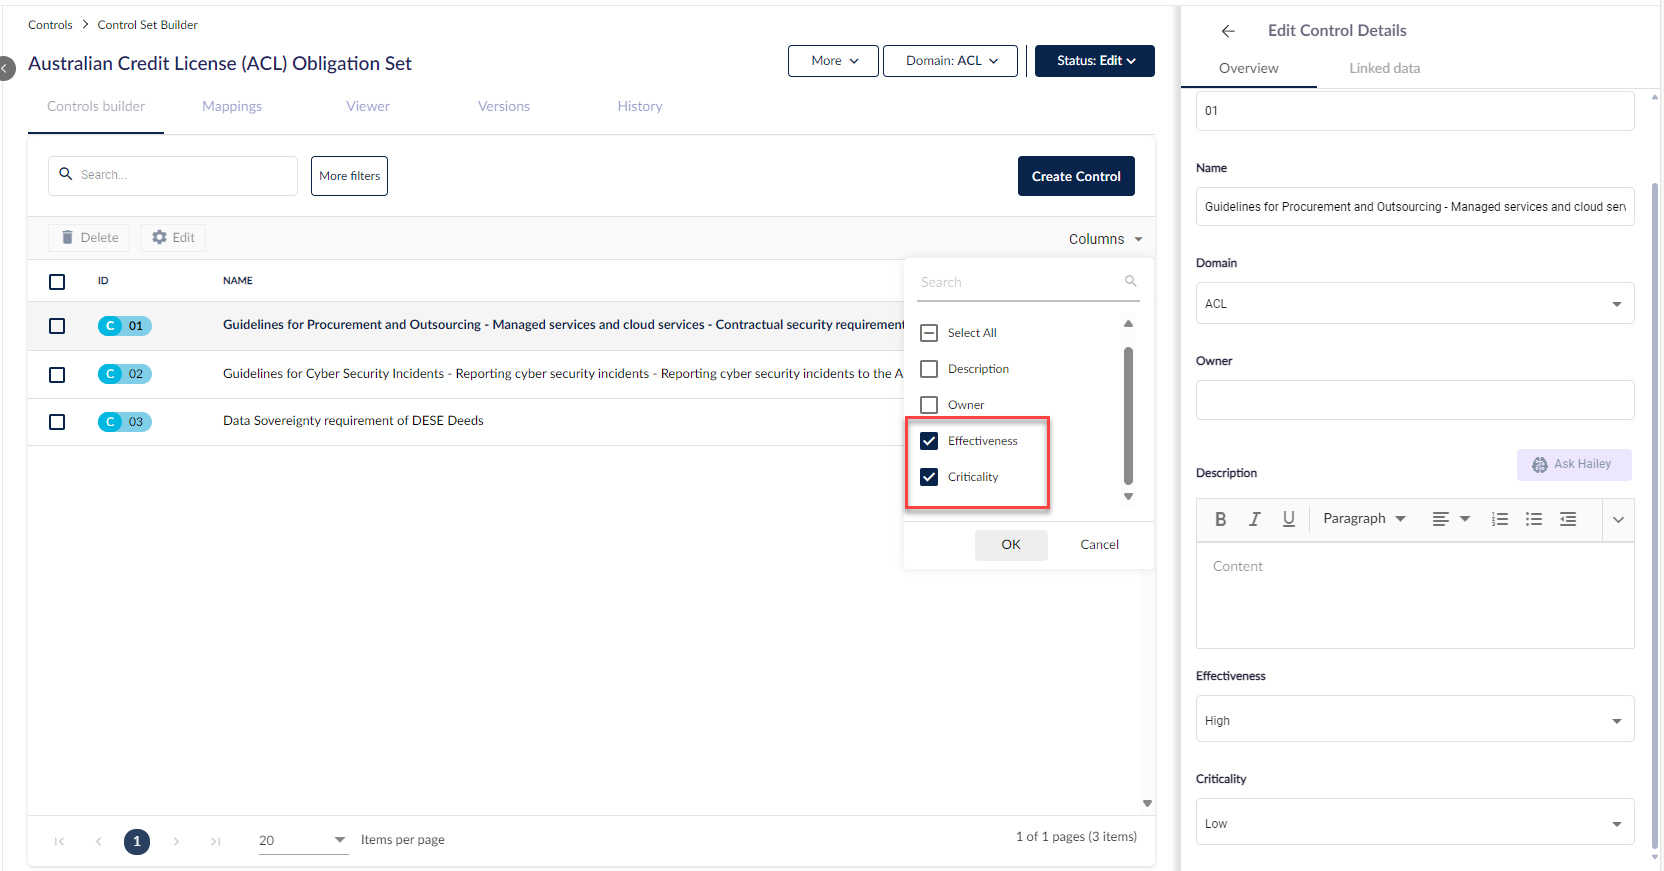
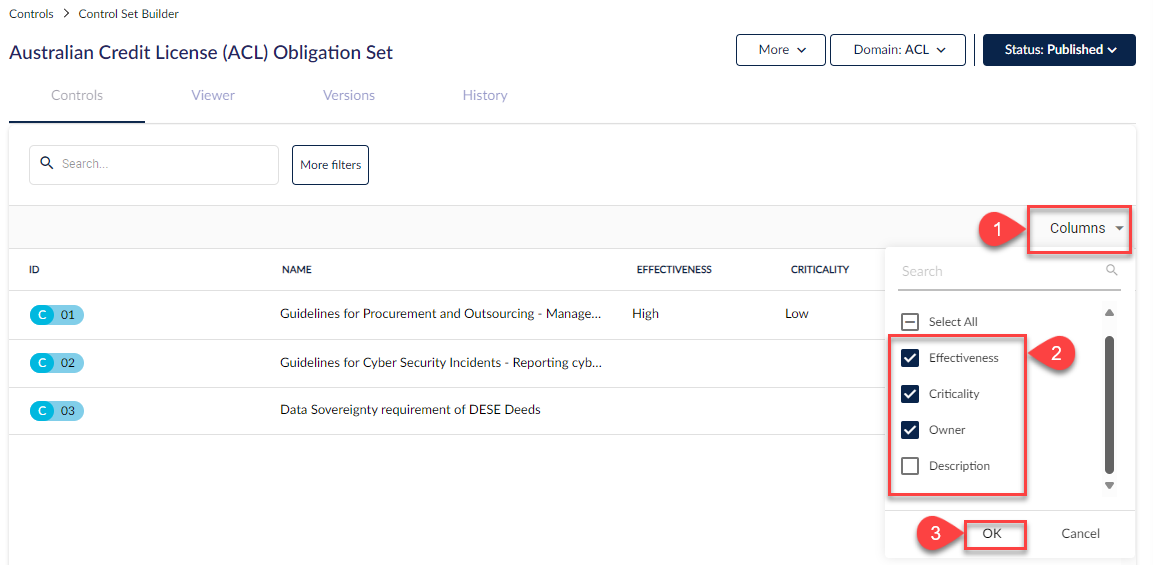
To view the changes you're making to your control set in the central grid, simply select those fields from the Columns option and hit OK.
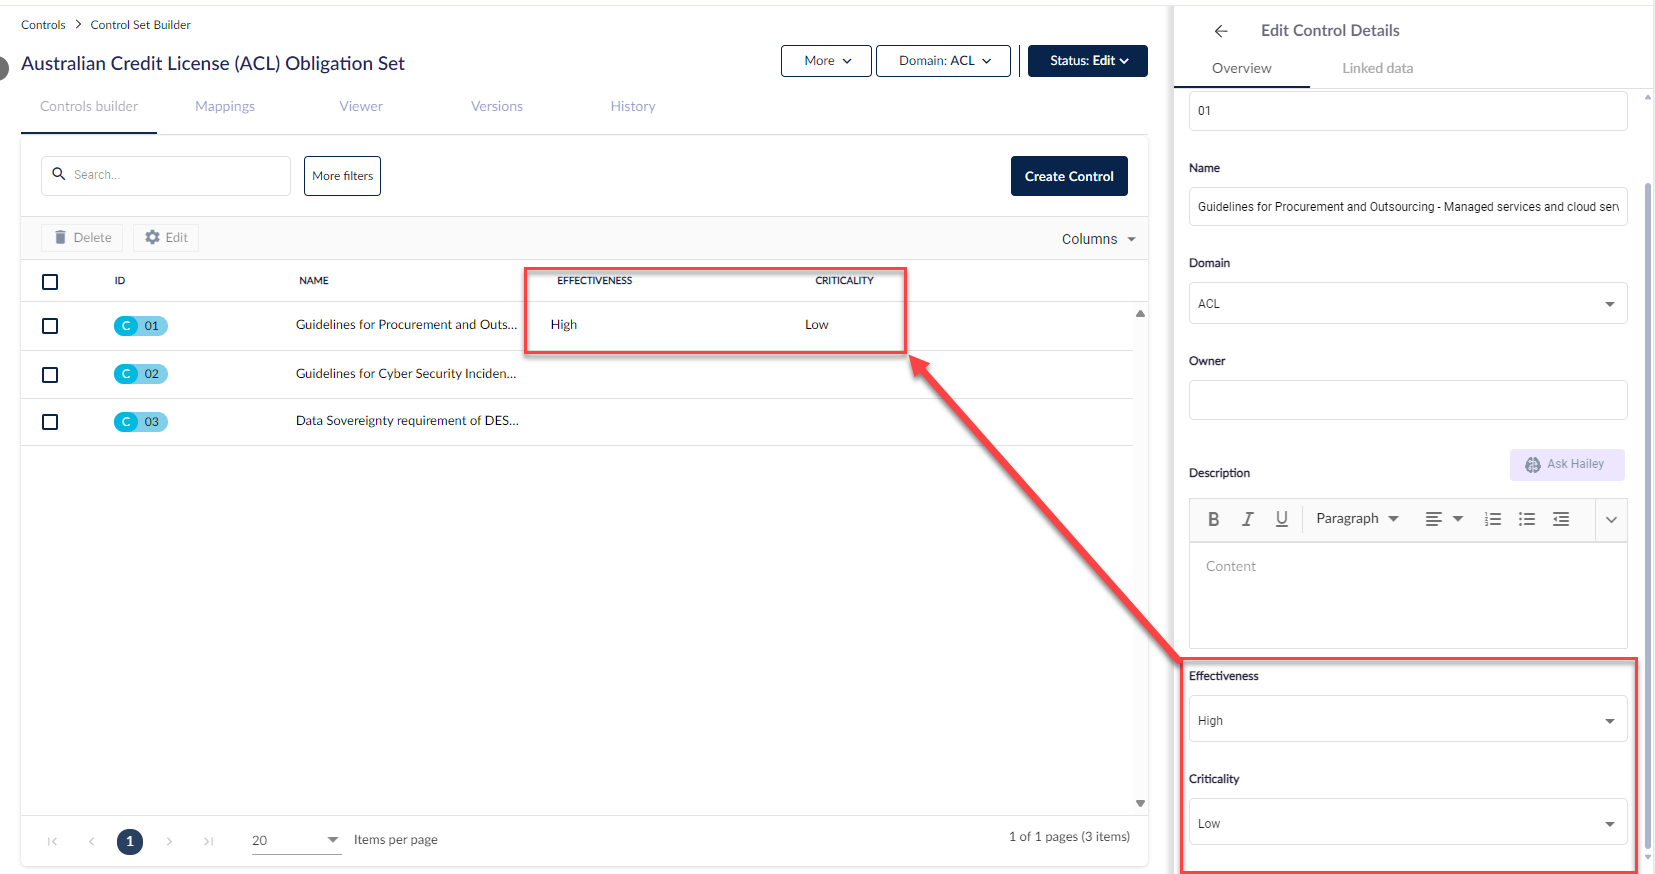
The fields will be added to your control set with the values you have selected.
- Clicking Columns
- Select the fields you want to add to your control set
- And hit OK
Bulk update
To do a bulk update for your Control sets, follow these steps:
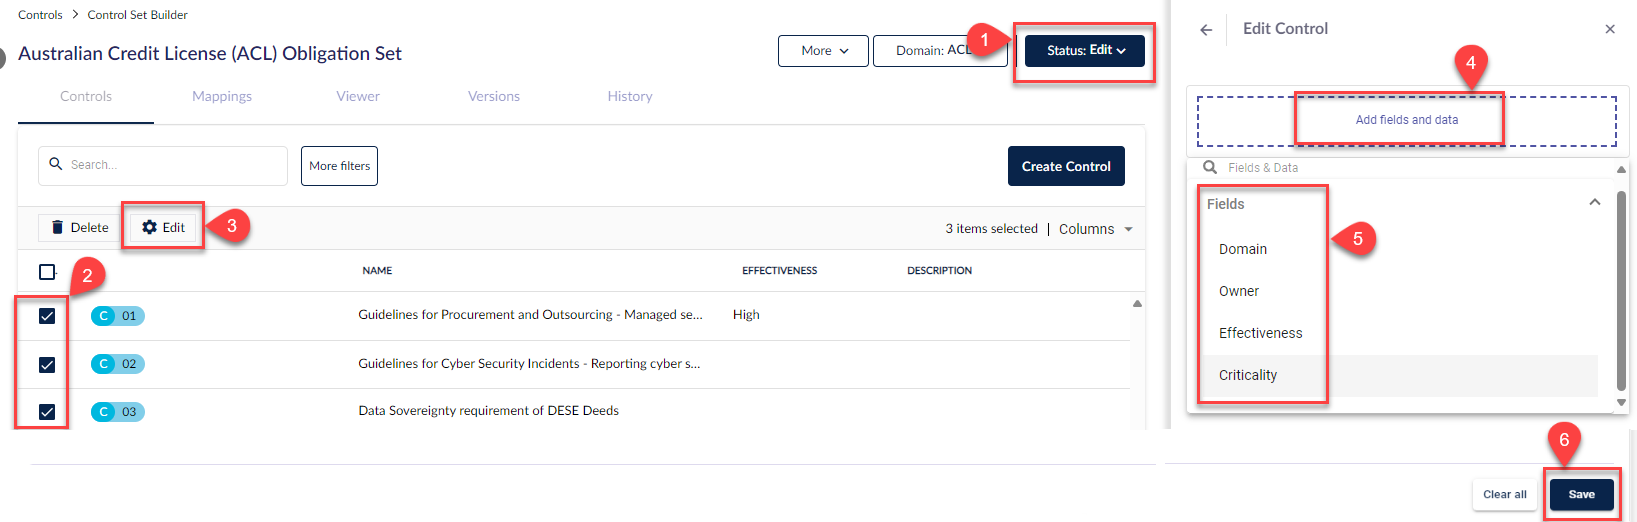
- Make sure your Control is in Edit mode.
- Click on the Control set and tick the ones you wish to update in bulk.
- Hit Edit.
- Click on Add fields and data.
- Select the fields you want to perform a bulk update for.
- Once done, hit Save.
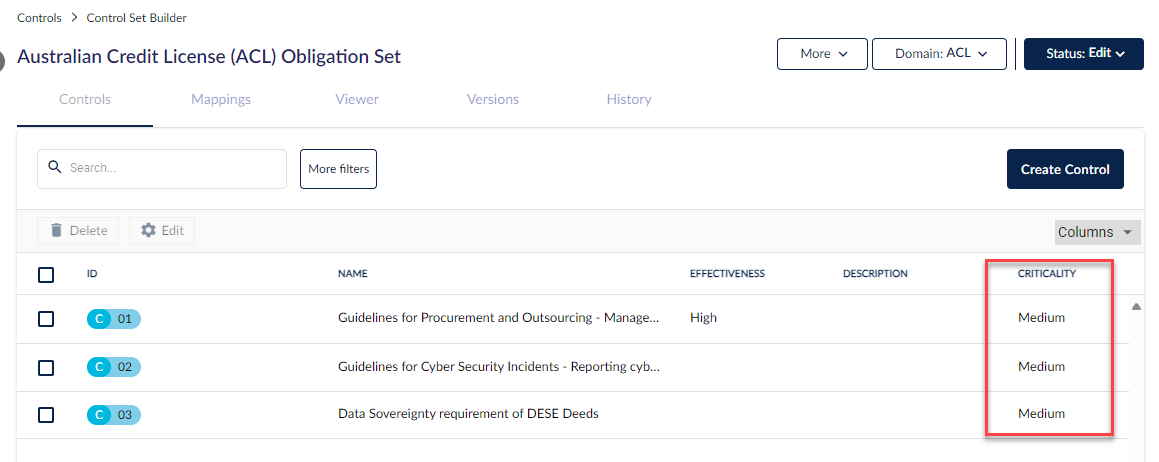
For this exercise, we choose the "Criticality" custom field for a bulk update. Select one of the options previously defined, then click Save.

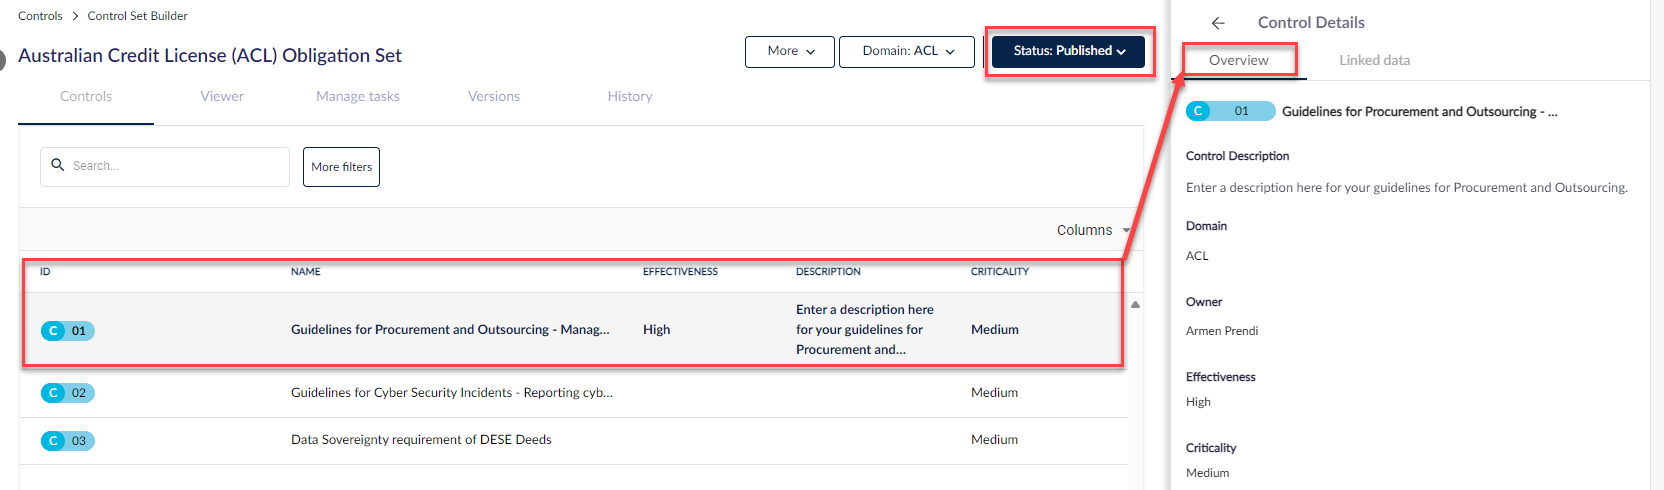
Once you have finished customizing your control set and are ready to see the changes and have them take effect, remember to publish. Click on the control set, you can see an overview of the control set on the right.
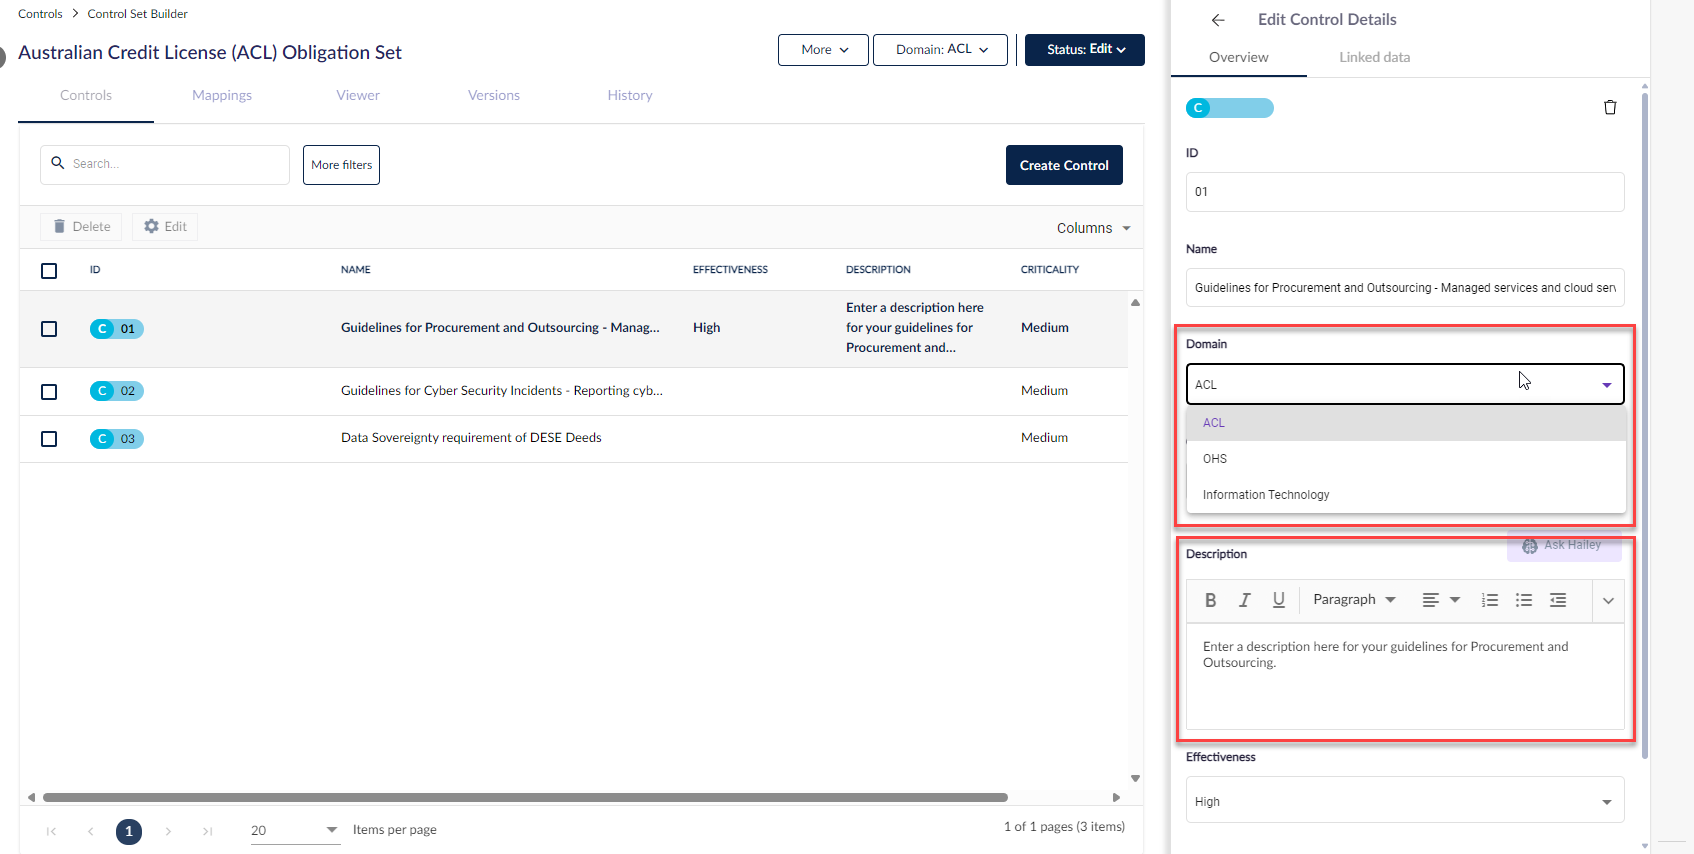
If you need to make any adjustments to the control set, such as modifying the Description, Domain, Owner, etc., you'll need to switch the control from published to edit status and then make those changes.
To learn how to manage and push control custom fields from the Hub, see this article here.
To learn more on responsibilities from My Tasks, head here.