Sharing Trust Portal profile with users
Control who can view and access content in your Trust Portal
This article discusses sharing Trust Portal profiles with specific users. For making profiles public so that more users can access them, head here.
Topics covered in this article:
Sharing your Trust Profile
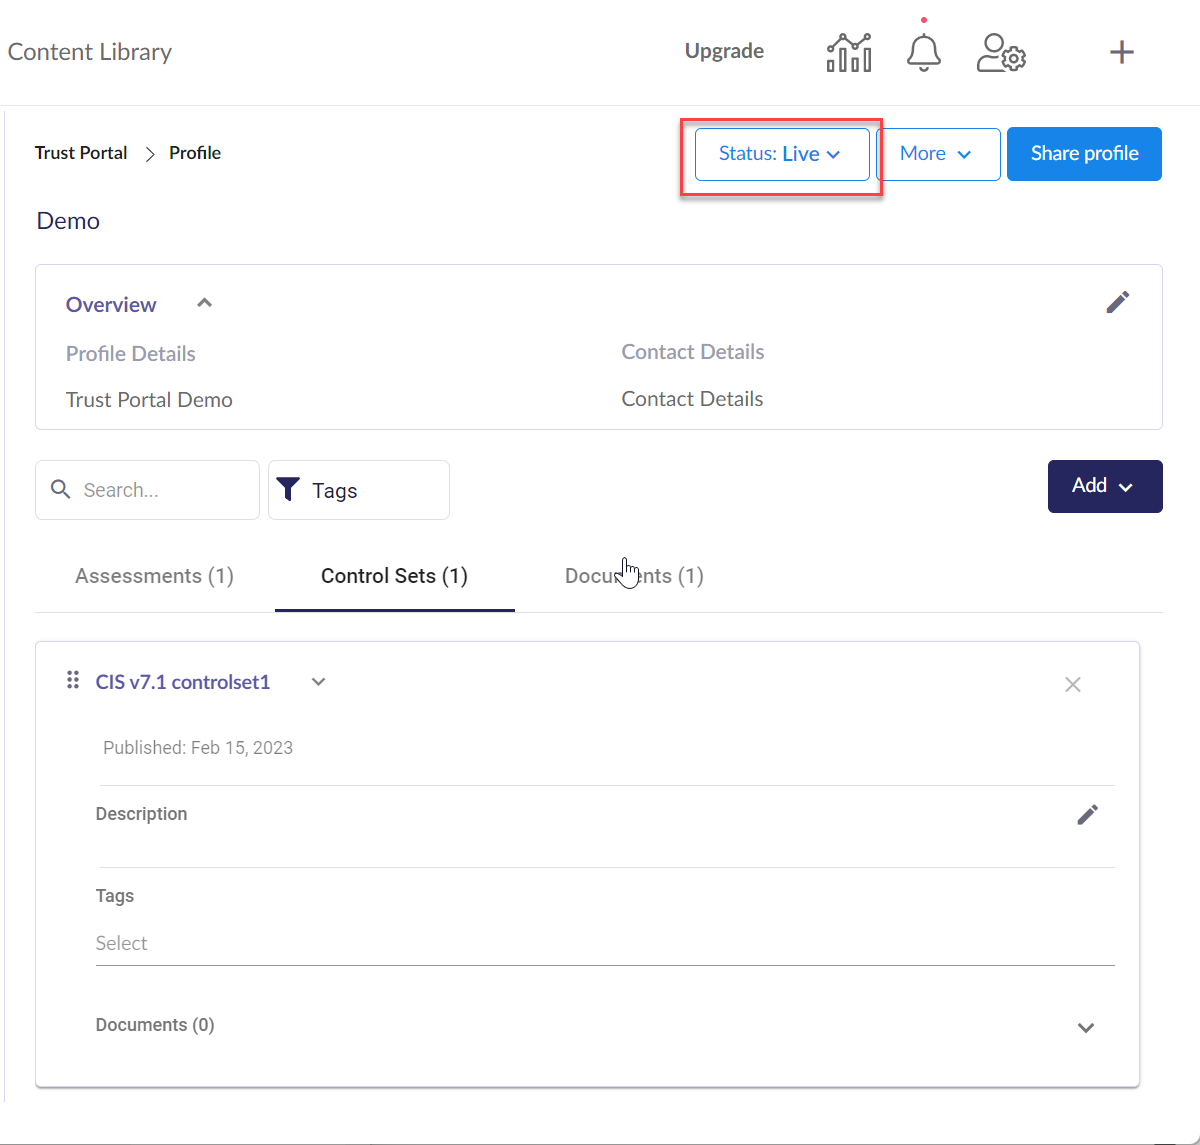
To share your Trust Profile, you first need to change its status from Inactive to Live.
To do this, click the Status dropdown and then select Live.
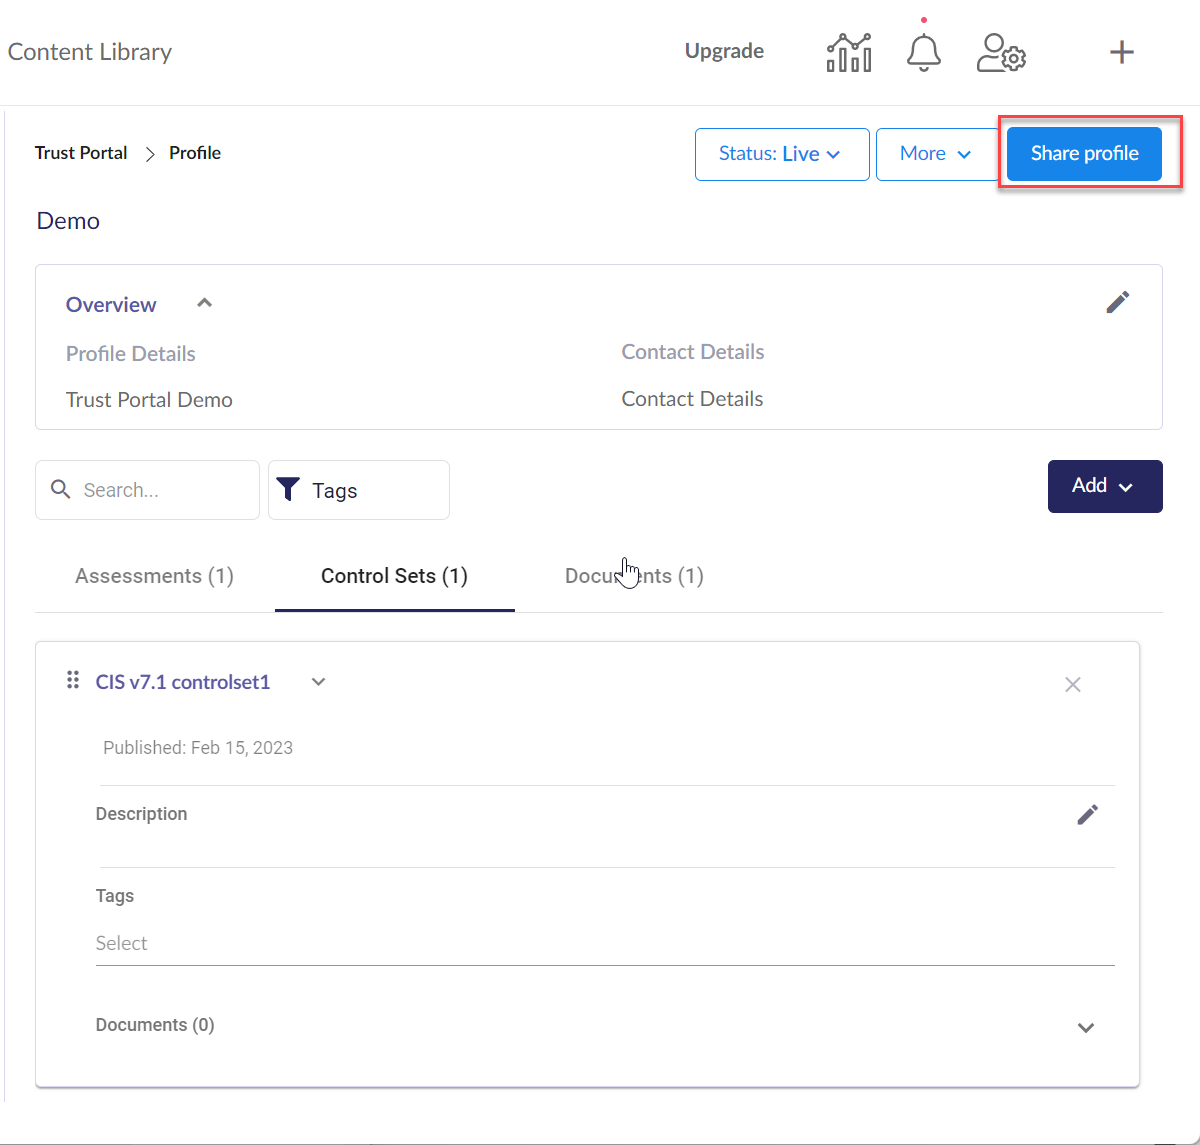
Click Share profile.
Search for users by name or valid email. If the user has not been added yet, click Add User.
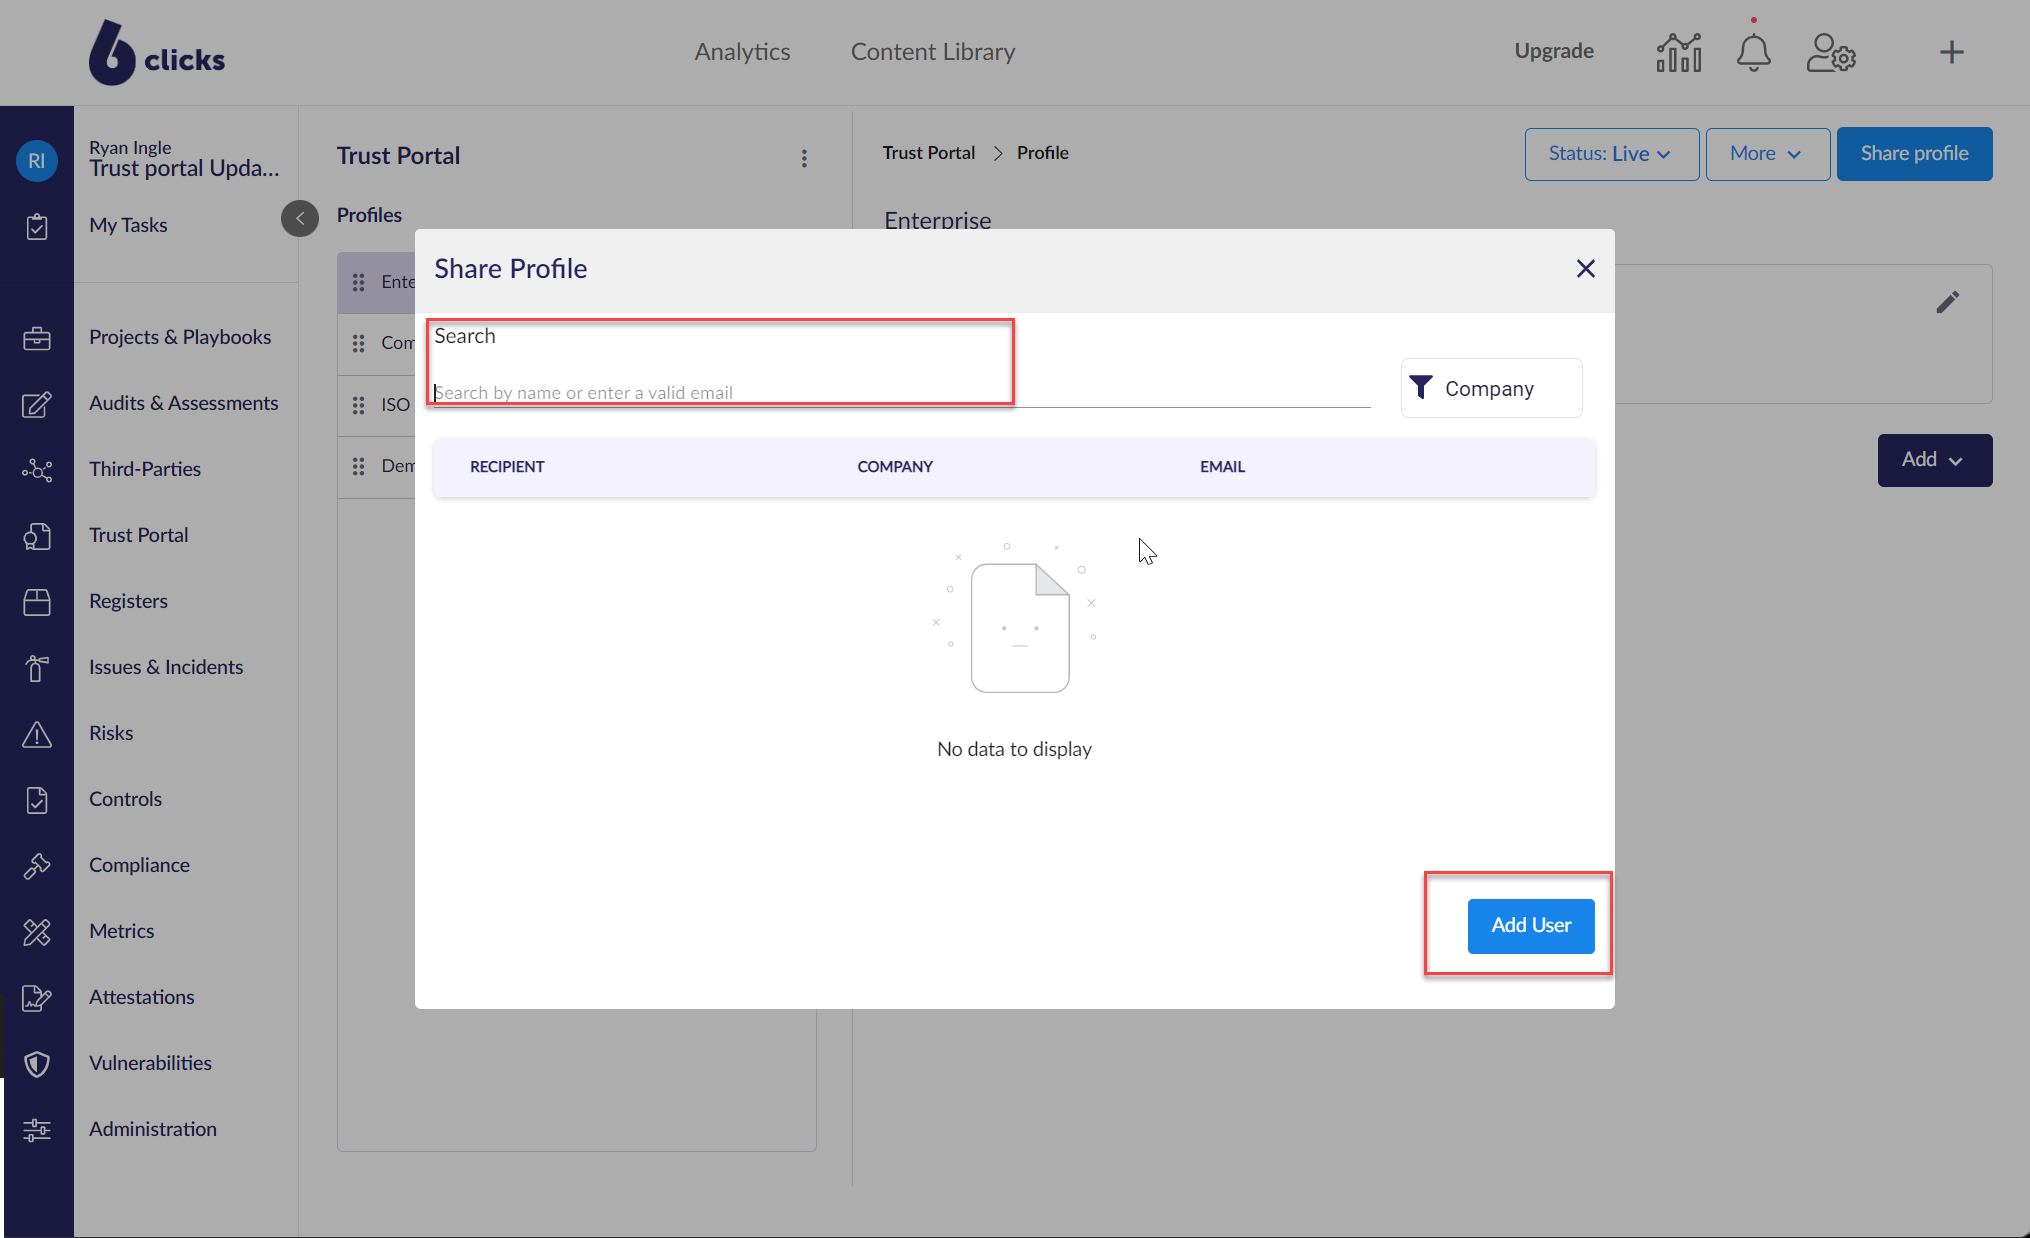 The user will then receive an email to sign up to 6clicks and access the Trust Profile that was shared with them.
Below is what the user will see when accessing the profile that was shared with them.
To manage the users you have invited to access your Trust Profile, hit the ellipsis and a drop-down appears with User Management.
Here you can see all the users you have invited to your respective Trust Profiles. From User Management, you can also:
- Filter by Profile or Company
- Manage users:
- Resend link (to the profile/s they have access to)
- Revoke
- Copy (this copies a unique link which fills out the login email and team/spoke for this user, which is helpful if the user needs help with remembering which email they used)
- Delete
- Add User
 You have the option to switch your Trust Profile status back to Inactive, which means that any user who has access to it will no longer be able to see it. You can switch it back to Live at any time.
Trust Profile - Terms & Conditions
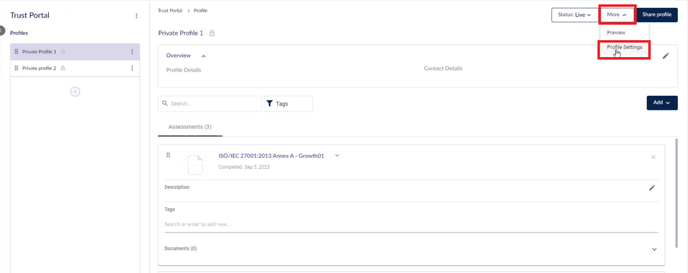
Select More > Profile settings.
Here you can manage access members and the Terms & Conditions for this profile.
- Add or remove Owners and Access members
- Define your Terms & conditions
- Click Save
- Press Yes

Once the T&Cs option is enabled, every user who access the profile will be required to accept your T&Cs, including those who were previously invited to your Trust Portal.
Once the external user has set up their account, they will be required to Accept the T&Cs as defined by your company.
When the user has accepted the T&Cs, they will be able to see what you have shared with them in your Trust Portal.
Global Terms & Conditions (Hub & Spoke)
To streamline the management of your T&Cs, login to your Hub, then navigate to:- Content
- Trust Portal
- Enter your Terms & conditions
- Click Save
the Content menu > Trust Portal. Click on the Add Terms & Conditions button.
Terms and conditions can be entered in rich text format. Once done, click Save.
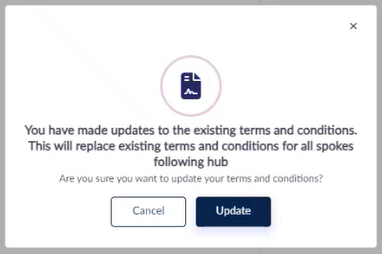
If your T&Cs change, simply update them at the Hub, and the updated T&Cs will propagate down to all connected Spokes automatically, ensuring uniformity across your organization.\
Click on the Update prompt to apply.
Global T&Cs must be enabled within each trust profile before they can be accepted.
Go to the Trust Portal in the Spoke that needs to follow Hub T&Cs, and select More > Profile settings.
Toggle on "Follow the terms and conditions set by the hub account".
When they next visit this profile, users will need to accept the new T&Cs from the Hub.
