1. Policy document - Import control set
2. Controls template - Create control set and responsibilities and import via template
Import policy document
Navigate to the controls module and click on Import control set.
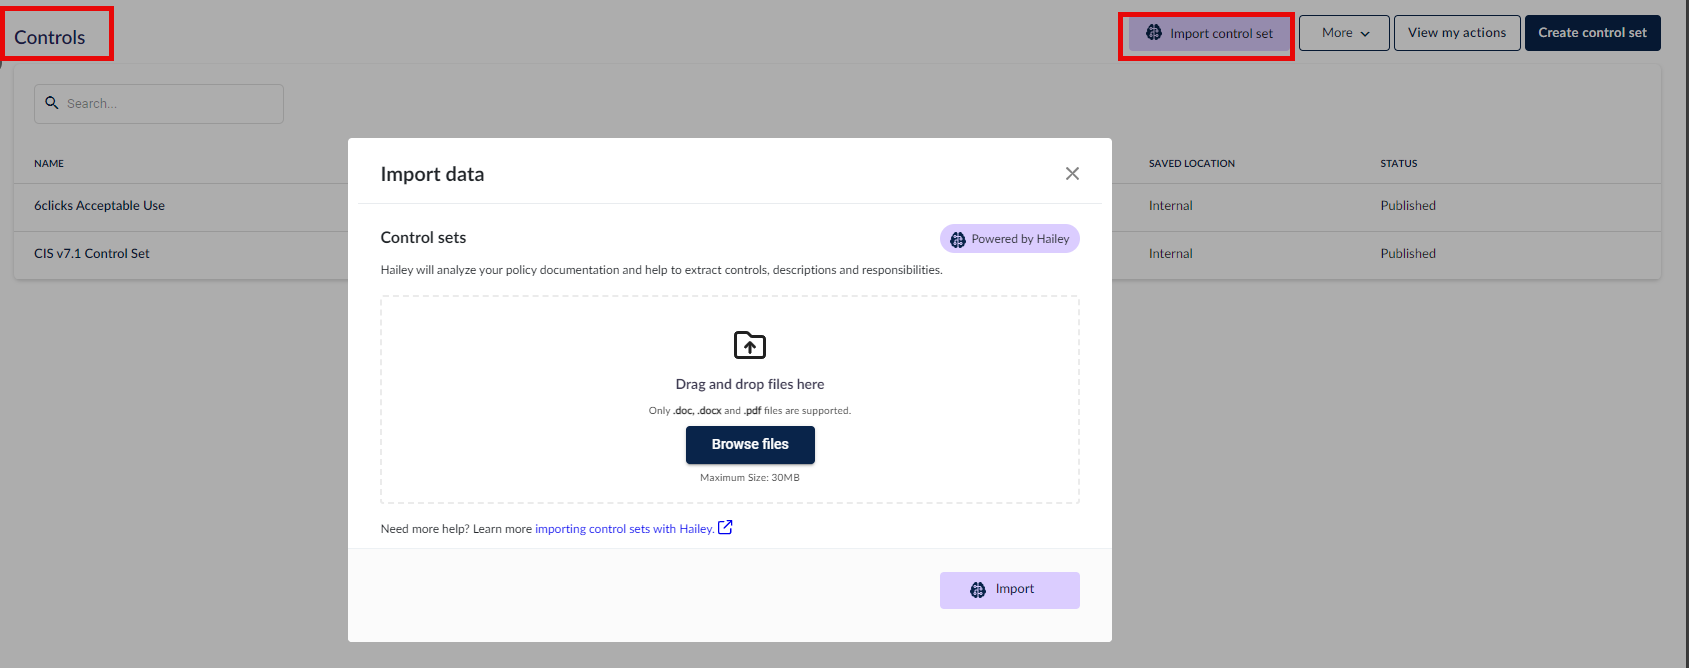
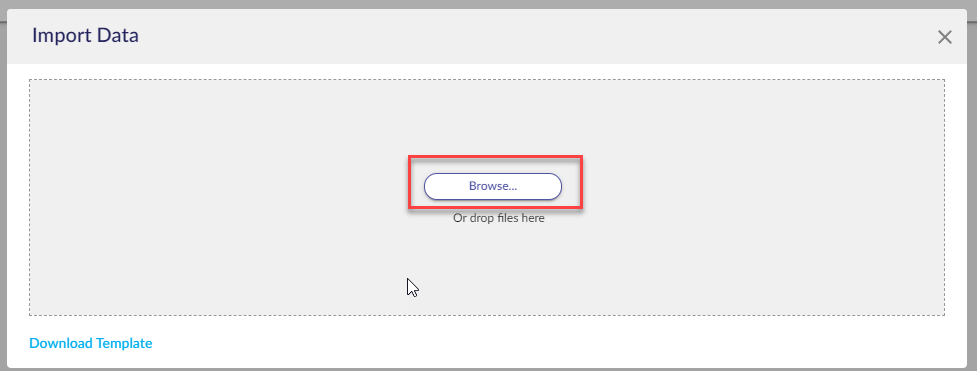
At the Import data modal, you can either drag and drop your policy document as directed or you can click on Browse files to navigate and select the policy document you wish to import. As noted in the screenshot above, .doc, .docx, and .pdf files are supported. Once the file has uploaded, you can choose to click on Import.

if the import was sucessful, you will see the following notification. You can choose to open the new control set or close the notification.

From here, you can review and update your new control set to manage the controls and responsibilities that were created.
Controls template
Navigate to the controls module and click on Create control set. Provide a name and description when prompted in the modal and then click on Create control set.
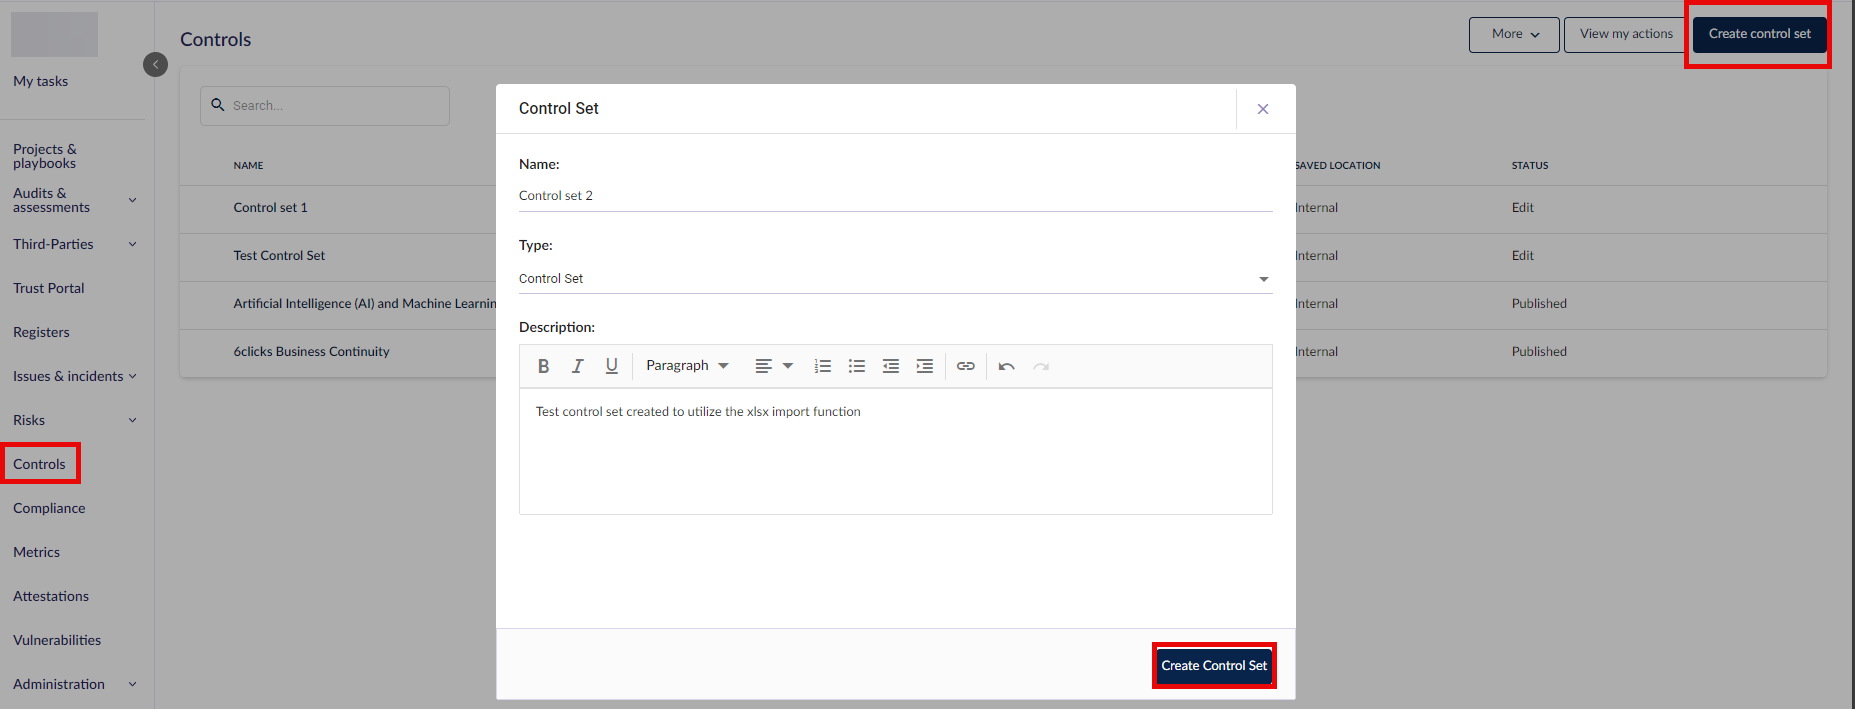
This will open the Controls page, displaying all your organization's control sets stored in 6clicks. Click Create Control Set at the top-right corner of the screen.
The Control Set modal will then open. Enter a unique name for the control set under the Name field, include relevant details under the Description then click Create Control Set.
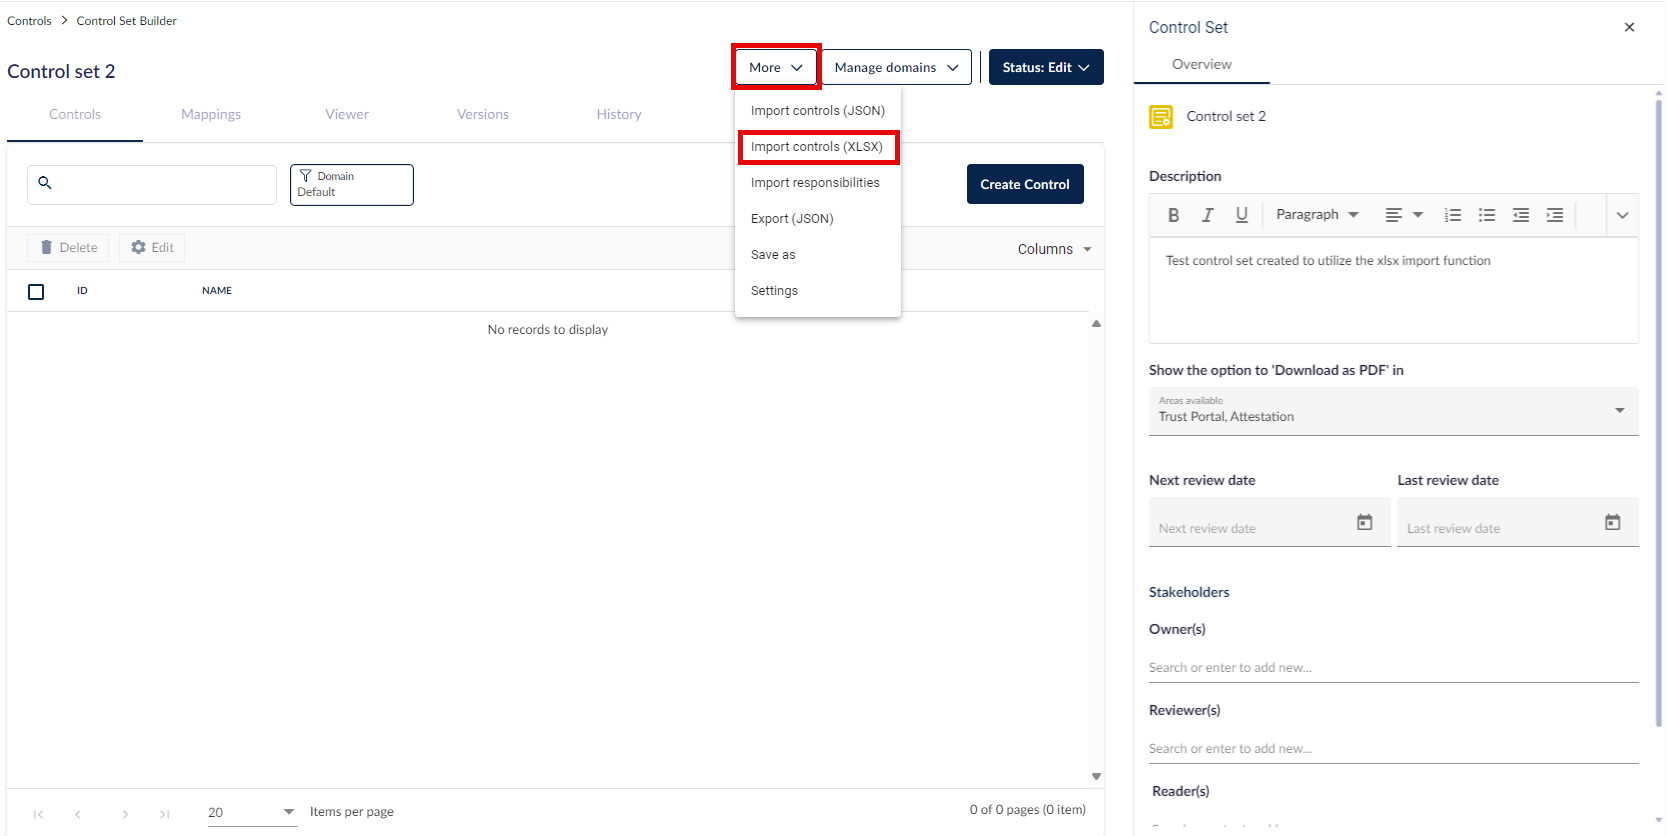
 At the Control Set Builder page for your new control set. click on More at the top-right corner and choose Import controls (XLSX) from the drop-down list.
An alert message will appear. Read it carefully and select Yes to continue.
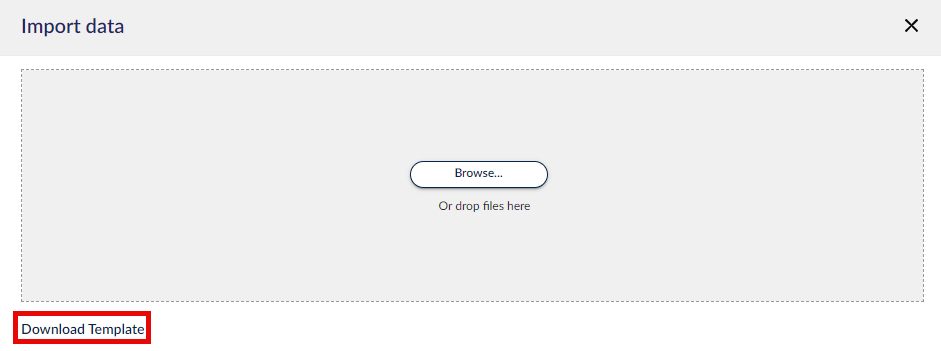
This opens the Import Data modal. Select Download Template to download the Excel file that provides a template for formatting your controls.
Open the template to see column headings that correspond with field names. Populate the respective information in each column:
- Control ID: Input the control ID(s) in this column. Each ID should be unique to the respective controls.
- Control Title: Enter a name or title for each control in this column
- Control Description: Describe the function of each control
- Control Domain: Indicate the domain that each control falls under

Note: Control uniqueness is enforced on the Control Title within a Domain. Therefore, two controls cannot have the same Control Title and Control Domain, even if their Control ID's are different.
Import Controls
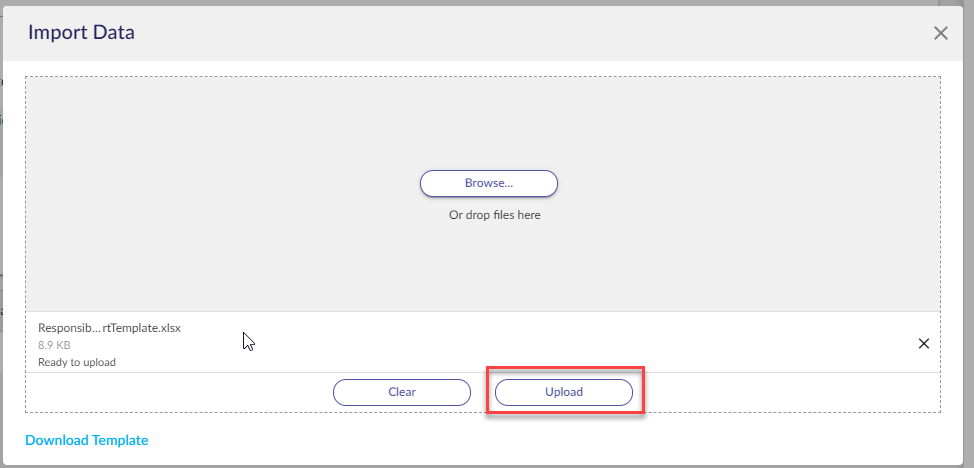
Upon completing and saving the template, return to the Control Set Builder page, click More, choose Import Controls (XLSX), and select Browse to upload the edited template that now contains information on your controls. You can also drag and drop the file directly into the Import Data modal.
Click Upload to import your controls.
Once the file finishes uploading, you can return to the Control Set Builder page to see that the control set you created now displays the controls you listed in the Excel template.
Responsibilities template
Responsibilities are tasks that are attached to a control to ensure its implementation.
Going back to the control you previously created, navigate to the Control Set Builder page, click More, then choose Import Responsibilities.

The Import Data modal will open. Select Download Template to download the Excel file that provides a template for formatting your control responsibilities.
Open the template to see column headings that correspond with field names. Populate the respective information in each column:
- Control ID: Input the control ID(s) in this column. Each ID corresponds to a control to which you are attaching a specific responsibility
- Name: Enter a name or identifier for the responsibility in this column
- Description: Describe what course of action the responsibility entails
- Due Date: Indicate when the responsibility is due; use MMM dd, yyyy format e.g. Jun 15, 2025 and ensure the cell is in Text format.
- Owner: Enter the email of a user or advisor who will oversee the responsibility. When linking a user group, enter the group name. Multiple entries need to be separated by commas.
- Recurring: Yes in this column if this responsibility should generate recurring tasks. No if this responsibility should only generate a one-off task.
- Time Period: If the responsibility should generate recurring tasks, add the recurrence period. Options are to generate a new task every 2 years, 1 year, 6 months, 3 months, 1 month, 2 weeks, and 1 week.
- Assigned Members: Enter the email of a user or advisor who will perform or complete the responsibility task. When linking a user group, enter the group name. Multiple entries need to be separated by commas.
Import responsibilities
Upon completing the template, return to the Control Set Builder page and again click More, choose Import Responsibilities, then this time, select Browse to upload the edited template that now contains information on your control responsibilities. You can also drag and drop the file directly in the Import Data modal.
Click Upload to import your control responsibilities.
Once the file finishes uploading, you can return to the Control Set Builder page to see that the control set you previously created now displays the responsibilities you imported under the Linked Data column for the respective control.
References:
More specific information on creating a control set
The controls module in 6clicks