3-step process to publish an assessment using JSON templates:
- Create a Question-Based Assessment (QBA) with one sample question on 6clicks.
- Convert an Excel sheet with questions to JSON template.
- Import JSON and publish the assessment.
Create a Question Based Assessment (QBA) on 6clicks.
Note: You need to add one question to build a sample template. For this approach to work, all questions need to be of the same type only (i.e Multiple Choice, Checkbox, Dropdown etc). If a question is of a different type, you may need to add it manually.

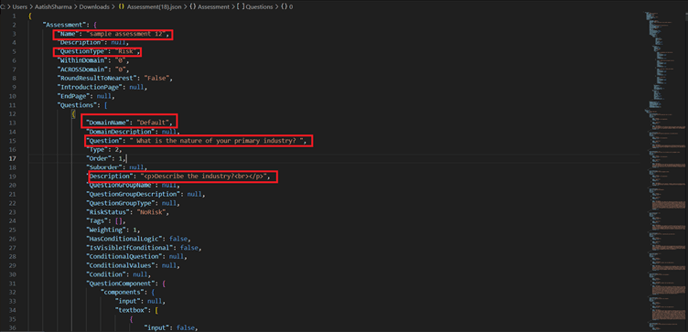
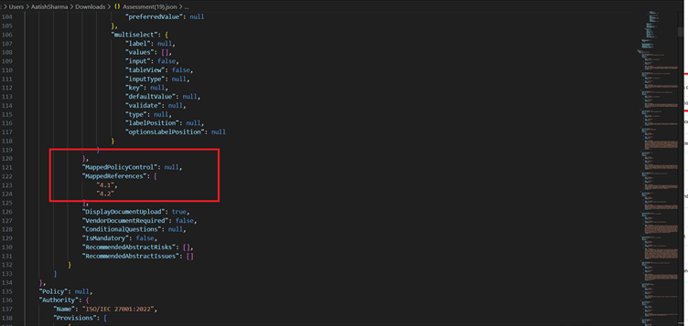
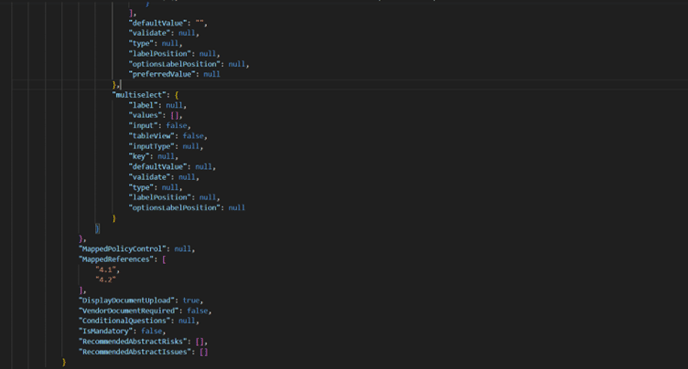
4. Open the exported template , andyou will see the different sections of an Assessment like Assessment name, Question name, Domain name, Answer options, linked provisions etc.
We will utilize the provided JSON template to transform the CSV file containing questions into a JSON format suitable for import into 6clicks.
Convert an Excel sheet with questions to JSON template.
The next step involves aligning different sections from the CSV file with the structure of the imported JSON template.
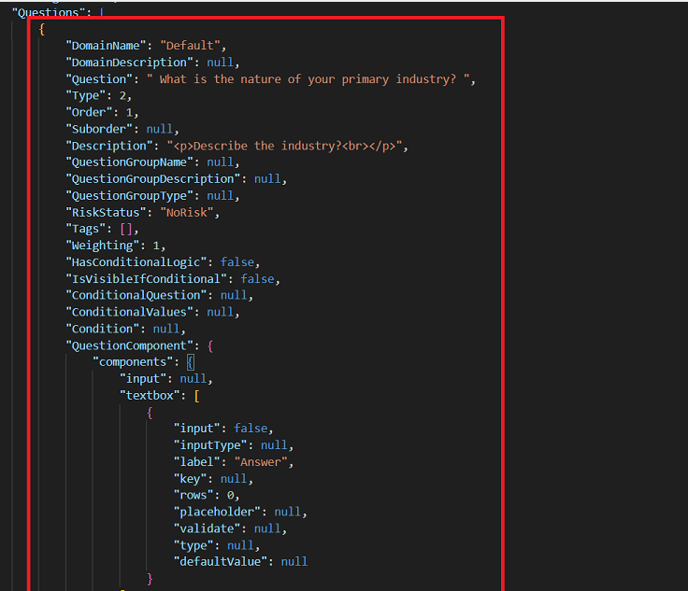
1. From the provided JSON template, cut the section under "Questions": [. This will serve as the template to import all questions from the given CSV file.
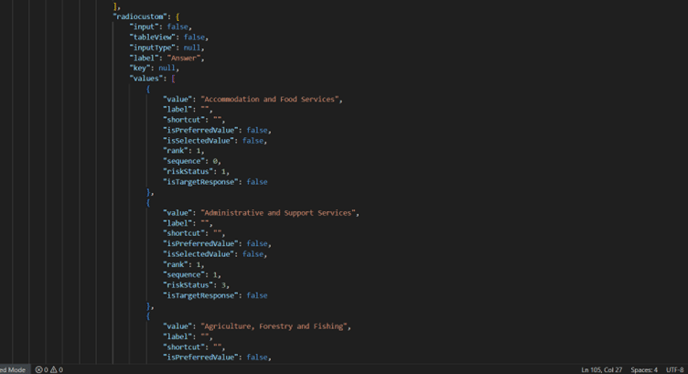
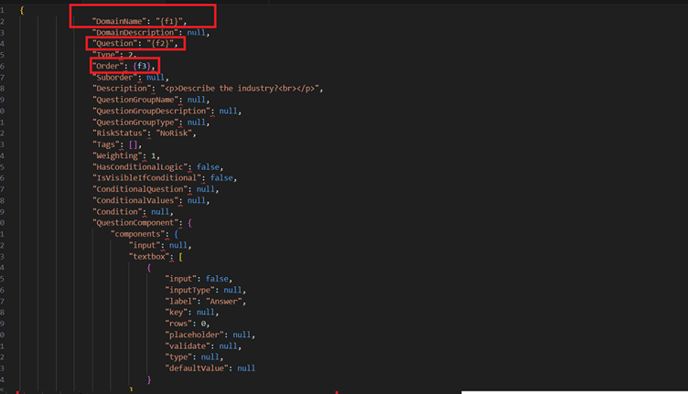
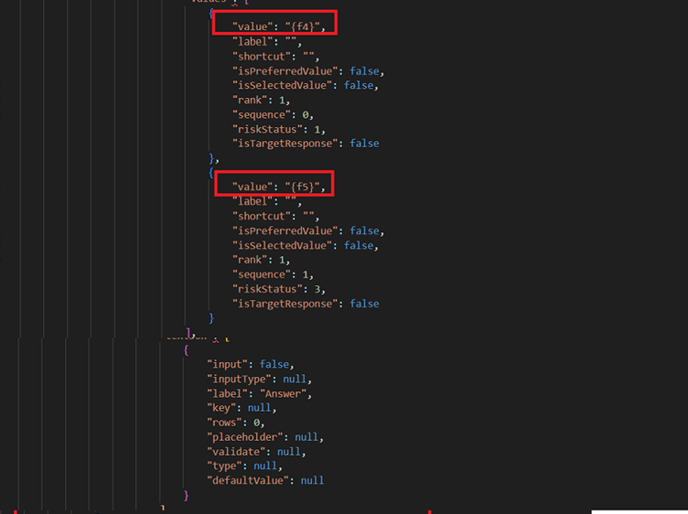
2. Update the fields within the JSON file to correspond with the column positions in the CSV file.
For example, the Domain Name is situated in the initial column of the CSV file. Therefore, align the DomainName field with the primary column in the JSON file, similarly for other fields by adding {f1}, {f2}, {f3} and so on. This signifies the position of the field in the csv.

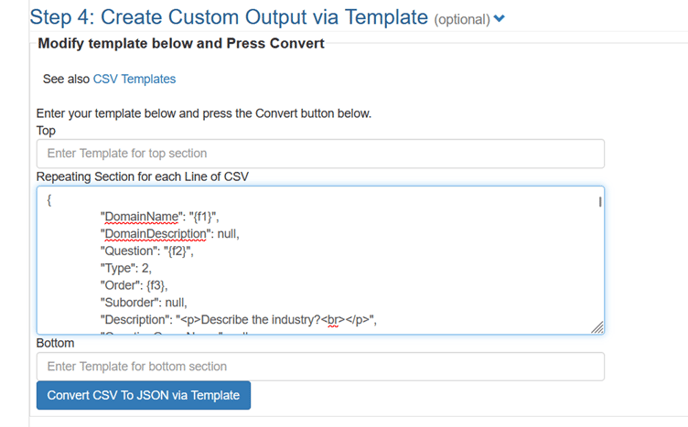
3. Go to https://www.convertcsv.com/csv-to-json.htm
4. Upload assessment (CSV file) to "step 1".5. Copy and paste the JSON template created in "step 4" (remove all the existing tags) and click on “Convert CSV to JSON via Template”.
6. Copy the output from “step 5” and paste it into the area under "Questions": [ part of step i.
Our final JSON is ready with all the questions present in the csv file.
Import JSON and publish the assessment.
1. Go to the 6clicks account where you created the sample assessment (sample assessment 12 – the very first step in this case.)
2. Import the JSON created in the last step above (step 6)
All the questions are now imported into the sample assessment.
Video Tutorial: