Table of Contents:
This article specifically covers how to add Sub Queries to a self-service report. For guidance on how to access and use self-service reporting, please see this article.
Adding a Sub Query
To add a Sub Query to a Self-Service Report, click + near the top right of the report builder.
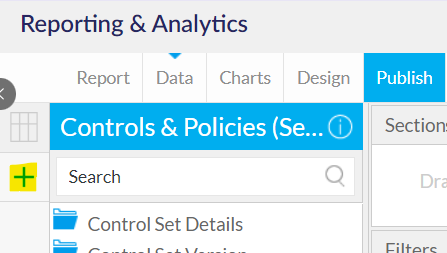
This will open up a modal that will configure the new Sub Query.
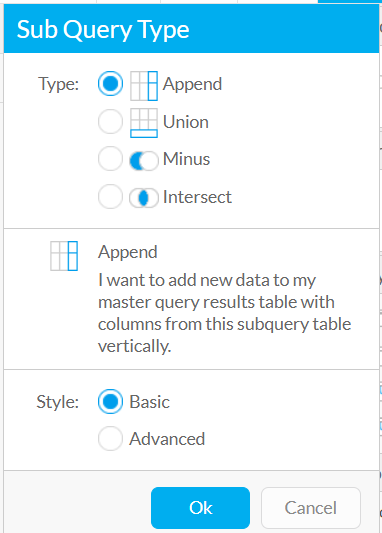
Select the Type of Sub Query you wish:
- Append - Add columns from another View, or the same under different filtering.
- Union - Add rows of data from another View within the columns of my existing report
- Minus/Intersect - Use the sub-query to remove results from your report
- Intersect - the intersect query takes the results of two queries and returns only the rows that appear in both sets.
Select the Sub Query Style:
- Basic - Create a Sub Query using the same View used for the report
- Advanced - Create a Sub Query using another View
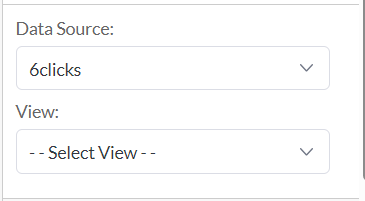
An Advanced Sub Query Style will require the Data Source and View to be defined.
Click Ok to Create the Sub Query and proceed with configuring it.

The below sub-sections will go into detail on how to configure and use the 2 more popular Sub Query Types - Appends and Unions.
Adding an Append Sub Query
To configure an Append Sub Query, select the Sub Query Join.
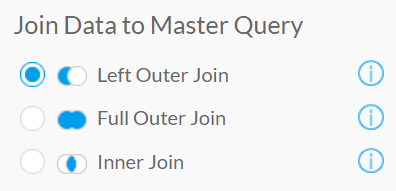
This will determine what data from the Master or Sub Query will be included in the Report. Click the information button for a summary of each Join.
From here, define how the Sub Query is linked to the Master Query.
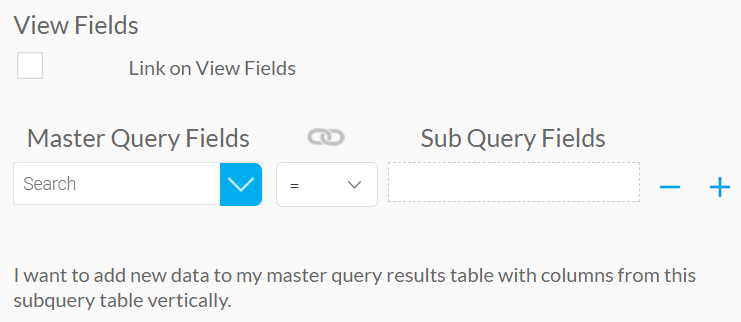
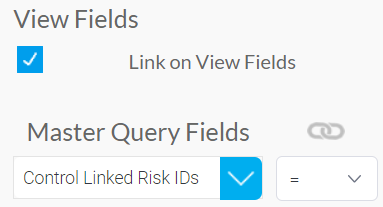
Check the Link on View Fields checkbox and select the relevant linkage field from the Master Query Fields dropdown.
Next, drag and drop the relevant field from the Sub Query View into the box under Sub Query Fields.
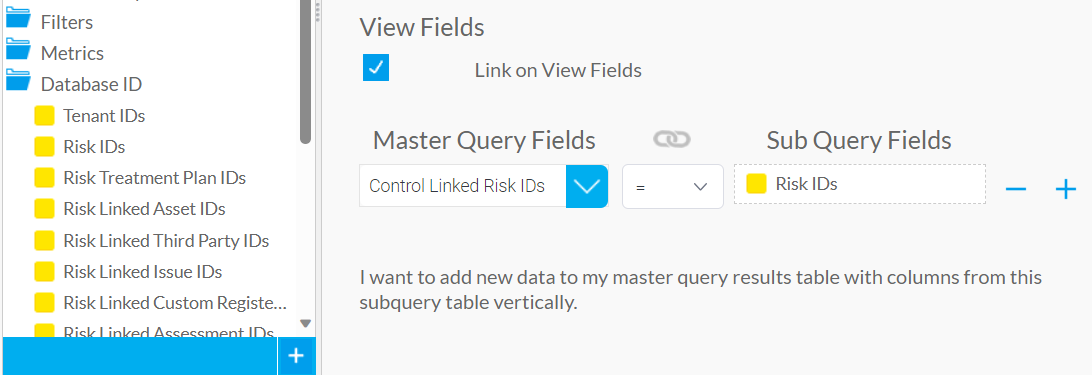
6clicks is designing its updated Self-Service Views to support Append Sub Queries. Each new/updated View includes a Database IDs folder of fields.
These are unique to each record and will enable Views to be linked in line with the many ways records can be linked together in 6clicks.
Click Save to finish configuring the Sub Query and begin using it within the report.

Once saved, the fields within the Sub Query View can now be added to the report.
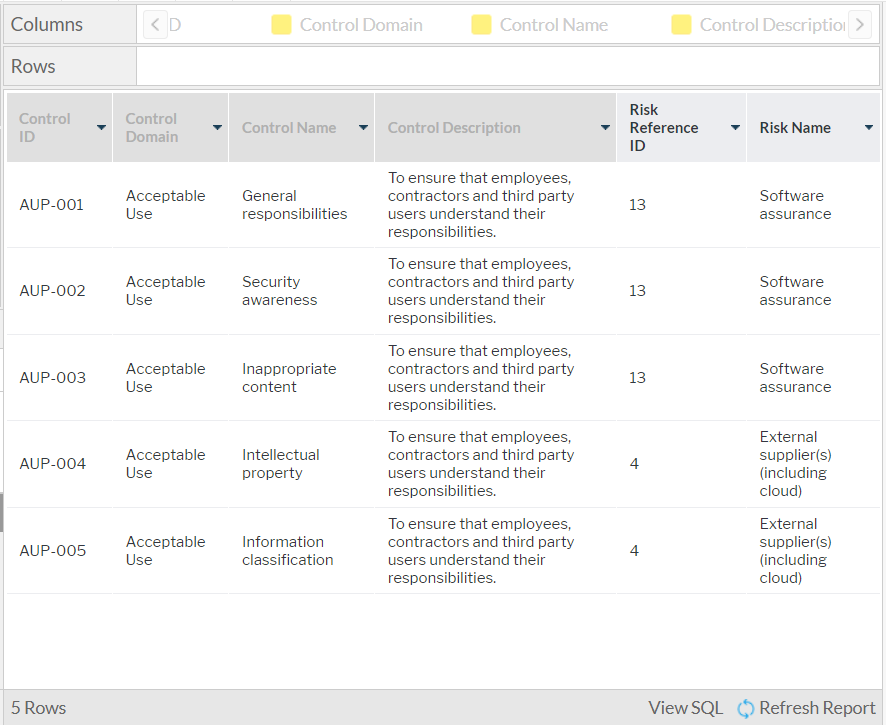
In the below example, Risk Reference ID and Risk Name have been added to a Control Report.
Adding a Union Sub Query
To configure a Union Sub Query, drag the fields from the Sub Query view into the Master Query fields.
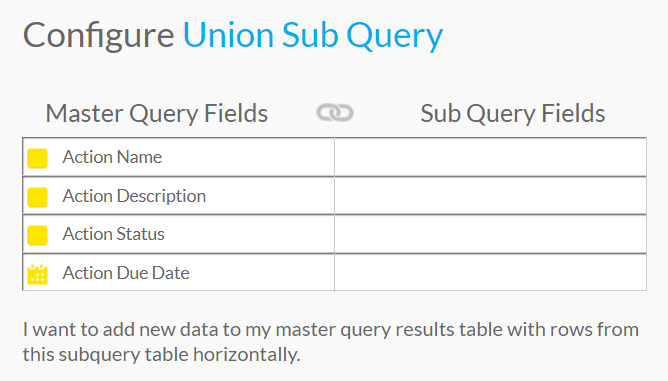
Please note: All Master Query Fields must have a linked Sub Query Field.
Click Save to finish configuring the Sub Query.
![]()
In the below example, data from Risk Treatment Plan Actions and Issue Actions has been joined into a single report.

Managing Sub Queries
Navigating between Queries
Once a Sub Query has been saved, use the tabs on the let hand side to navigate between the Sub Query and the Master Query.

Linking Filters between Sub Queries
To link filters between Queries, click Advanced settings in the Filters section.
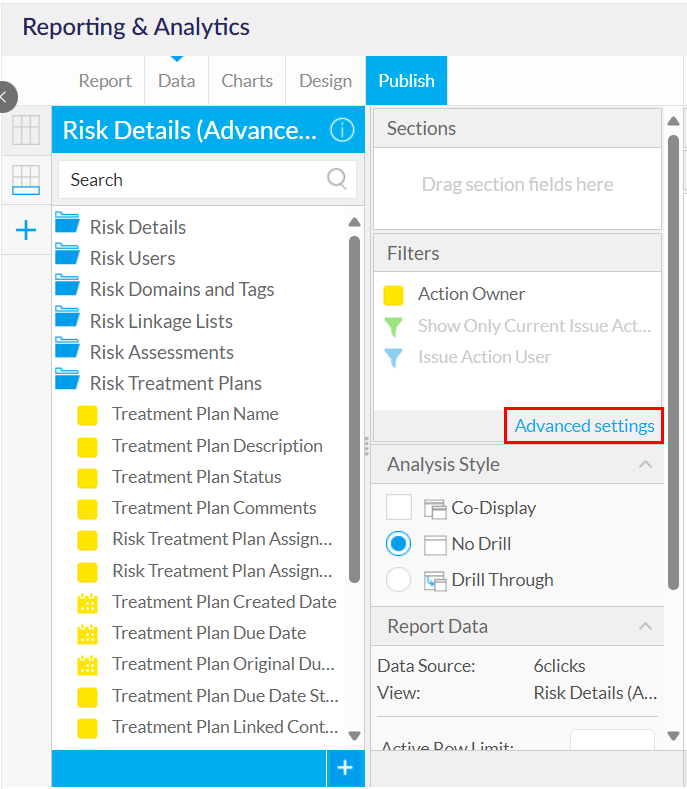
From here, select the Query and filter to link.

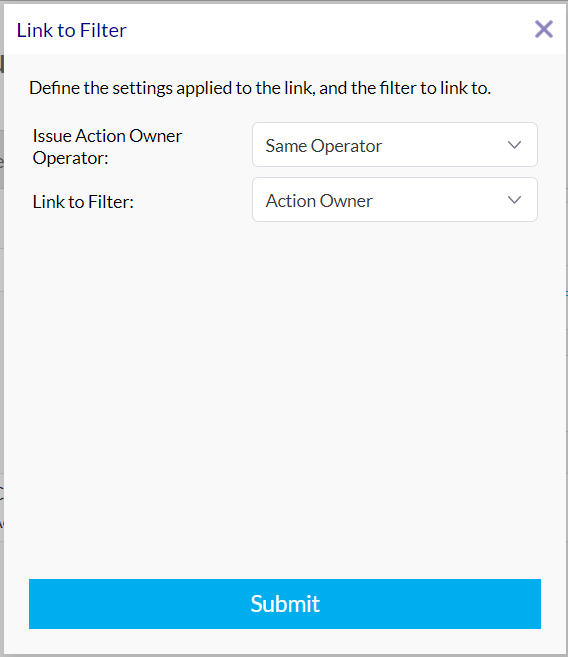
The dropdown allows for a range of filtering options including Advanced Filtering. Select Link to Filter from this list.

From here, click Define Link to configure the operator and linked filter. Click Submit when finished.