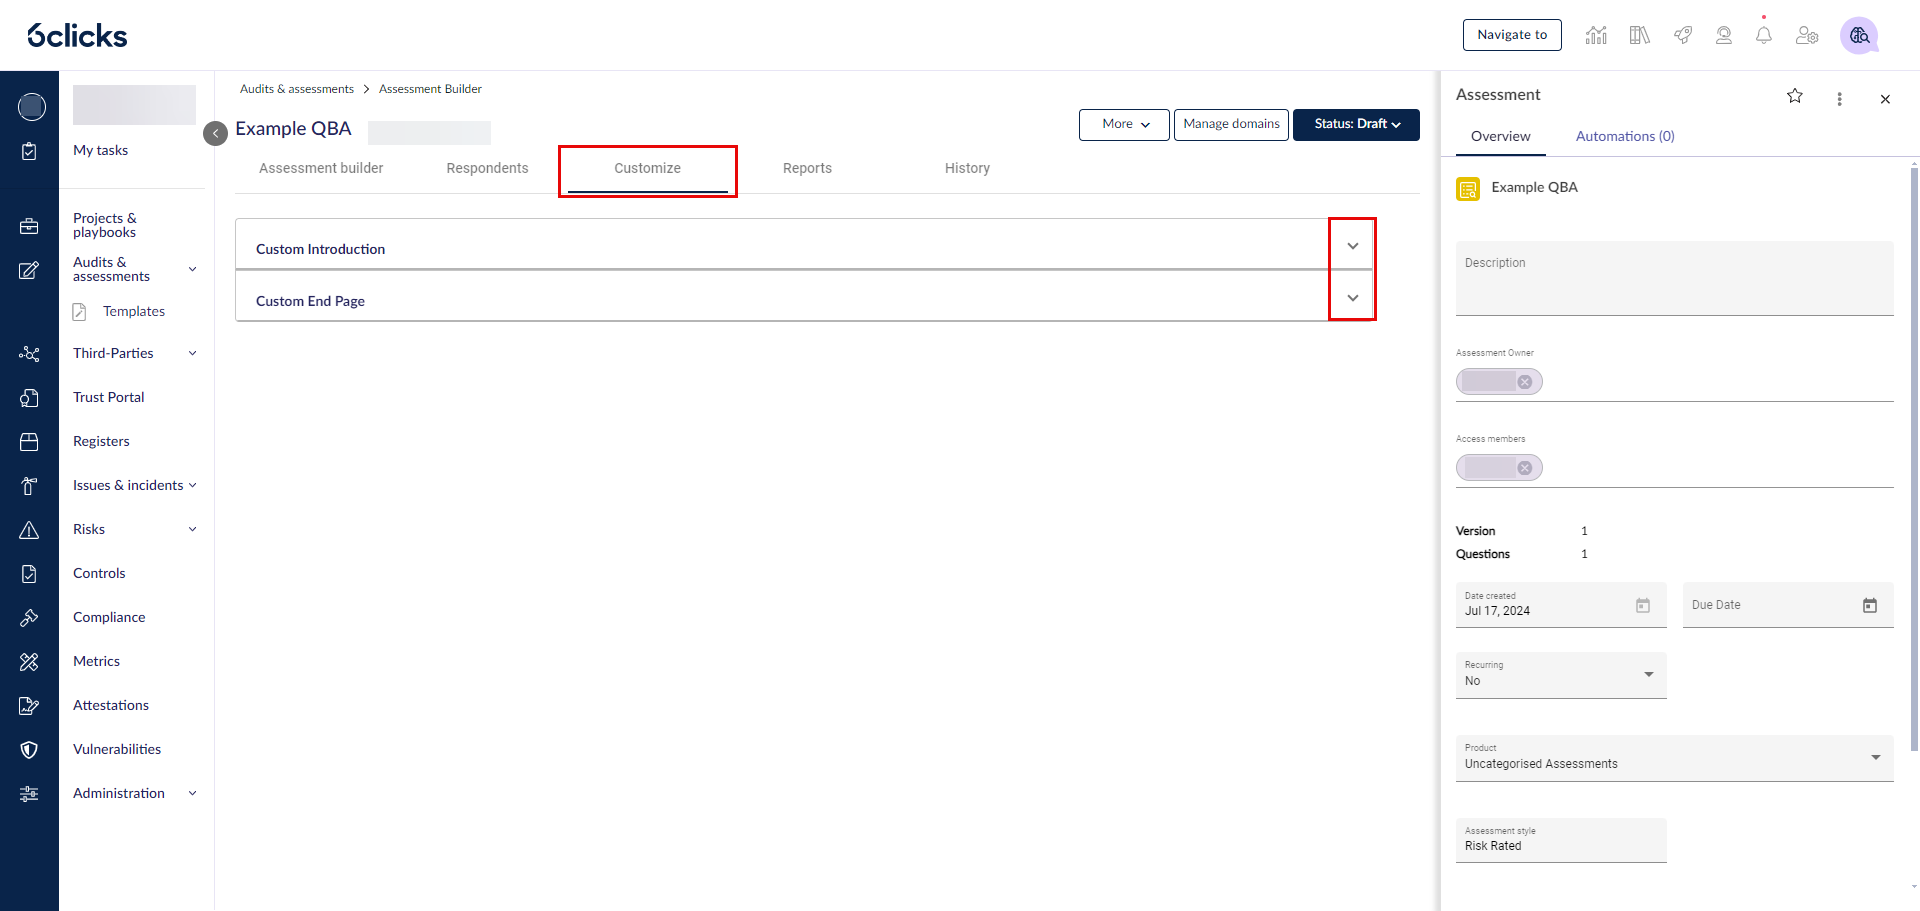
Go to the Customize tab within the assessment you are looking to customize.
Here you will find the sections Custom Introduction and Custom End Page.
Expand a section to customize it.
Custom Introduction
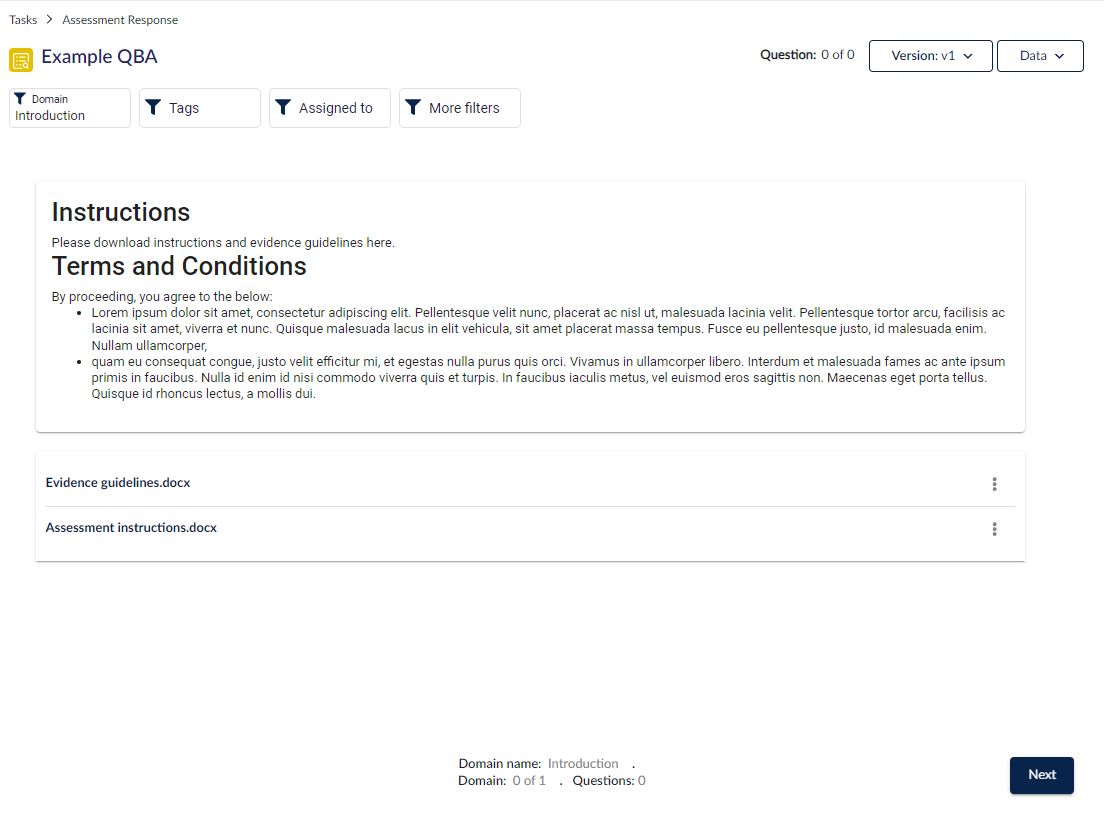
The Custom Introduction will appear to respondents when they first open an assessment. This area is useful for providing context to respondents such as a description of the assessment, instructions, and a link to relevant documents.
Within this section, you can find a rich text field and the file upload functionality.
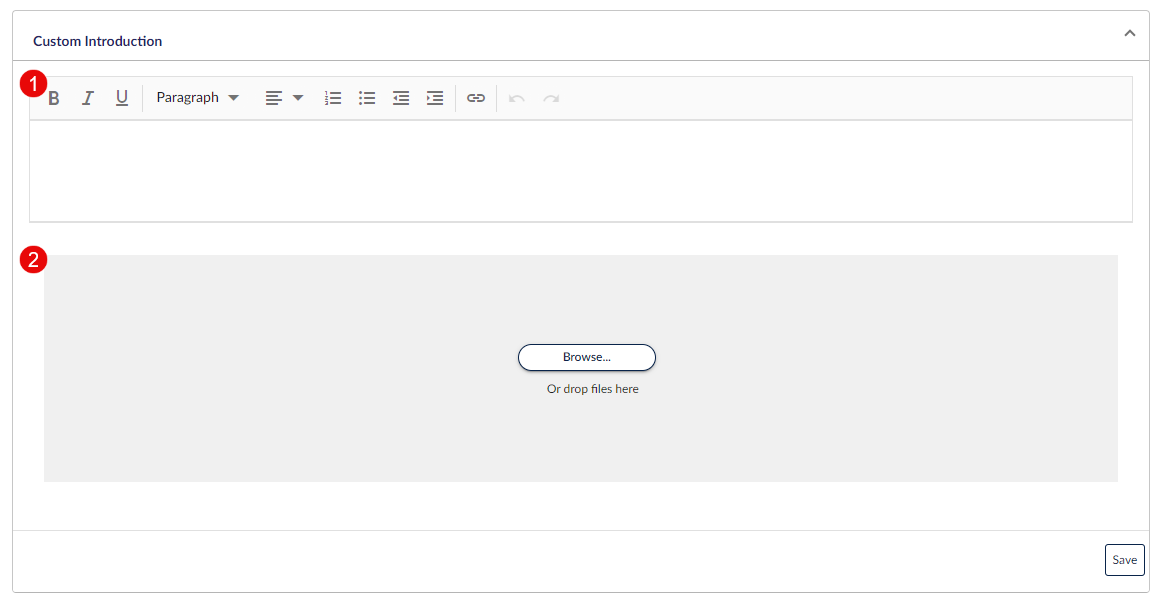
The file upload functionality allows for multiple documents to be uploaded and made available to respondents. To upload a file, either drag and drop the file or select it within the file directory by clicking Browse.
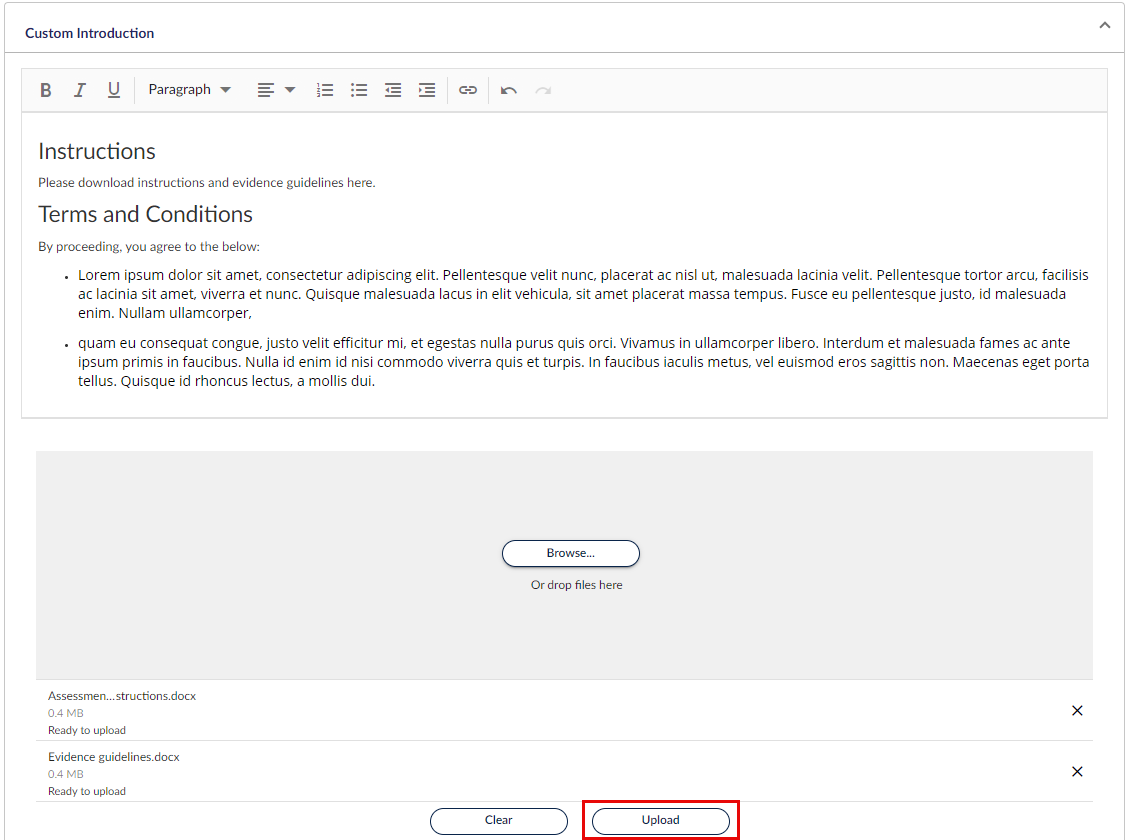
Once the file is selected, click Upload. You can Download or Delete a file by clicking the vertical ellipsis to its right.
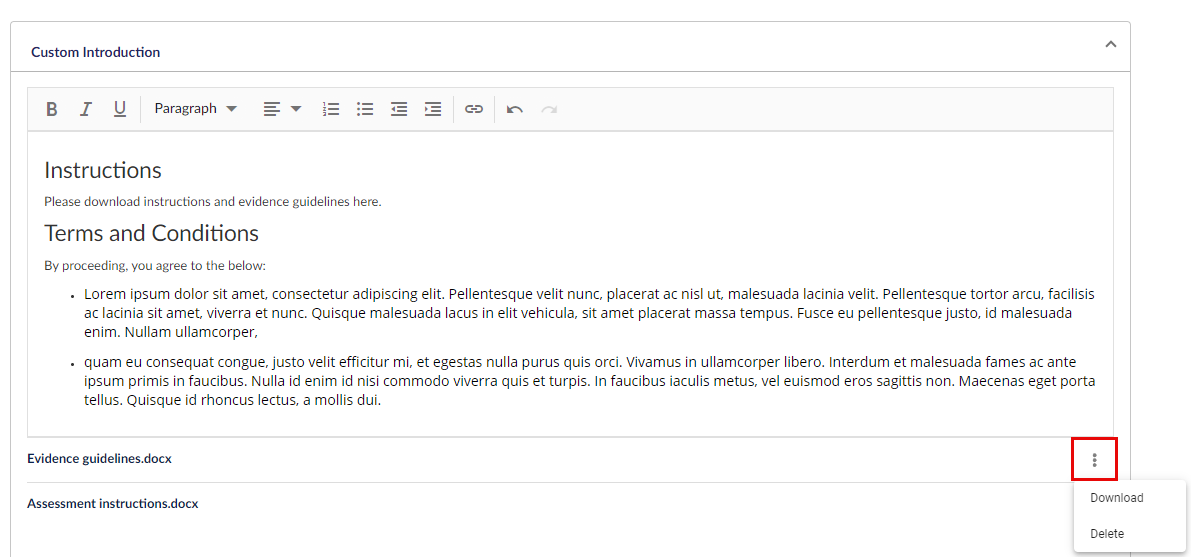
You can only upload and delete files when the assessment is in Draft status.
Click Save at the bottom right of the section when you are done.
This is how the above will appear to respondents.
Custom End Page
The Custom End Page will appear to respondents at the end of the assessment, once they have submitted their responses. This area is useful to provide a final message or an overview of their next steps.
There is a rich text field within this section that supports text formatting.
Click Save at the bottom right of the section when you are done.

Your next step may be publishing the assessment.