Table of contents
Using the default template
Navigate to Spokes from the left navigation panel in the Hub. Click More > Import.
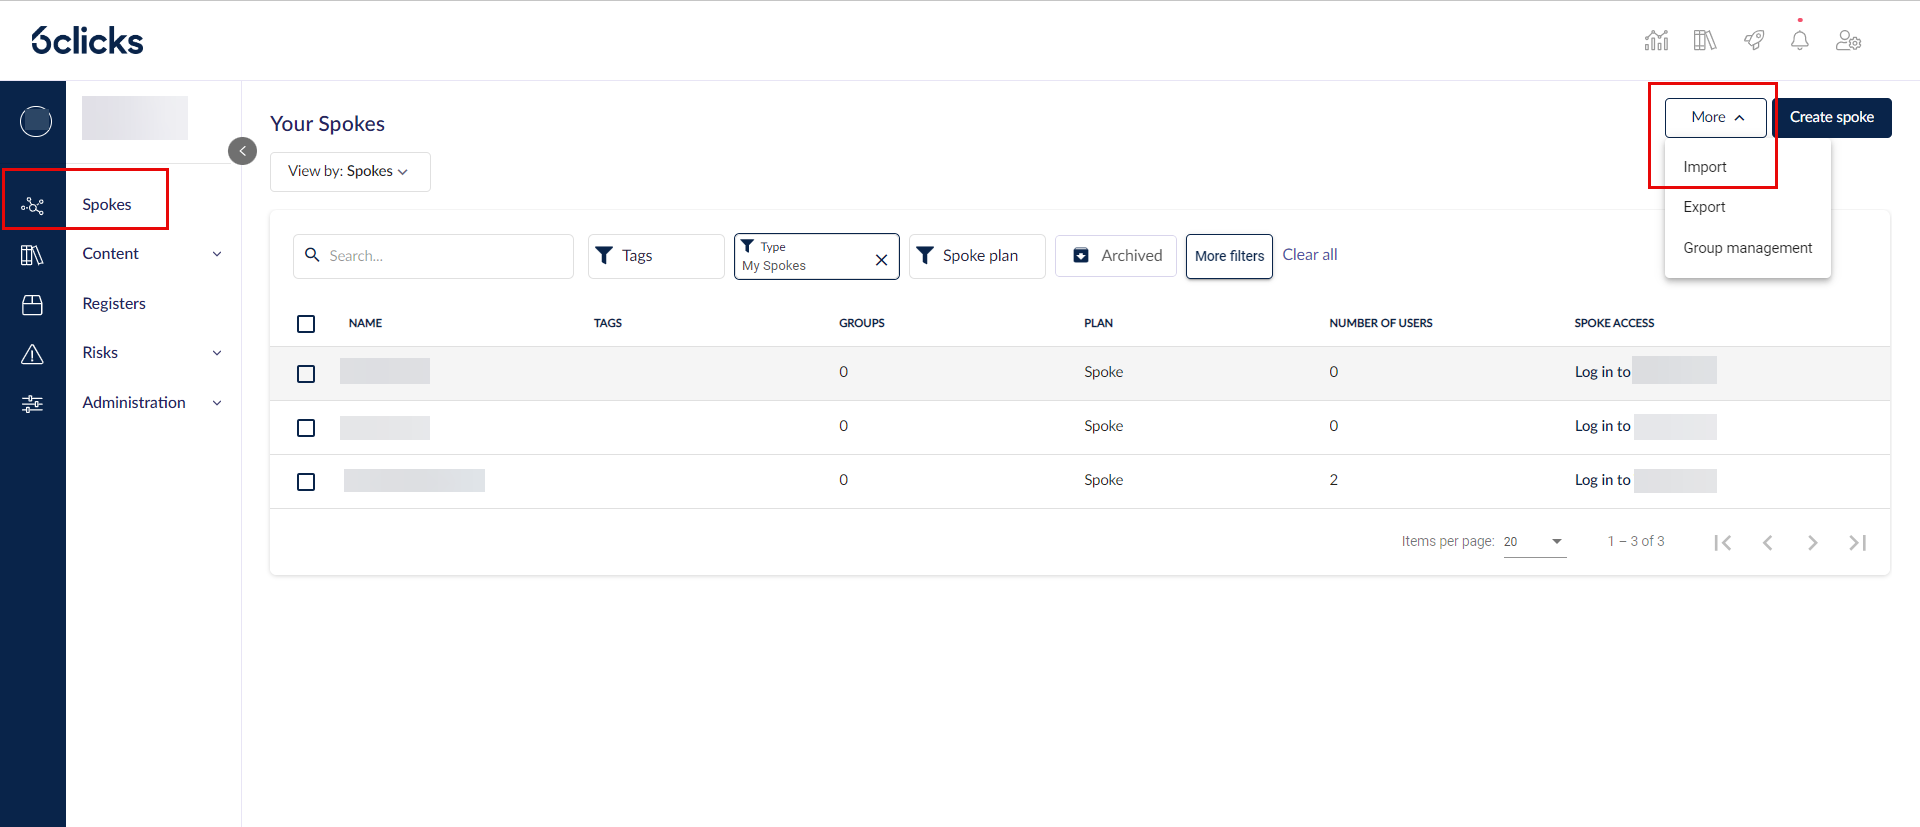
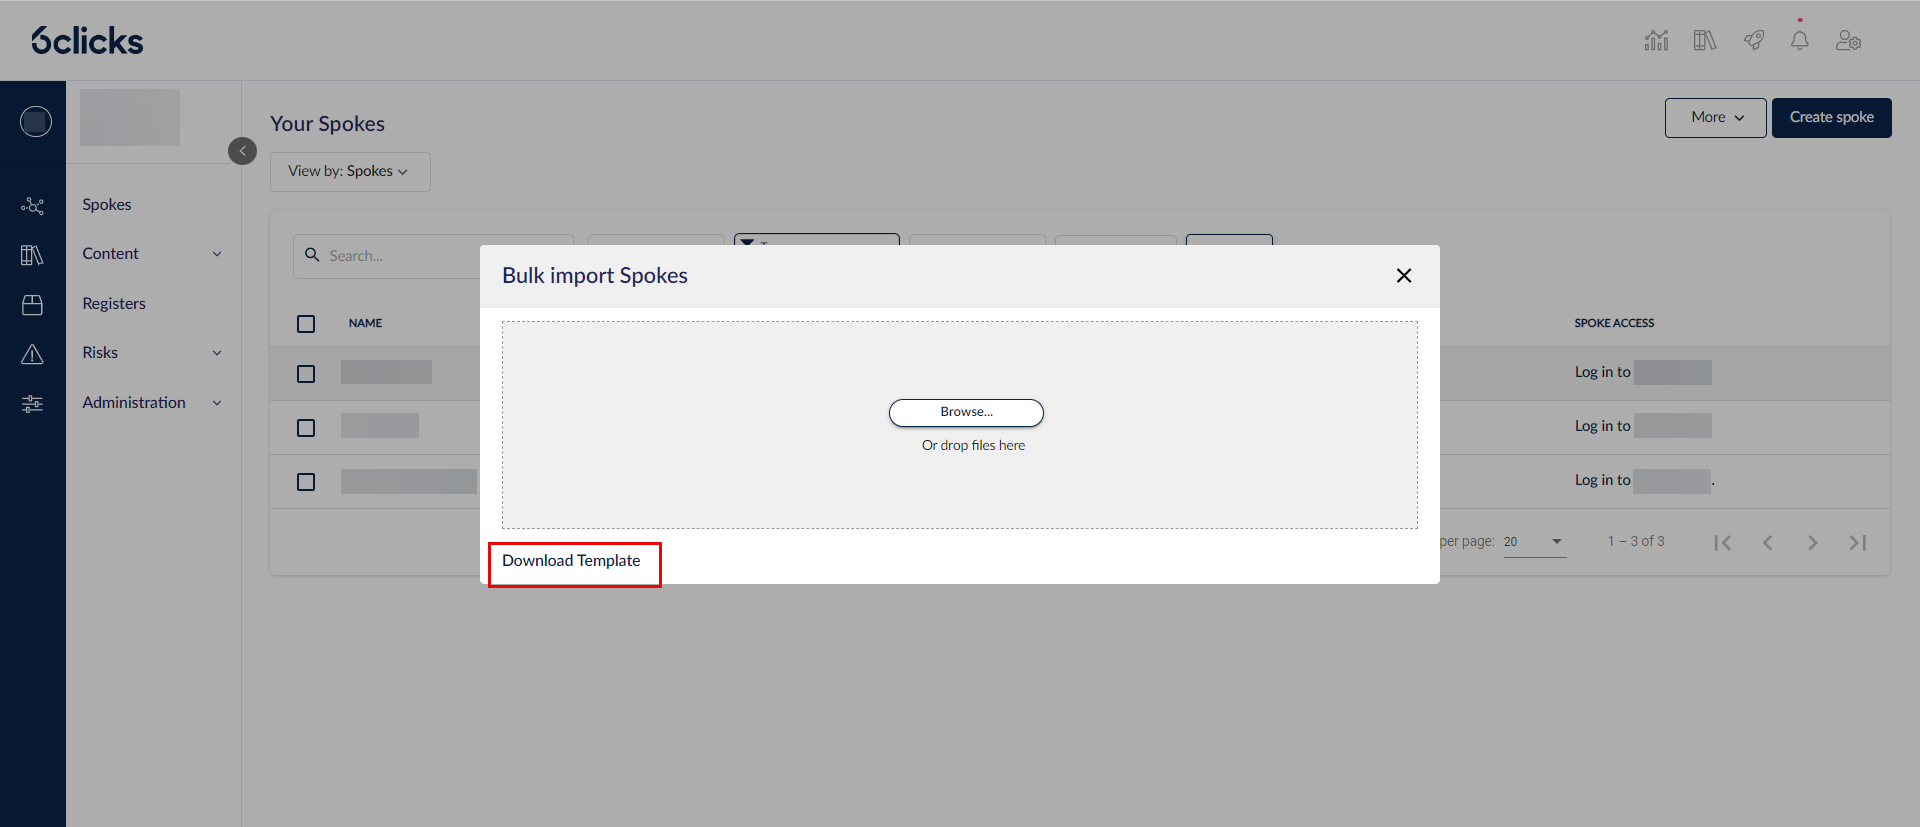
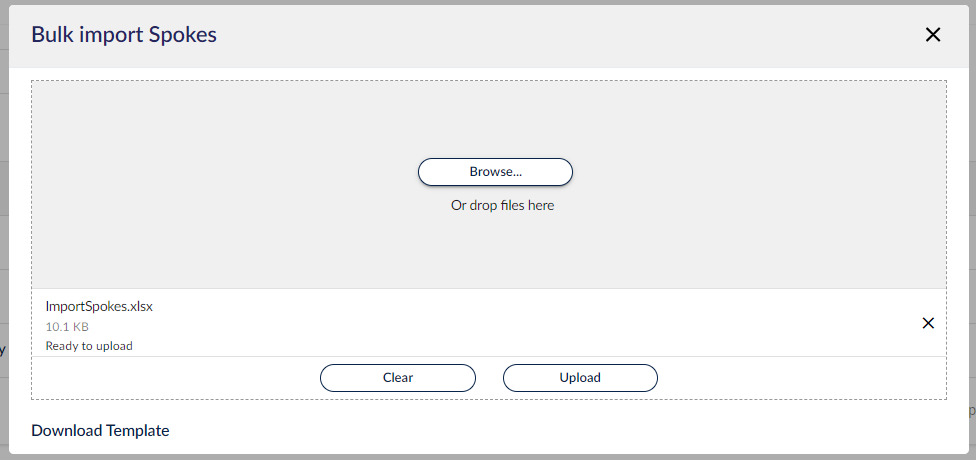
The Bulk import Spokes modal will appear, this allows you to import a list of customers.
Click Download Template to download the import template.
In the Excel document, populate the details as per the Excel template.

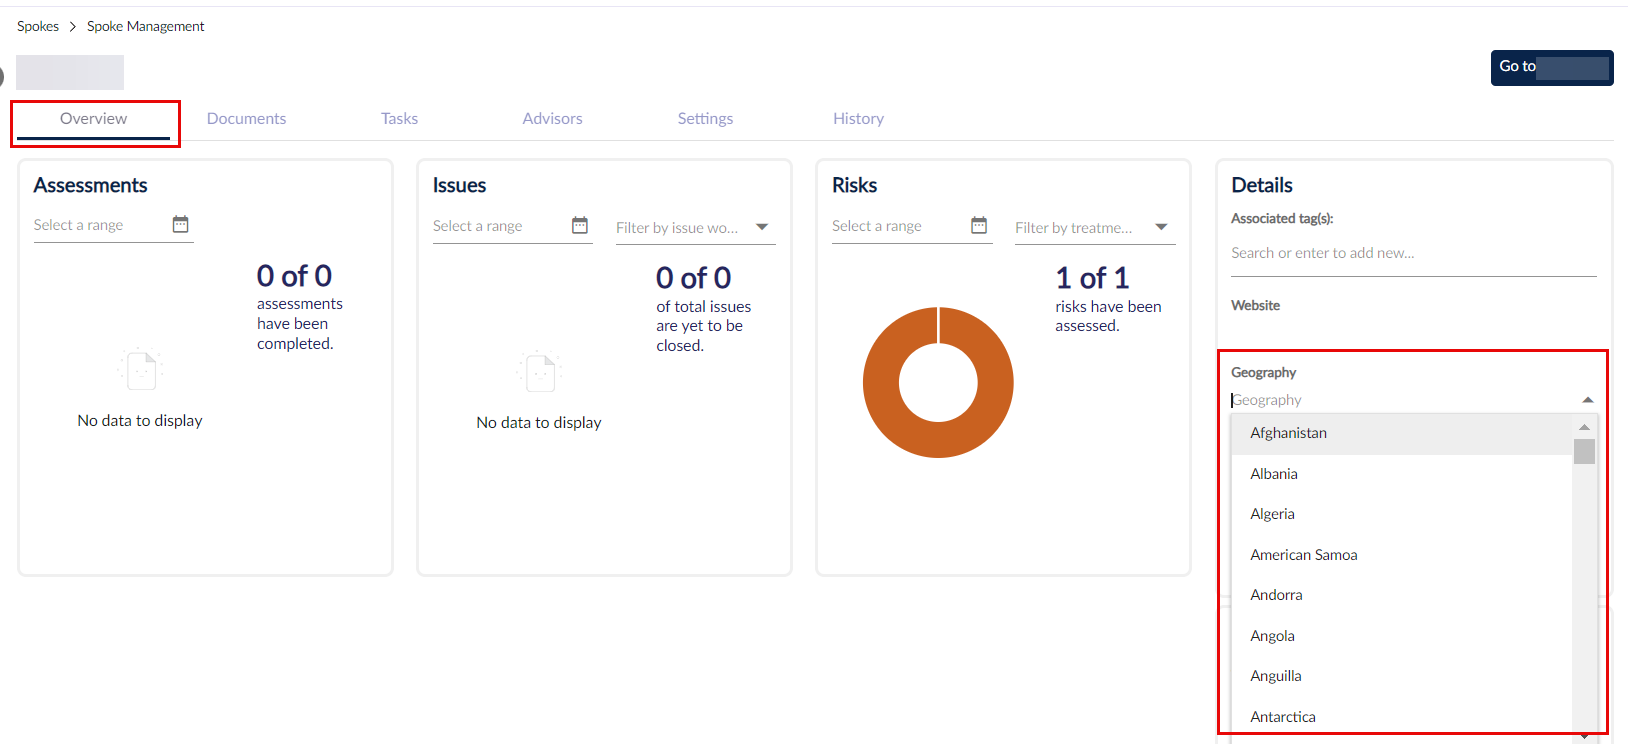
For dropdown fields such as Criticality, Risk, Geography etc, input exact text that match the values available.
You can see the value options by clicking on any existing spoke and go to Overview > Details, and click on the dropdown for these fields.
Custom fields
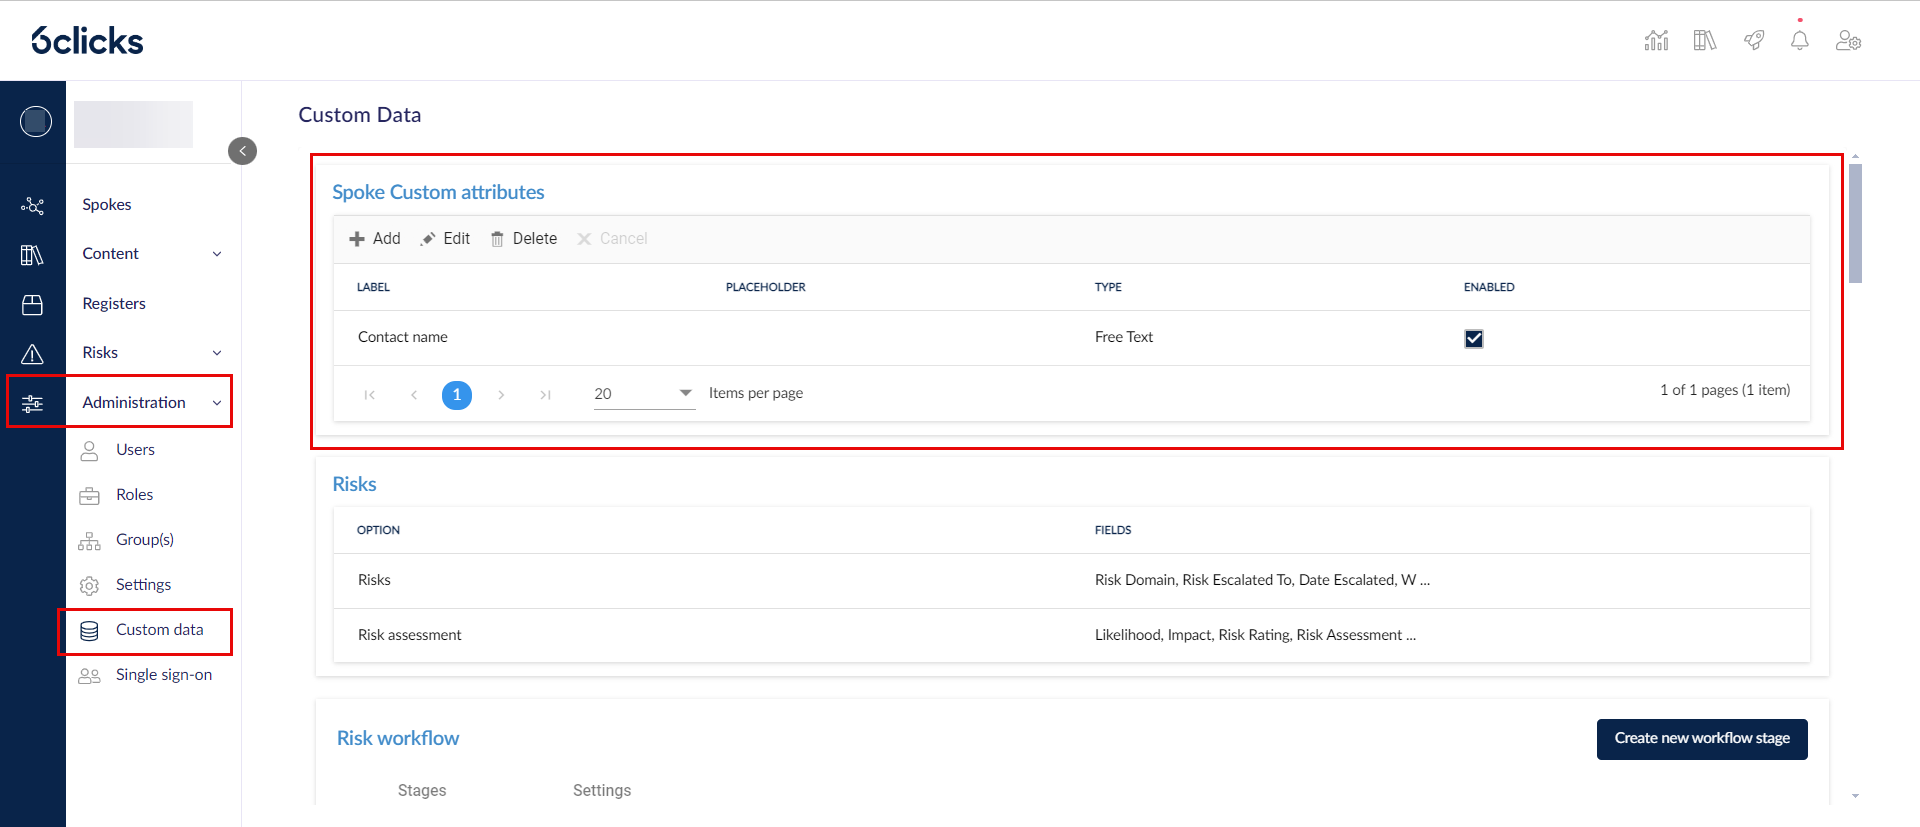
You can also include custom fields in your bulk import. Once you have set up the custom fields for spokes, you can add them to the import file.
To set up custom fields, go to Administration > Custom data > Spoke Custom attributes.
To learn more, reference this comparable article on Third-Parties.

A custom field column name in the Excel spreadsheet would be type code, dash, title.
For example, if you created a custom field called Contact name, and its type is free text, then the column name in the import file should be FT - Contact name. If the custom field is a drop-down with the name Priority, then the column name in the import file should be DD - Priority, e.g.:

Below are the following codes for the available types:
- Free Text - FT
- Dropdown - DD
- Multiselect Dropdown - MD
- Rich Text - RT
- Date - DT
Once the column names have been defined, you can enter your data in each cell. We suggest that you do not change the order or the formatting of the template:
- For free text, you can add any text you like.
- For dropdown, you must enter the name of a selectable option in your defined dropdown list (which you can find in Administration > Custom data > Spoke Custom attributes). The text must match identically and is case-sensitive.
- For multiselect dropdown, you must enter the names of a selectable option in the defined dropdown list separated by a comma (,). The text must match identically and is case-sensitive.
- For rich text, you can add any text you like.
- For date, use DD/MM/YYYY. Make sure the cell format is text.
- For number, only input numbers. It will not accept other characters like spaces, letters, or special characters.
Importing and viewing data
Once you have finished creating the template, click Browse in the Import Data modal to identify your file and then click Upload to import your new spokes.
Once uploaded, the companies will be added to your list.
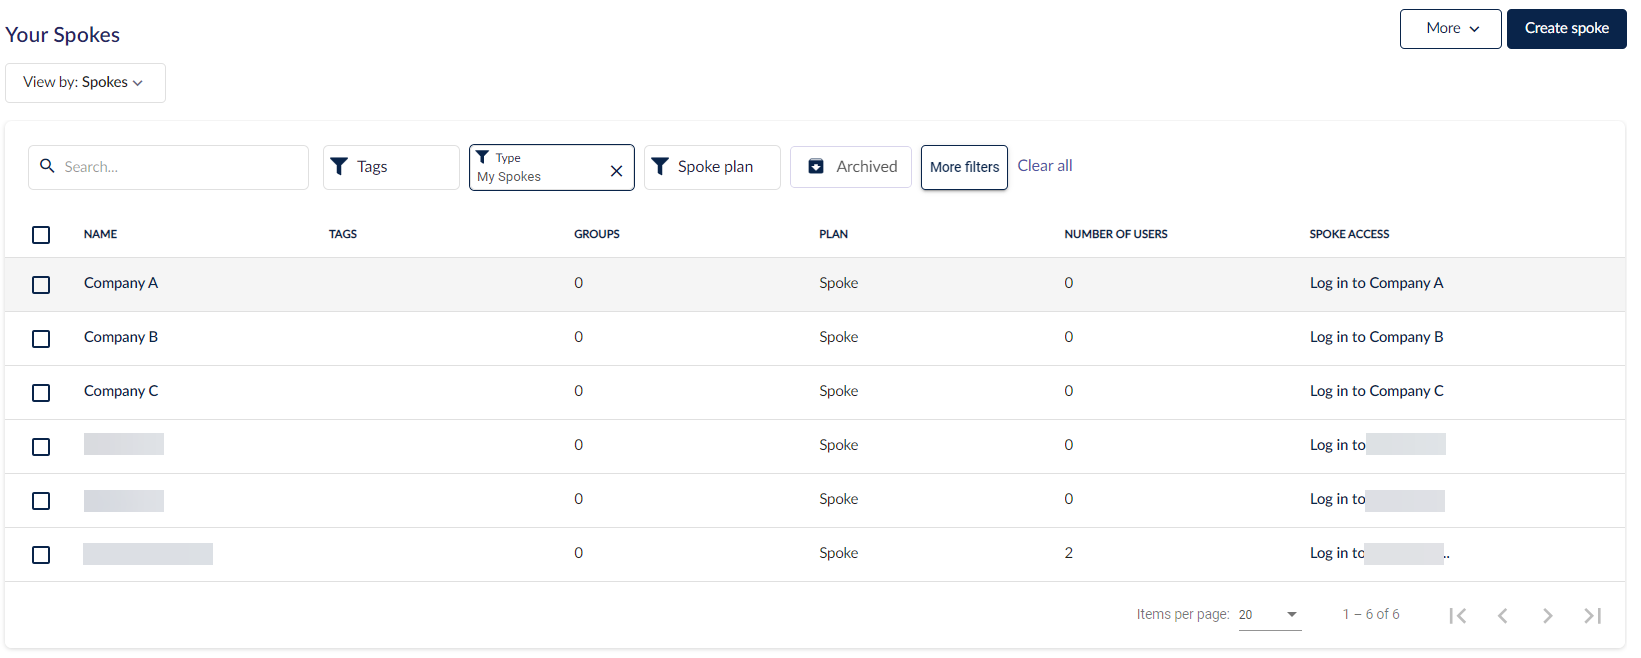
In their Overview tabs, the Details panel will be populated accordingly.
The contact email cell in the Excel spreadsheet will populate the advisor's email in the Advisors tab.